As electric vehicles become more and more common, you’re going to see more and more houses equipped with electric car chargers. Just a few years ago, having a home charging station was quite expensive and choosing one seemed a bit confusing for the layman. It seemed as if only the die-hard EV enthusiasts had home chargers. However, charging stations have come a long way in just a few years and now they’re not only super affordable but they’re easy enough to install that even a DIYer like myself can install it. To prove that, Clipper Creek sent me the HCS-50 40A Level 2 charger to see what it’s like to install and use.
(Full Disclosure: Clipper Creek sent me the charging station for free and paid for shipping)
Cost
Let’s talk money first. Charging stations used to be incredibly expensive but they’ve come down dramatically in price over the past few years. The HCS-50 I have retails at $699.00, which isn’t exactly cheap but it’s also not expensive. You can’t even get the most entry-level Macbook for under $999.00. So I don’t think the HCS-50’s price is bad, considering it gives you the ability to charge your car from home.
Then there’s the cost of electricity itself. According to Save Our Energy, the average home cost of electricity in America is 14.77 cents per kWh. At that rate, charging a BMW iX—with a battery size of 111.5 kWh—it would cost around $16.50. If I put $20 worth of premium unleaded in my BMW 325i, even when gas prices were normal, I’d get about a quarter of a tank of fuel and about 100 miles of range. However, when charging from home in a BMW iX, which uses one of the largest battery packs in the industry, less than $20 will get you around 300 miles of range. The cost advantage of EVs, when charging from home, is staggering.
The HCS-50 uses a 40A draw to charge at 9.6 kW. To charge that same BMW iX, from flat-to-full, it would admittedly almost twelve hours at that rate. However, few people are ever charging from absolutely zero to full. Instead, most people are charging with 20-30 percent, or even more, state of charge. Overnight, the HCS-50 is going charge fast enough for almost any customer.
Hardwired Versus Plug-In
One of the reasons my Clipper Creek unit is so affordable (even if I paid for it) is that I installed it myself. Now, before we get to the installation, I want to preface this by saying you should always seek out a licensed professional to do the installation. However, a big part of this review was to see if the average home owner/DIYer could install one on their own. And since I’ve been remodeling a ’70s home for the past couple of years, and have rewired almost every room in the house, I felt confident in my ability to do it.
Clipper Creek sells two versions of my unit, a hardwired version (the one I have) and a plug-in version. Both units require a 50A circuit breaker in the home’s breaker box and 6-gauge wire. The only difference is that the hardwired version needs to be wired in a junction box to the 6-gauge wire, which is then wired to the 50A circuit breaker. While the plug-in version plugs into a 240-volt wall outlet, which itself is then wired with 6-gauge wire to a 50A circuit breaker.
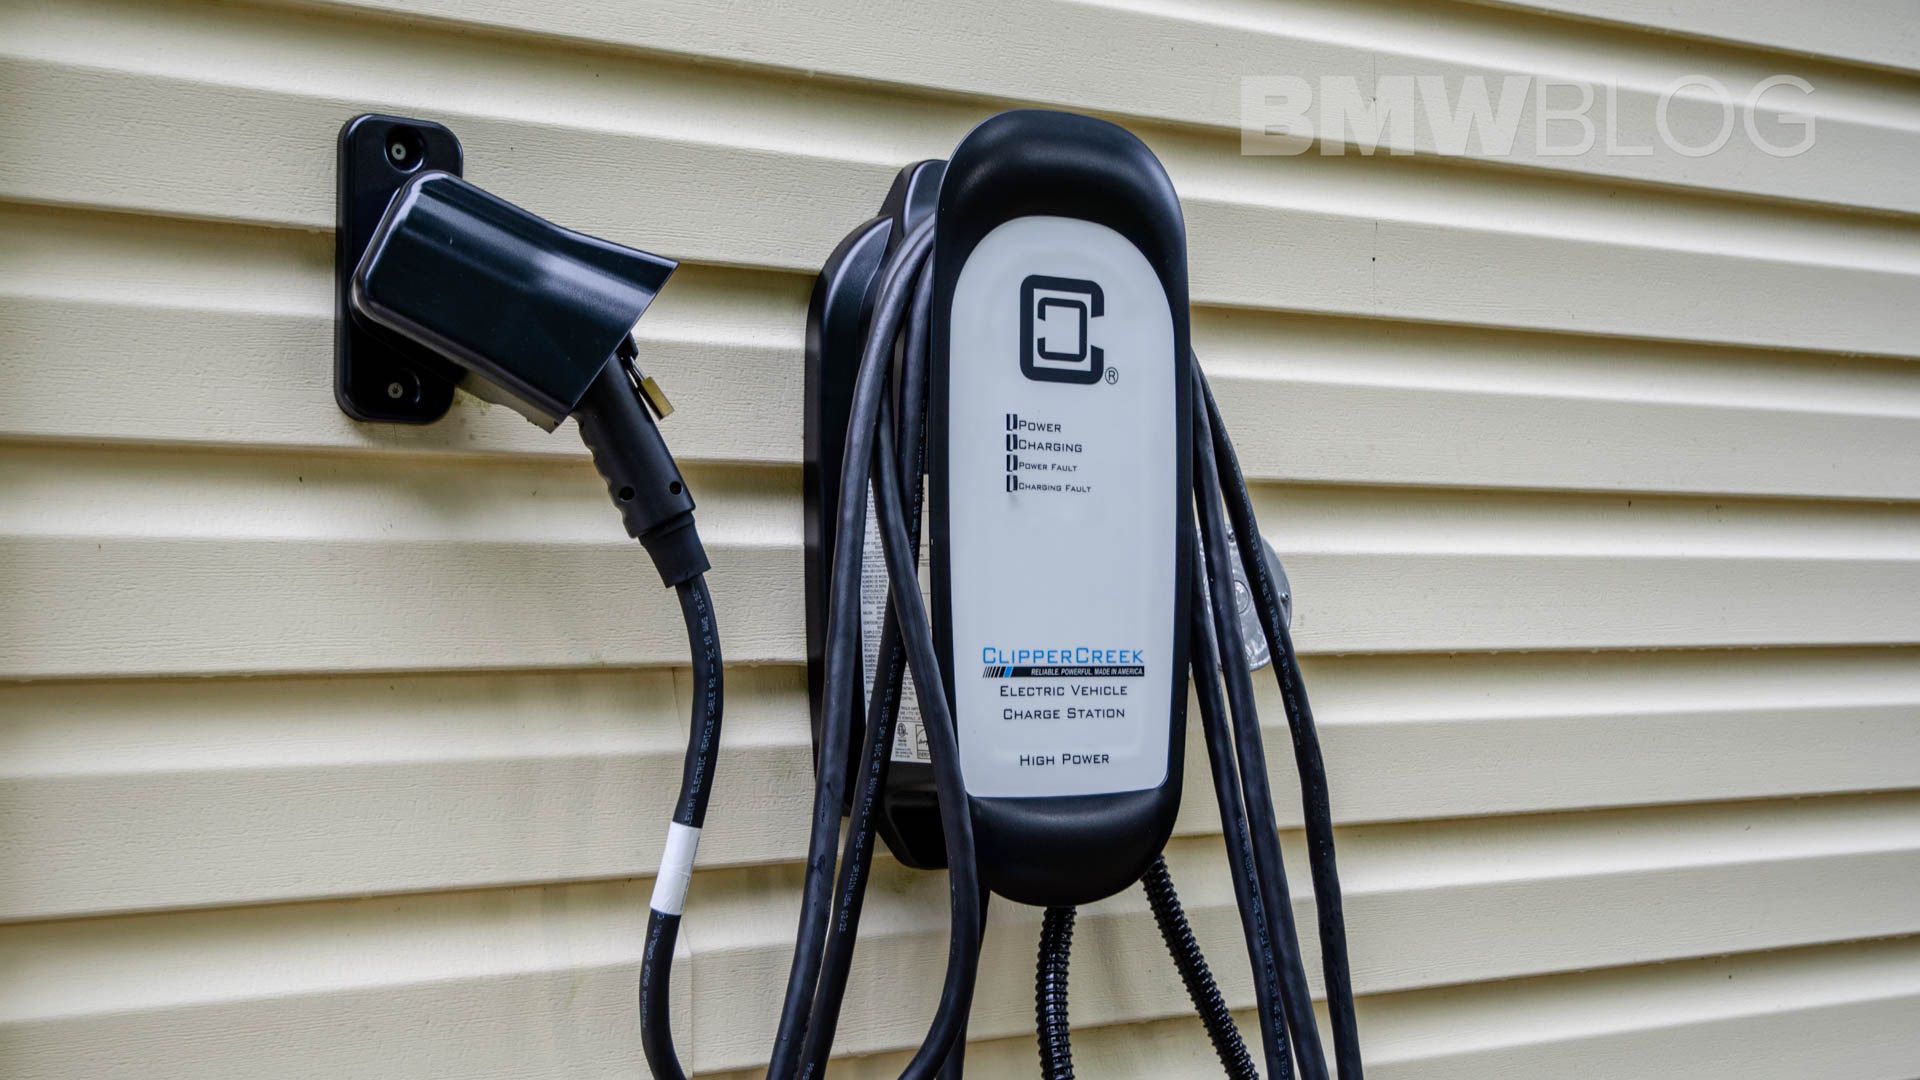
Since Clipper Creek sent me a hardwired version, it came with three stranded 6-gauge wires in a plastic, waterproof sheath, with a threaded connector. Since I wasn’t plugging it into an outlet and the unit is weatherproof, I decided to mount it to the outside of my house, which Clipper Creek permits.
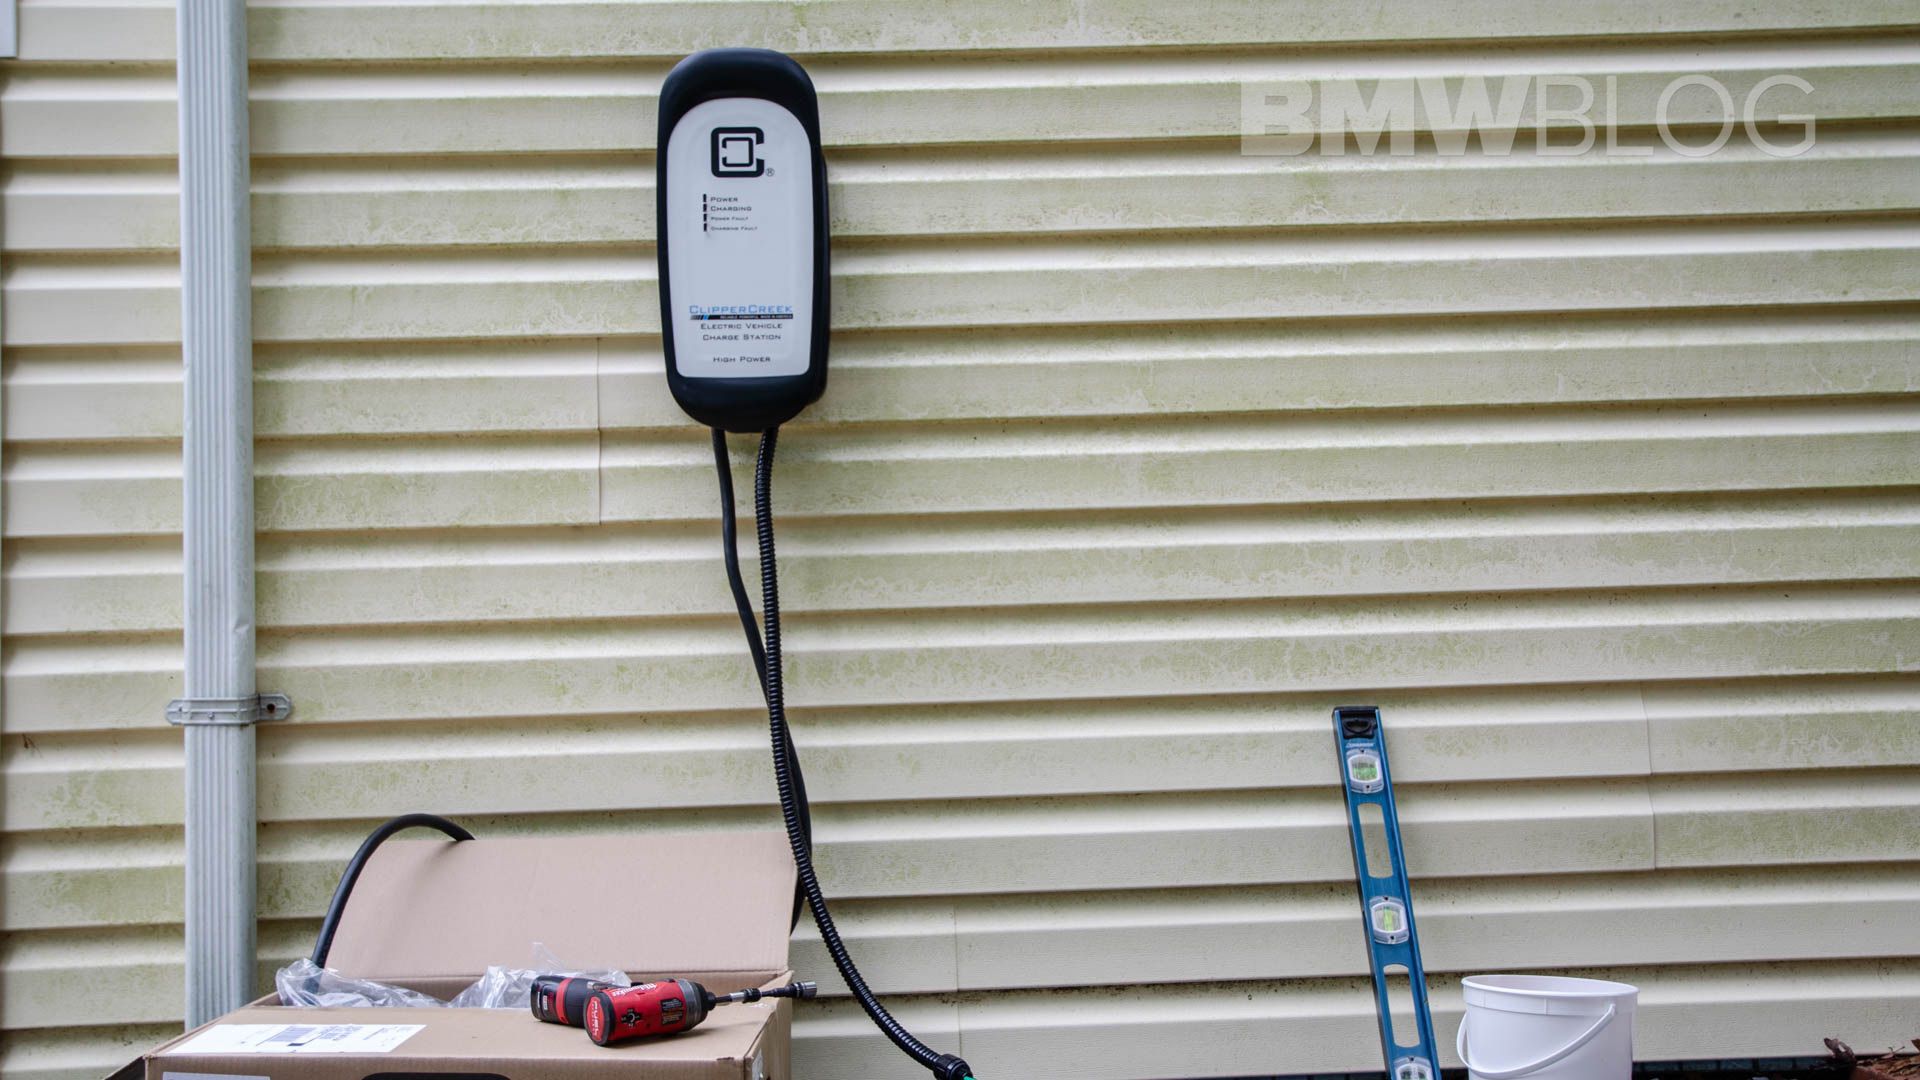
Installation
Mounting the actual charging station unit to the house was easy-peasy. It came with the appropriate lag screws and it only needs two, one at the top and one at the bottom. Since the outside of most modern-ish homes in America have vinyl siding over 3/8″ plywood sheathing, I was able to drill appropriately-sized pilot holes through the siding and plywood and just mount the unit directly to the side of the house. The unit itself is only a few pounds, so it was easy to handle by myself, even if the charging cord kept getting in my way. It fits perfectly flat to my house and looks great. It also came with a nice little plug holster, which mounted exactly the same way, just with much skinnier screws, and was a breeze.
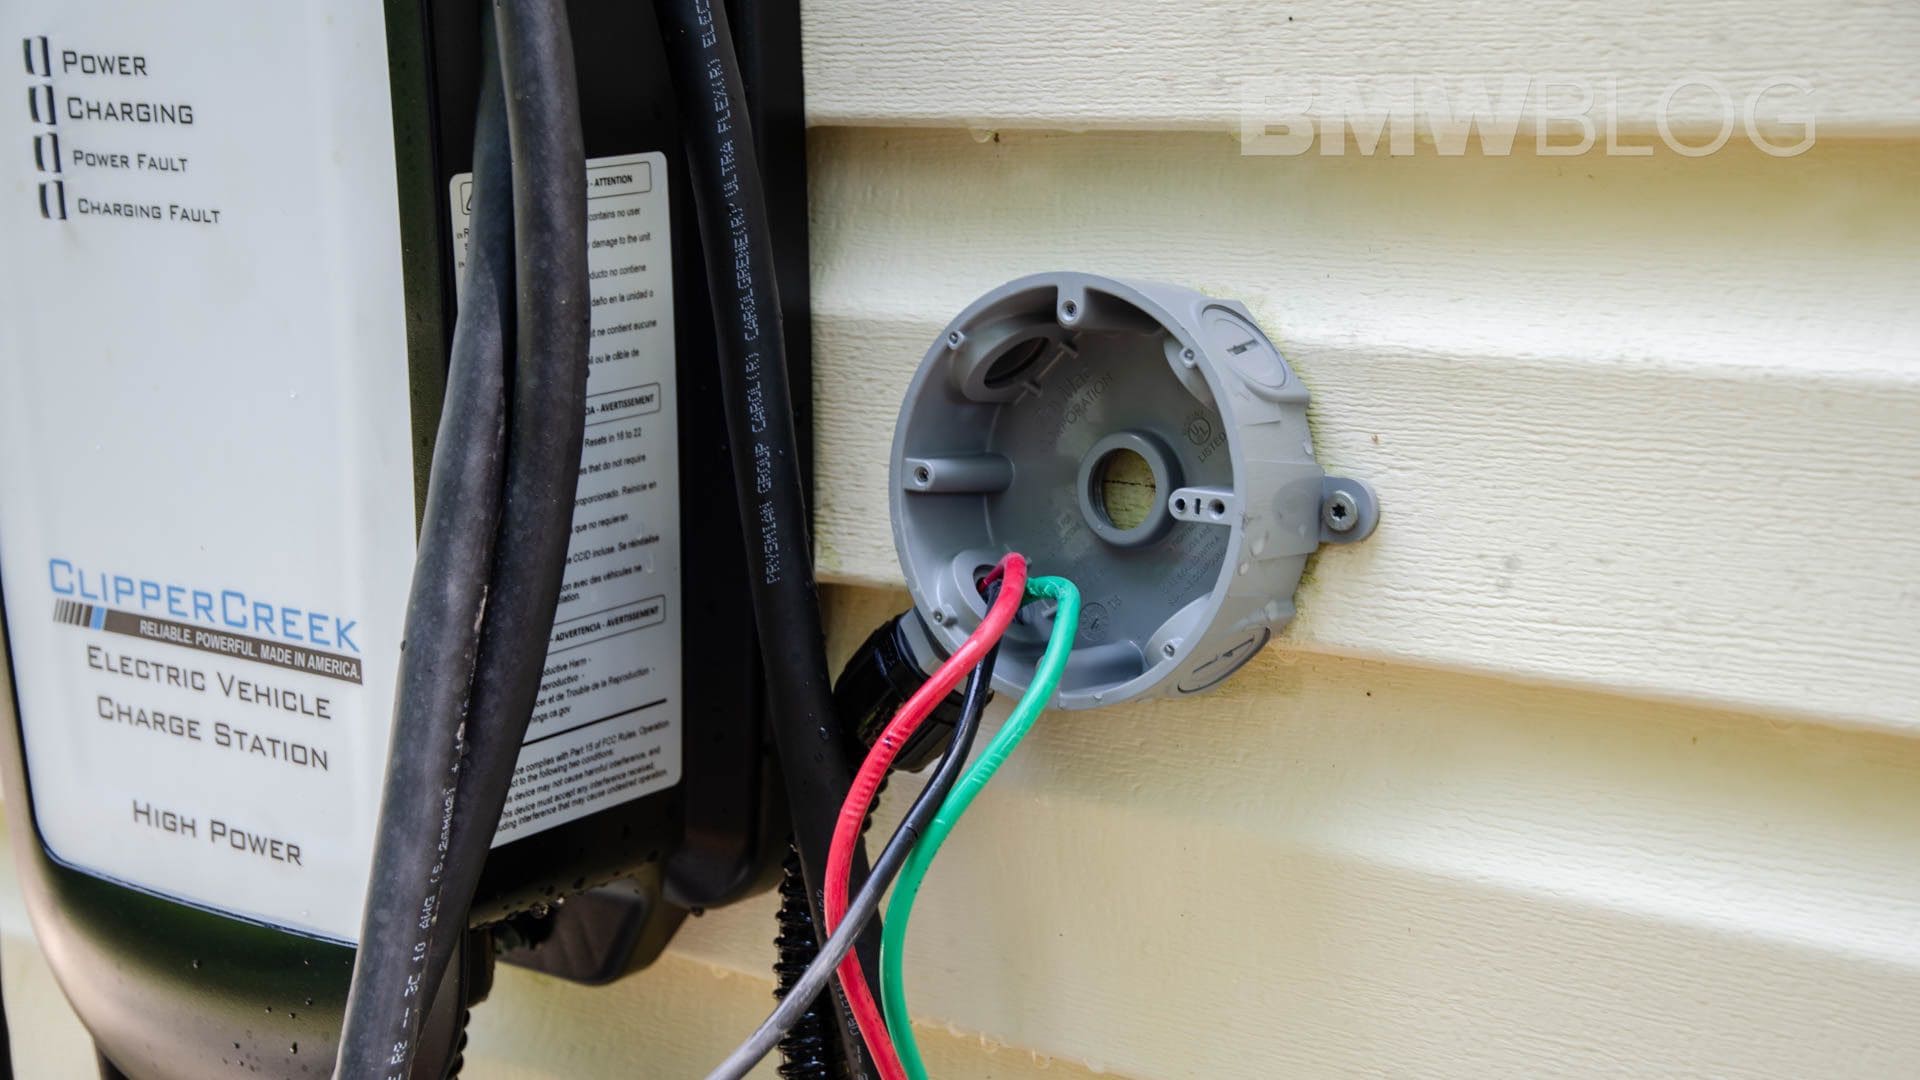
Next to the charging station, it was time to mount my junction box. The one I bought was an exterior-rated, waterproof junction box with a knockout hole on the back of it. I went with a PVC plastic box, since the threaded connecter on the unit was plastic. The box came with its own knockout connecters that allowed the charging station’s own connecter to thread right in perfectly. Nice. But before I actually mounted the box, I marked a spot on the house for where I was going to drill the hole through the wall.
On the other side of the wall is my garage, which is technically a finished garage but was finished about thirty years ago and looks pretty crap (it’s one of my last remodeling priorities). Since it isn’t a great looking garage and it won’t be for awhile, I decided to just run PVC conduit on the inside of the garage walls to house the wire for the charger. That way, I didn’t have to get above my garage to drill through the top plates of the garage wall. Plus, my garage doesn’t have attic access, so it’s incredibly annoying to get up there.
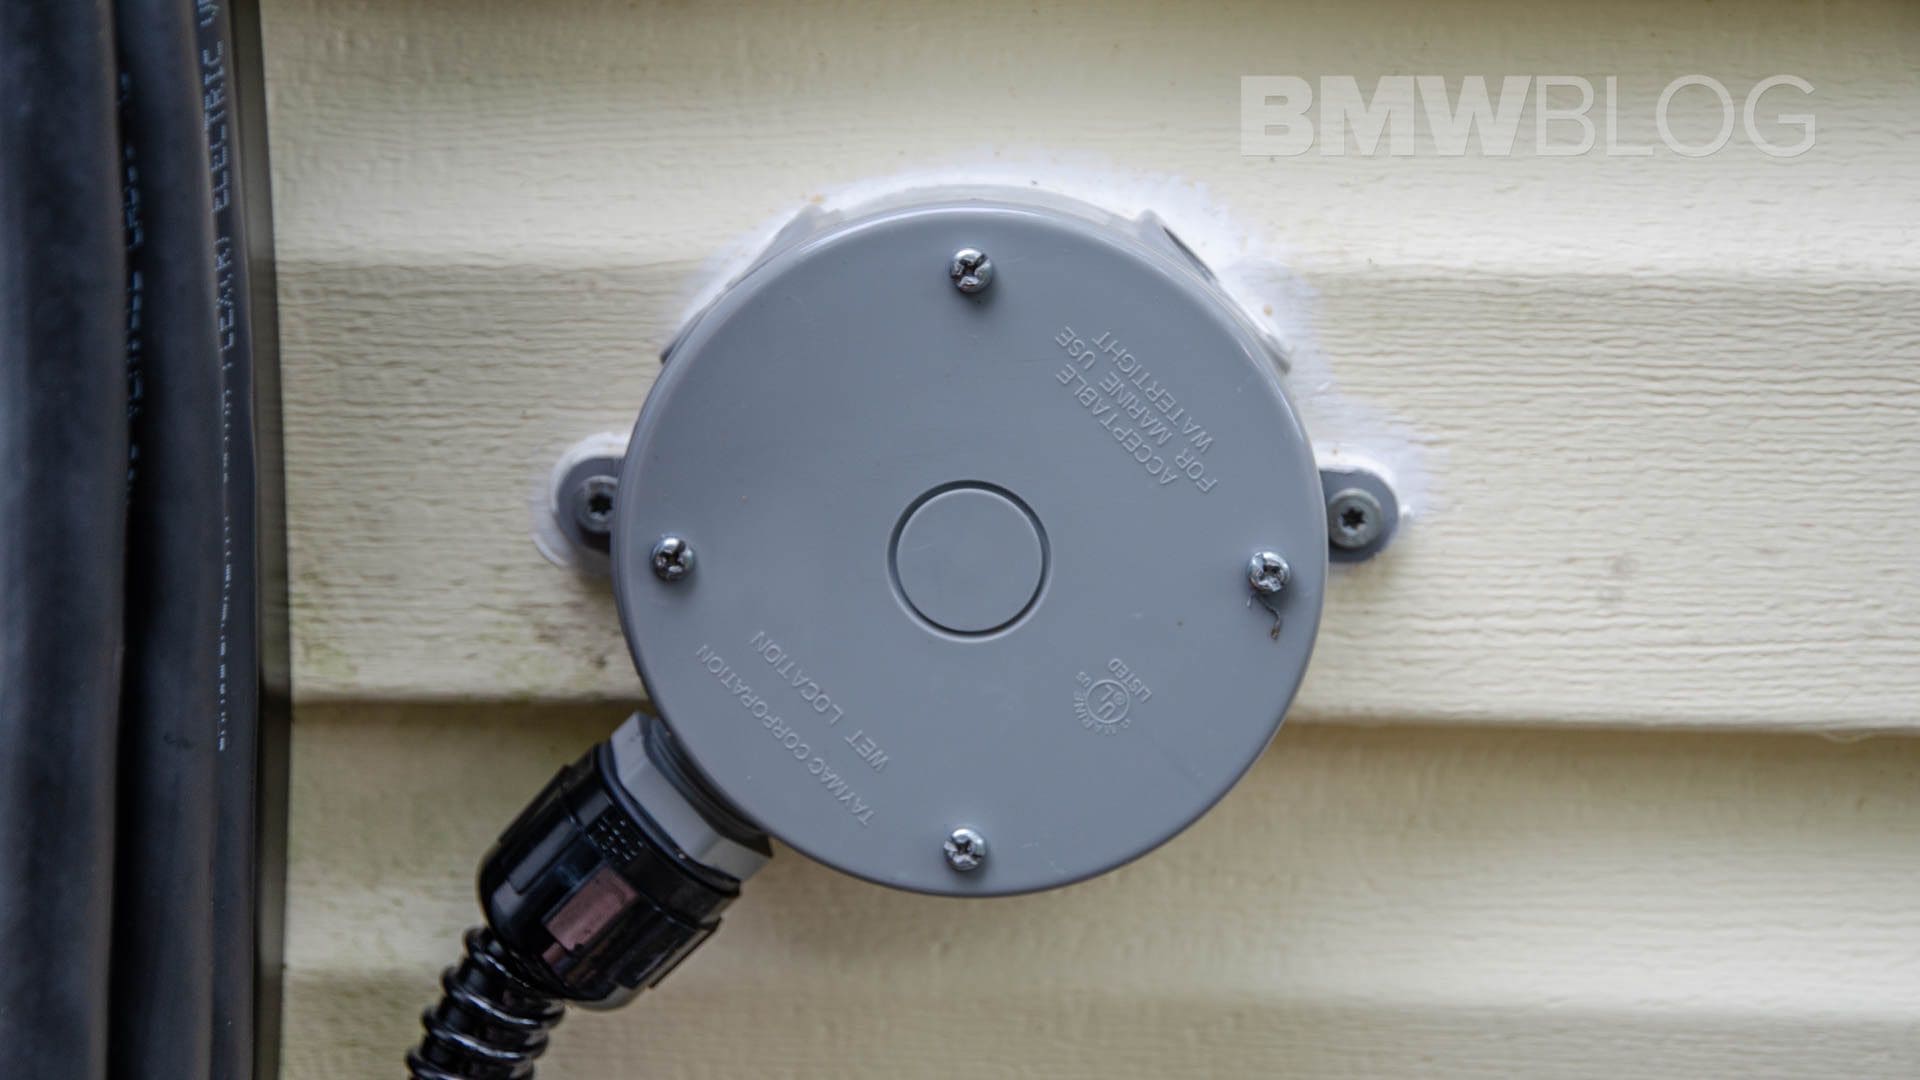
I figured out where the studs in the wall were, to make sure not to drill through one, marked my spot on the outside wall, and drilled one-inch hole. Once drilled, I mounted the junction box to the exterior wall, so that the hole of the box lined up with the hole in the wall. After that, I mounted a corresponding junction box on the inside wall of my garage, opposite the exterior box. Then I ran my conduit.
From there, I actually had to ask for some help from my father-in-law to wire the new 50A breaker into my breaker box, after flipping the power off, of course. I’ve never actually done that, and he’s done just about every home construction job you can imagine, so he had experience. Once he did that, I ran the wire into another junction box next to my breaker box, through the conduit, and into the exterior junction box.
Once the three junction boxes and conduit were installed, I was able to wire the charging station to the new wires and flip the power back on. And that was it. It’s a surprisingly straightforward process. Admittedly, my setup is a bit complicated, with three different junction boxes and a bunch of conduit, but that’s only because I didn’t want to wire it inside the wall. That would be a bit neater on the eyes but far more difficult given my garage attic setup.
Build Quality
I was pleasantly surprised by the build quality of the HCS-50. Everything feels solid, with high-quality plastics, strong connectors, and sturdy hardware. Not only did it install well but it looks good on the house. It also came with a small lock, to keep someone from taking the plug out of the holster when you’re away, which is nice.
Conclusion
Overall, the Clipper Creek HCS-50 is a well-made, easy-to-install charging station that charges quickly enough for overnight charging, and is affordable enough that the average EV owner can own one. For anyone looking to get a charging station for their home, I’d highly recommend the HCS-50, either in hardwired or plug-in form.