Across the aftermarket world, there is a large group of BMW M owners who are actively looking for improved seats to accommodate their personal vehicle on track. The stock, normal or M Sport seats are acceptable for the occasional track warrior, but since only the GTS and CSL M models are fitted with track-orientated bucket seats, the more track-savvy drivers are looking for solutions.
Bucket seats come in a wide variety of options in a market that often doesn’t offer a one-size-fits-all solution. Owners who have specific wishes end up diving into the aftermarket world which can be confusing and overwhelming. The installation process is equally complicated, so today we would like to show you how to install a set of bucket seats in an M car. Keep in mind that this my own experience and I’ve already accepted all the downsides.
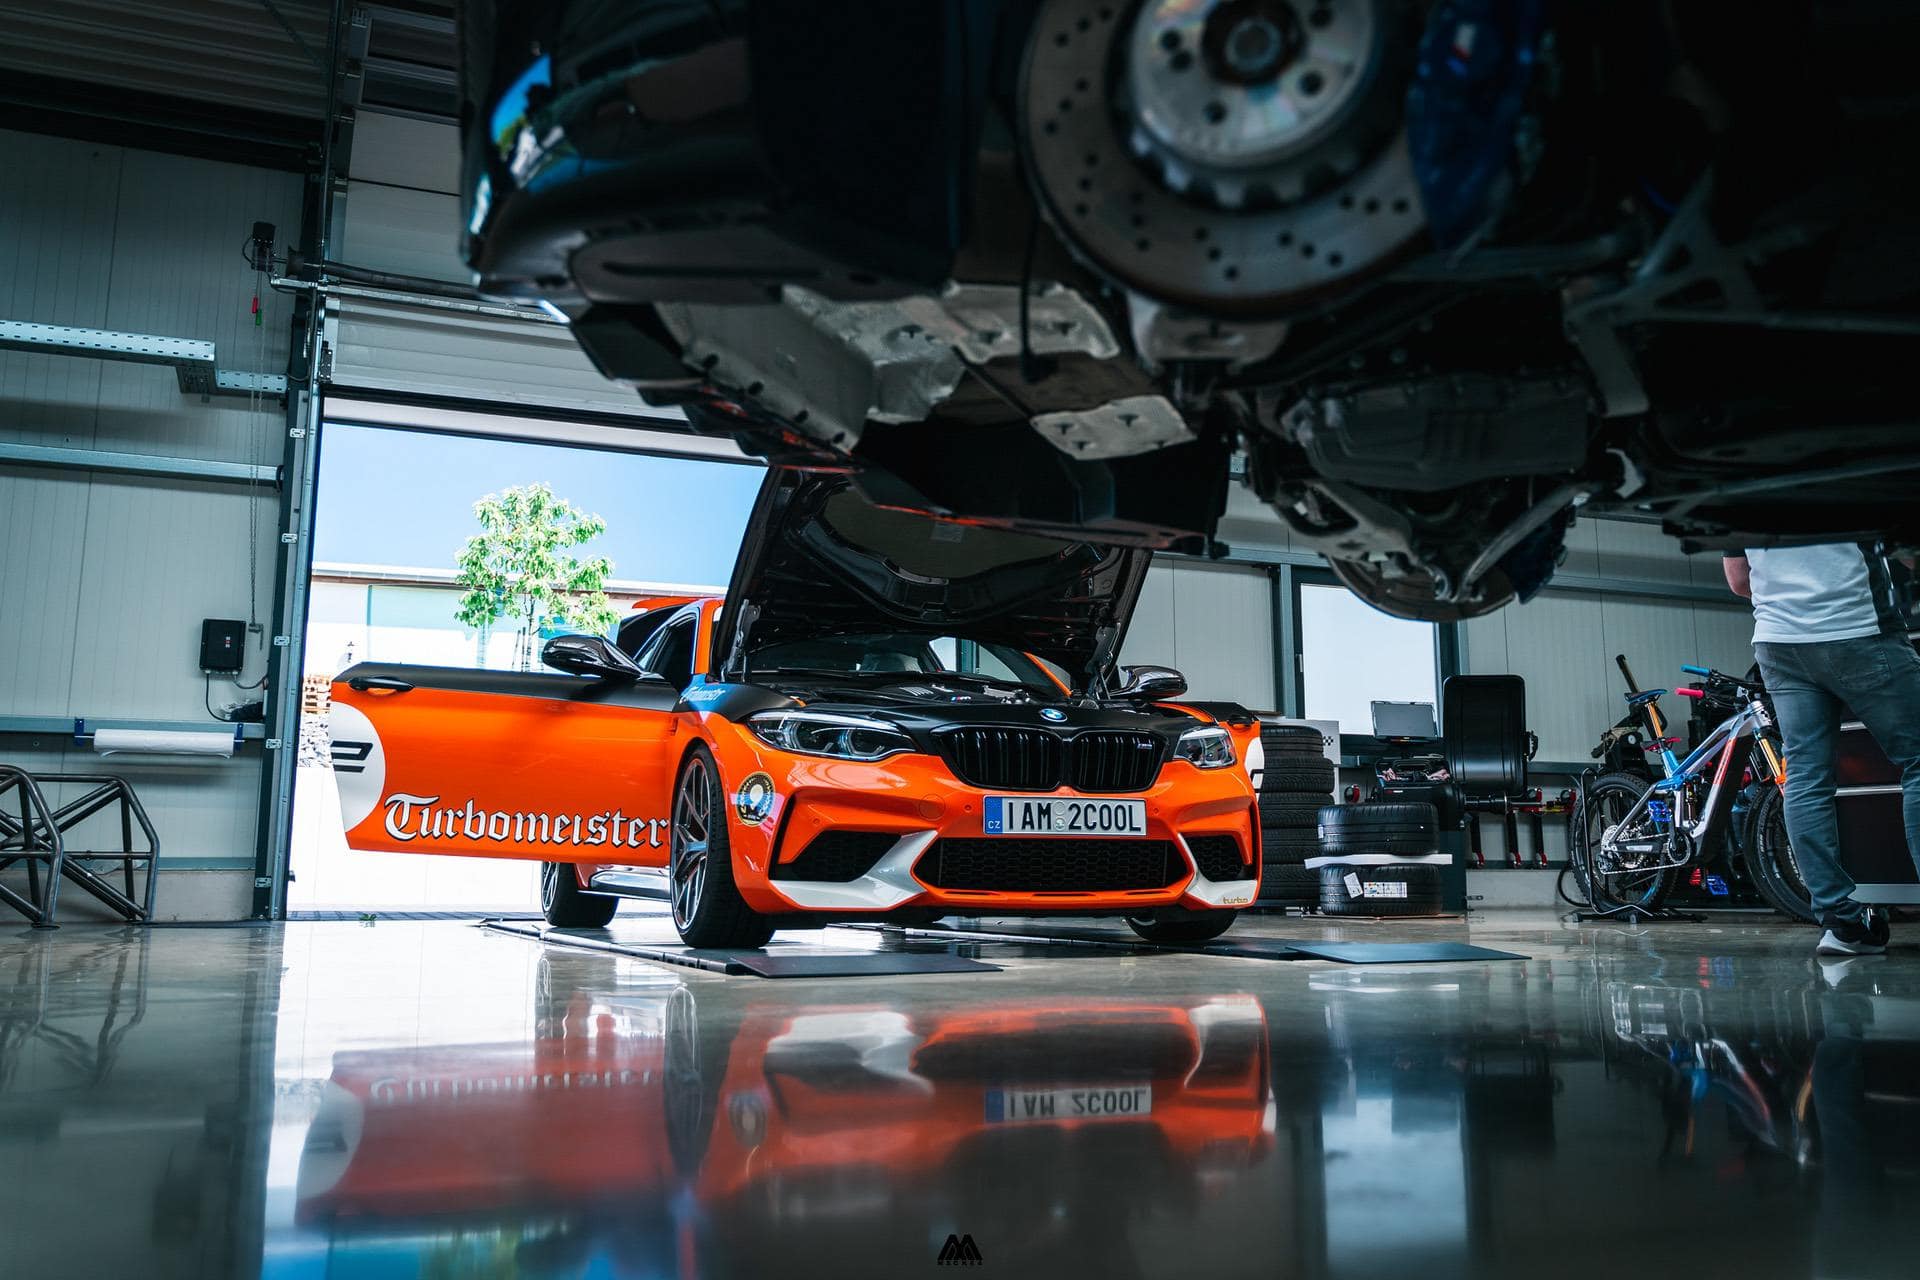
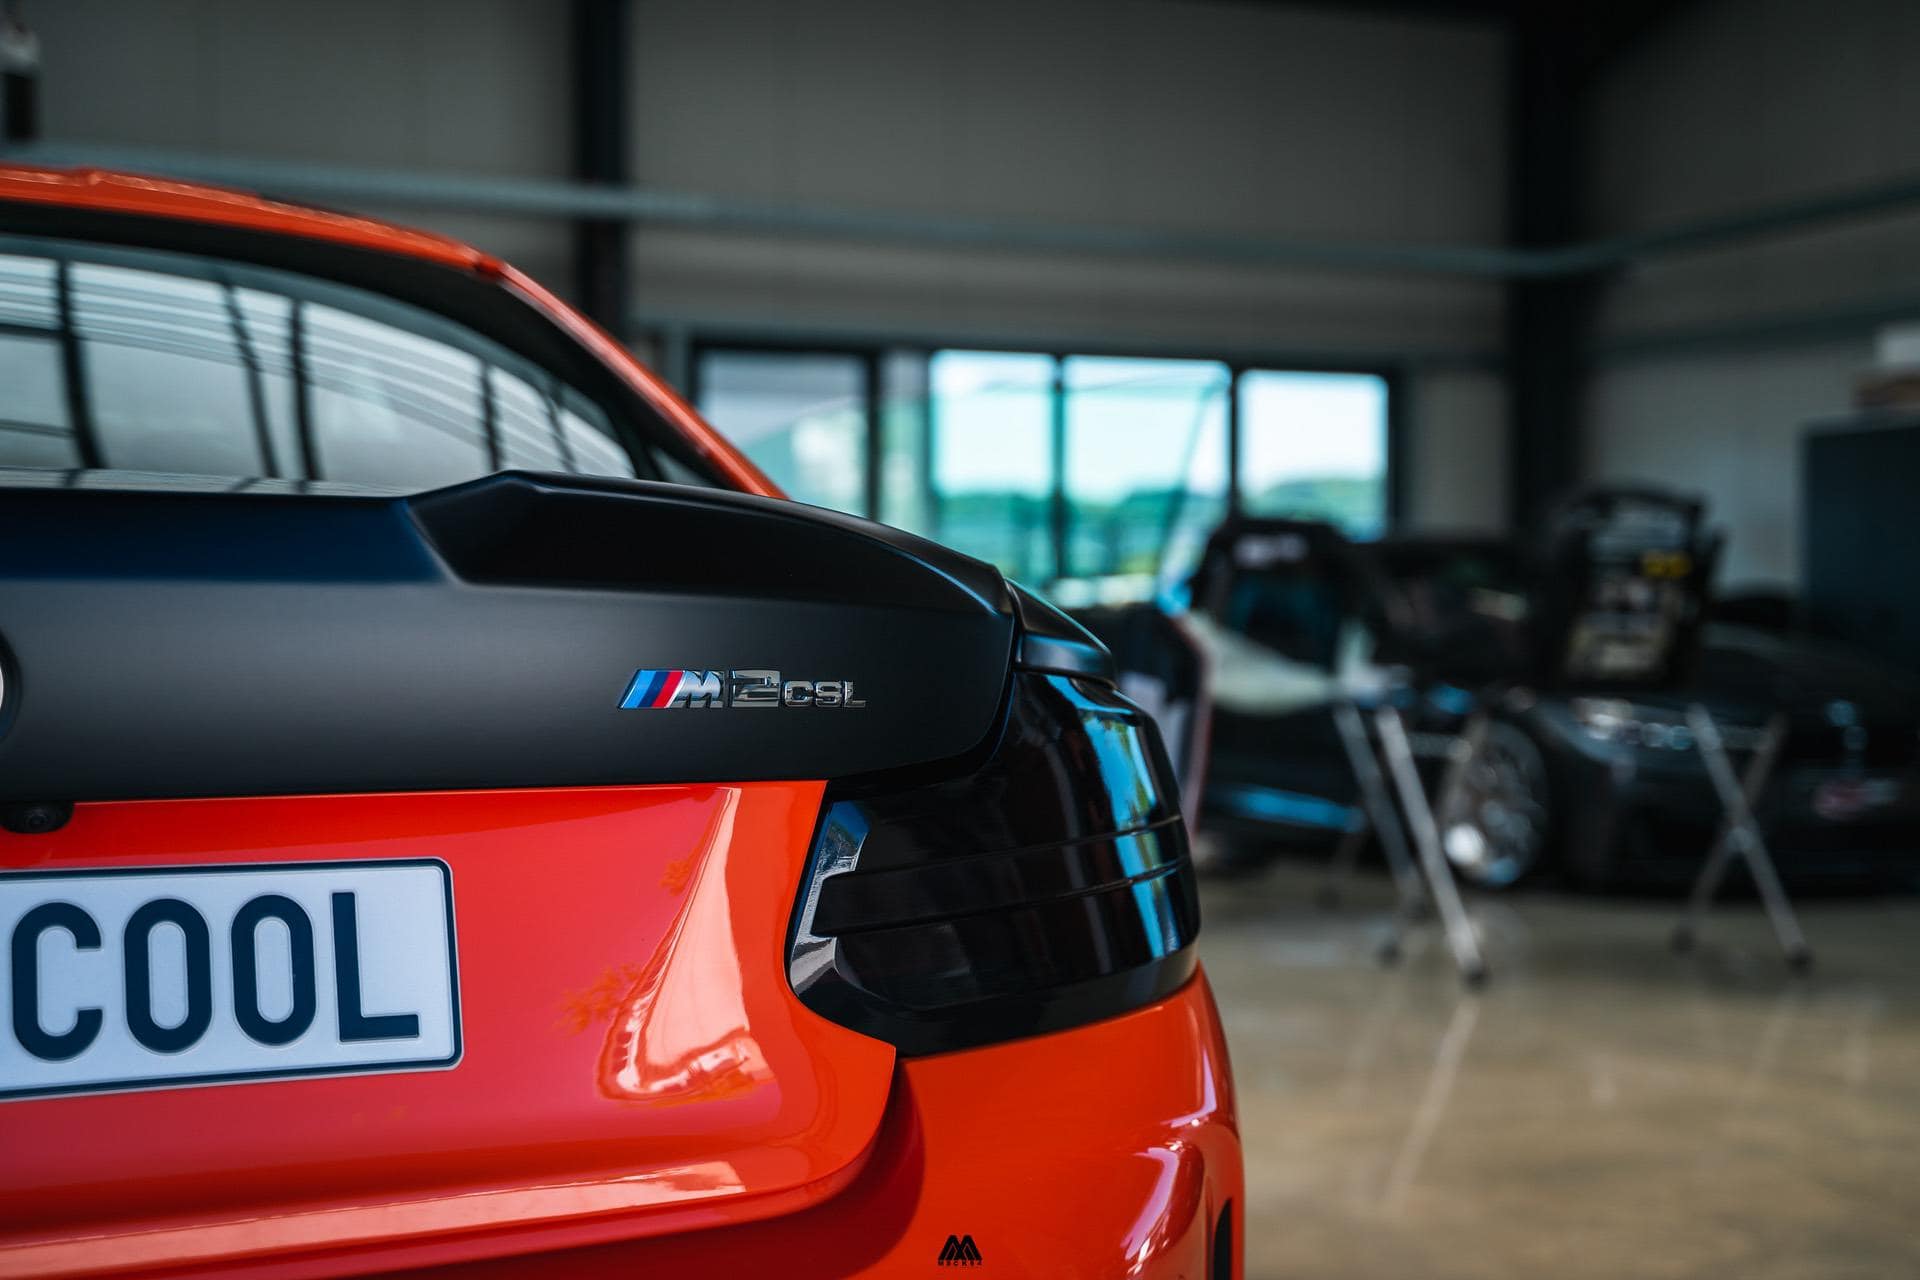
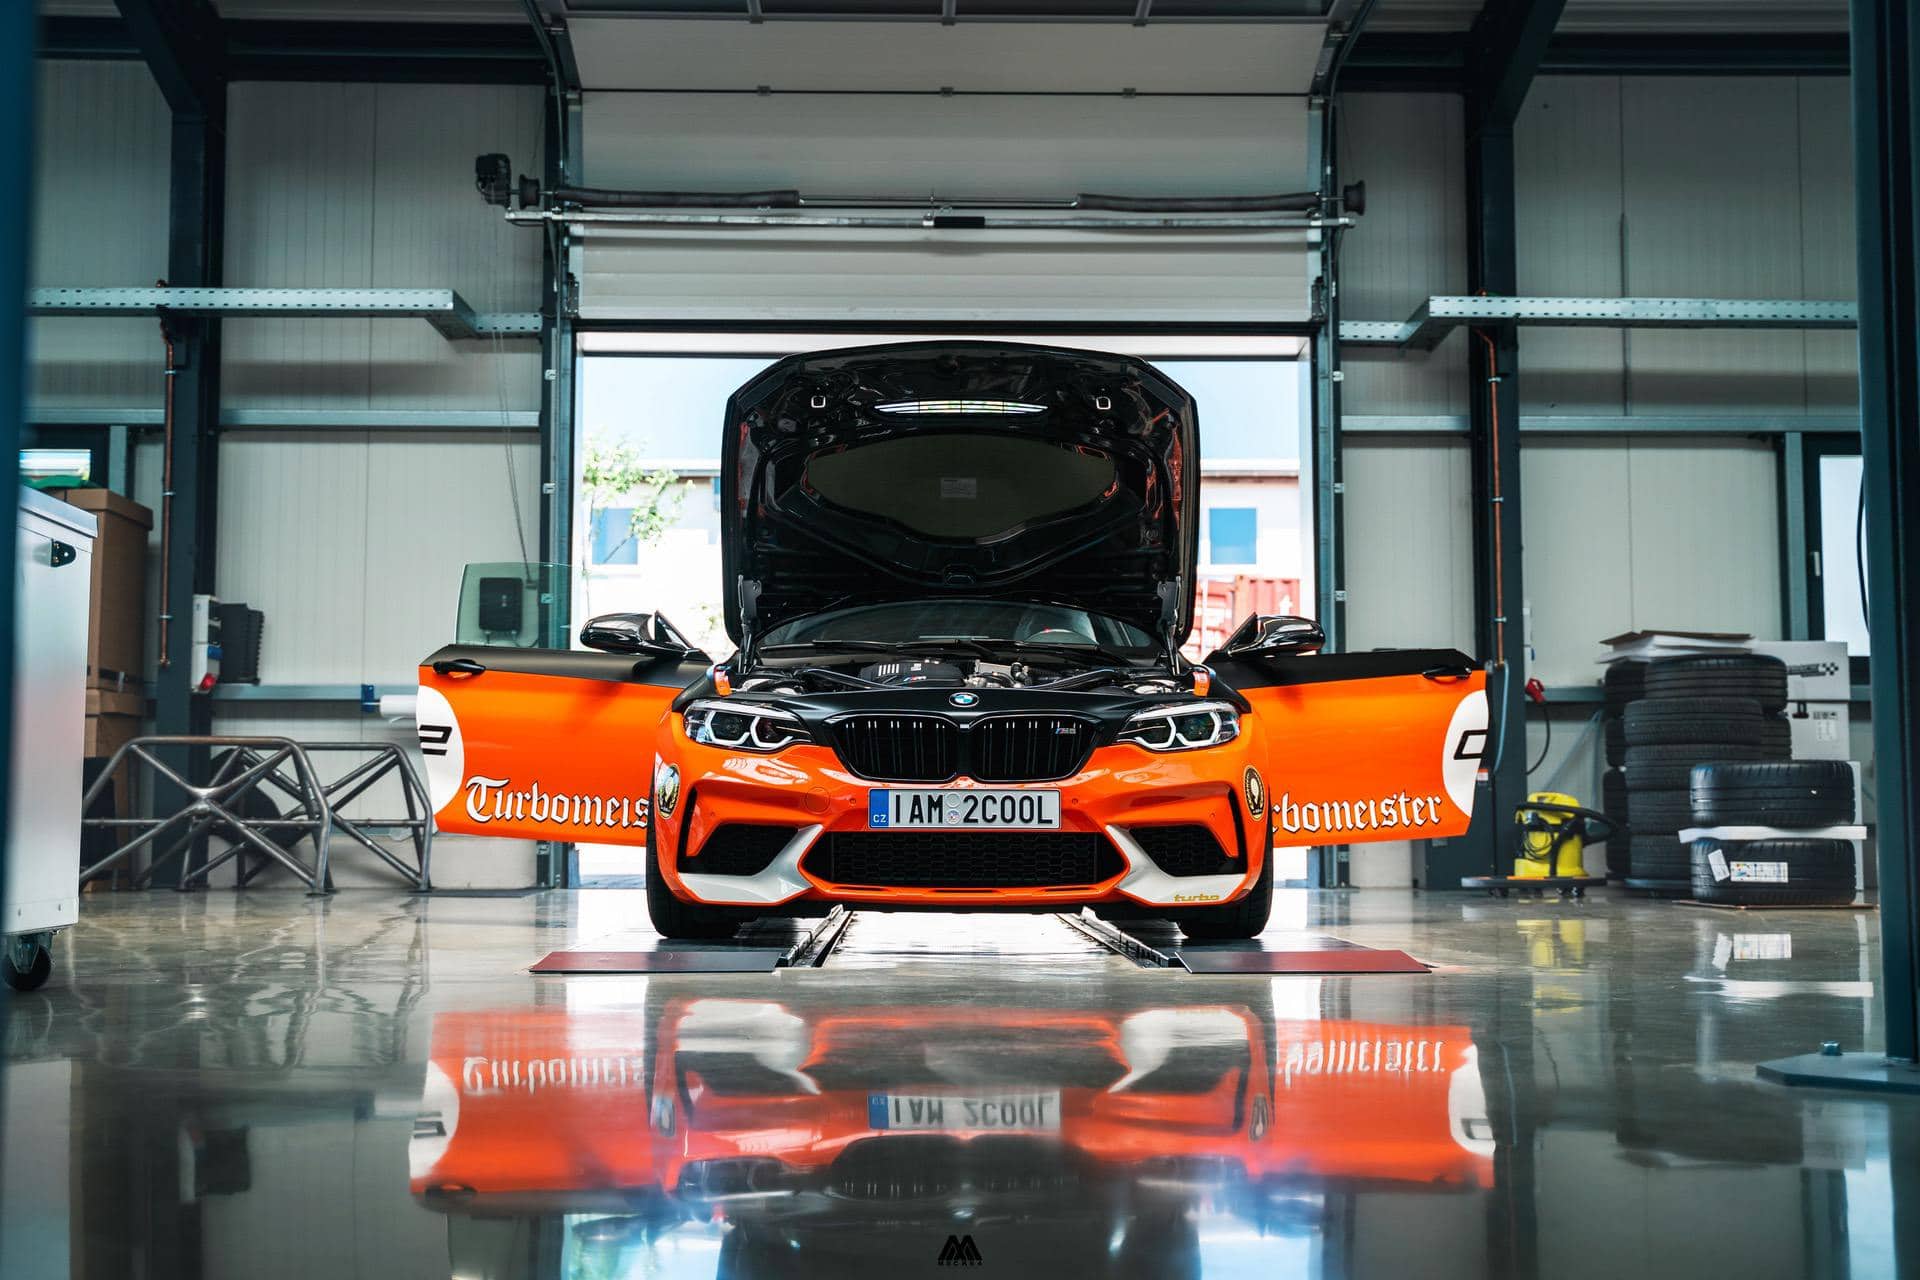
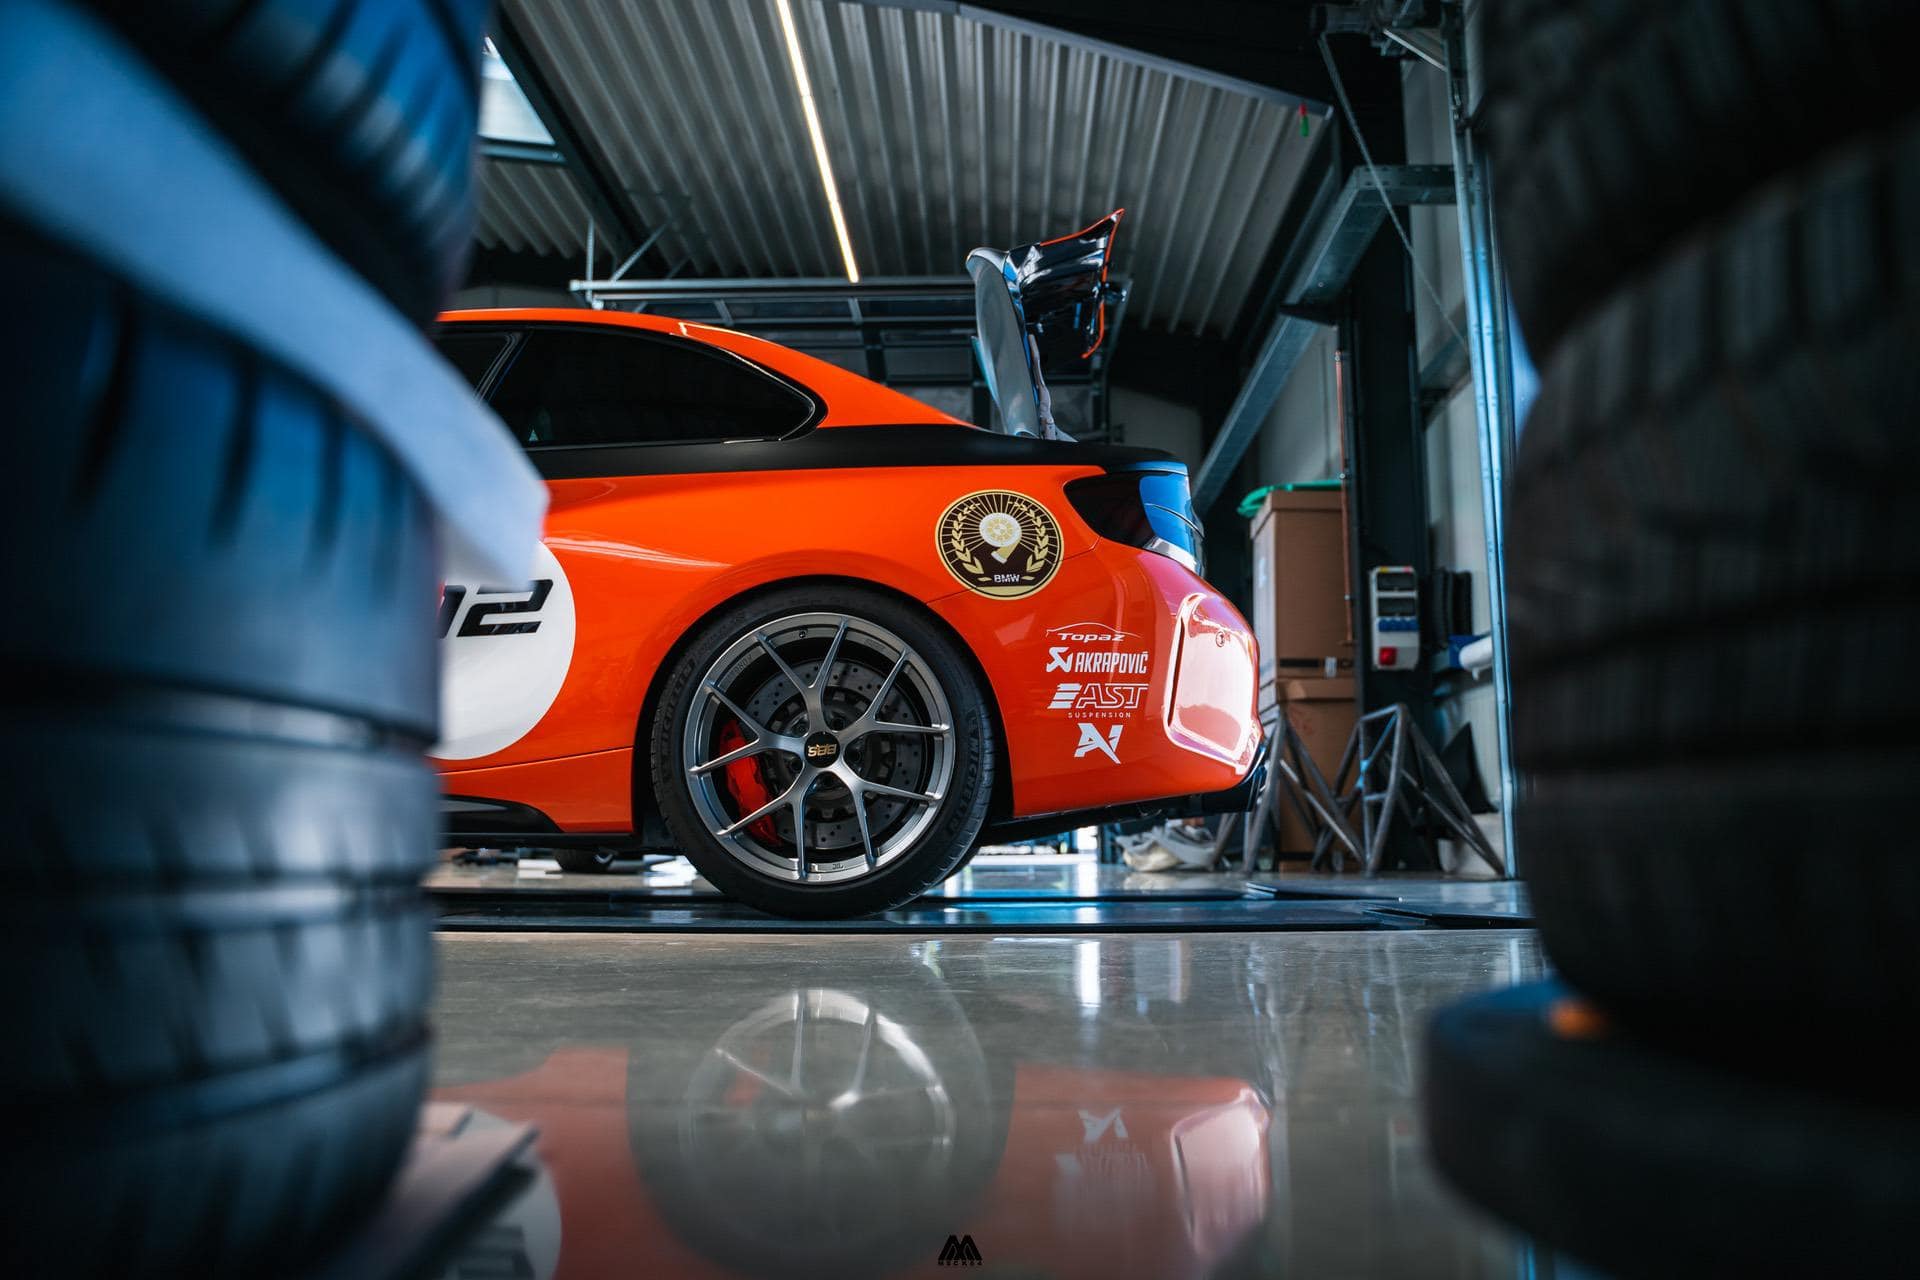
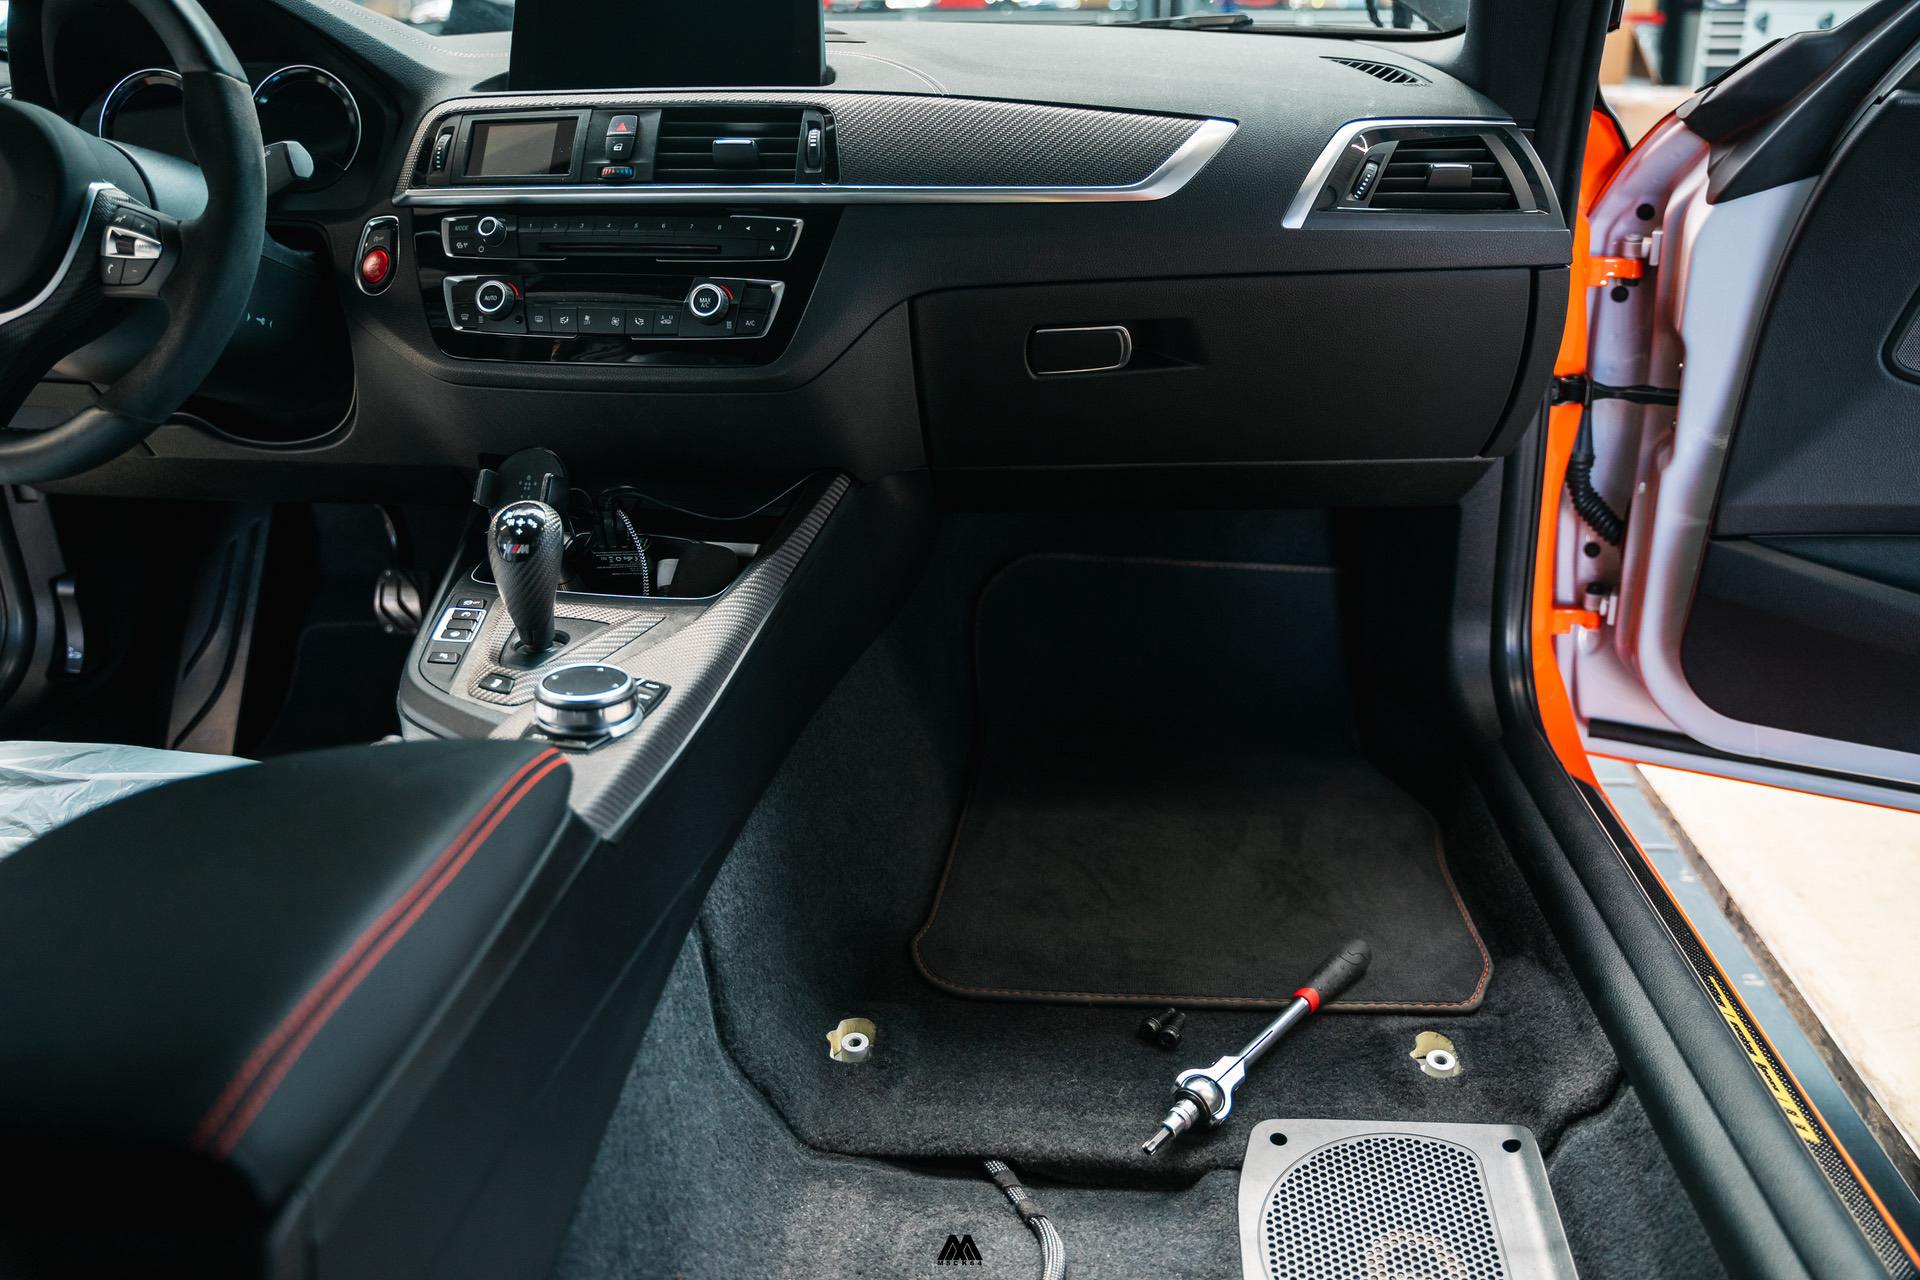
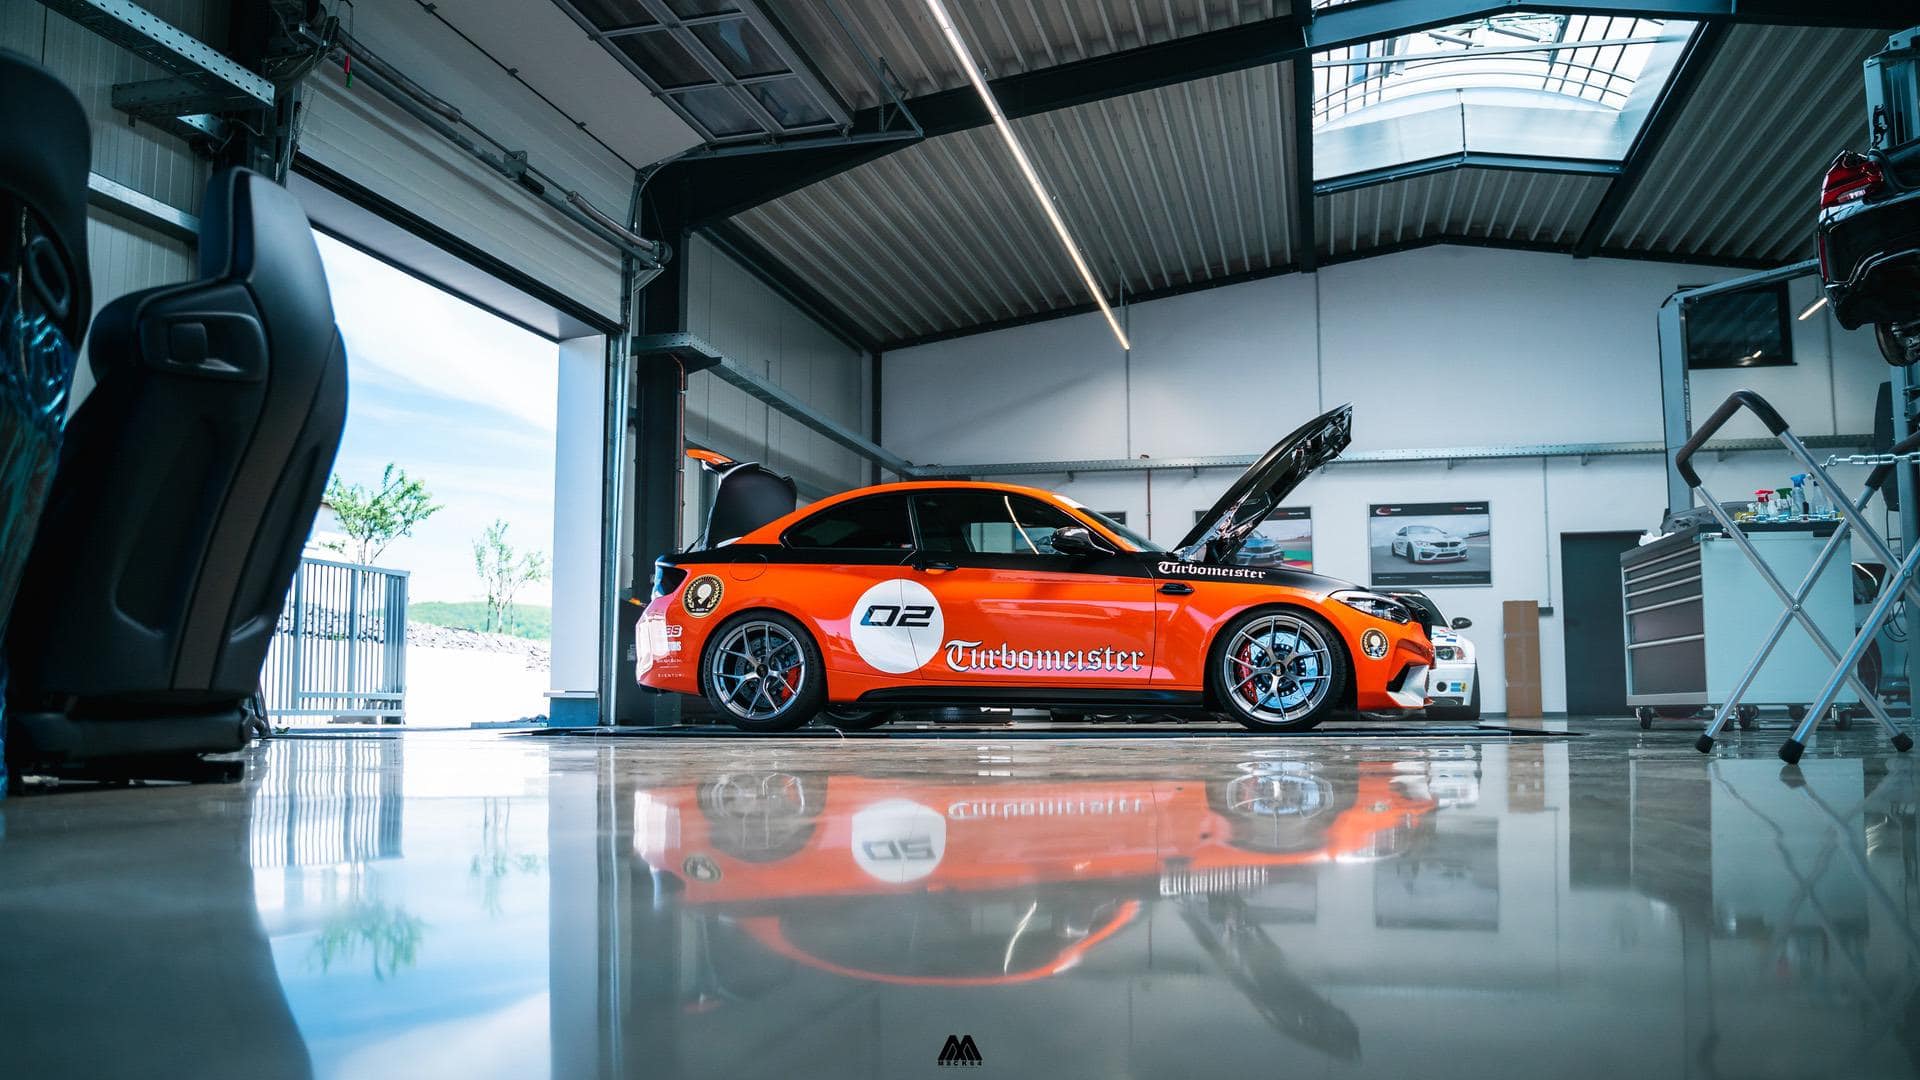
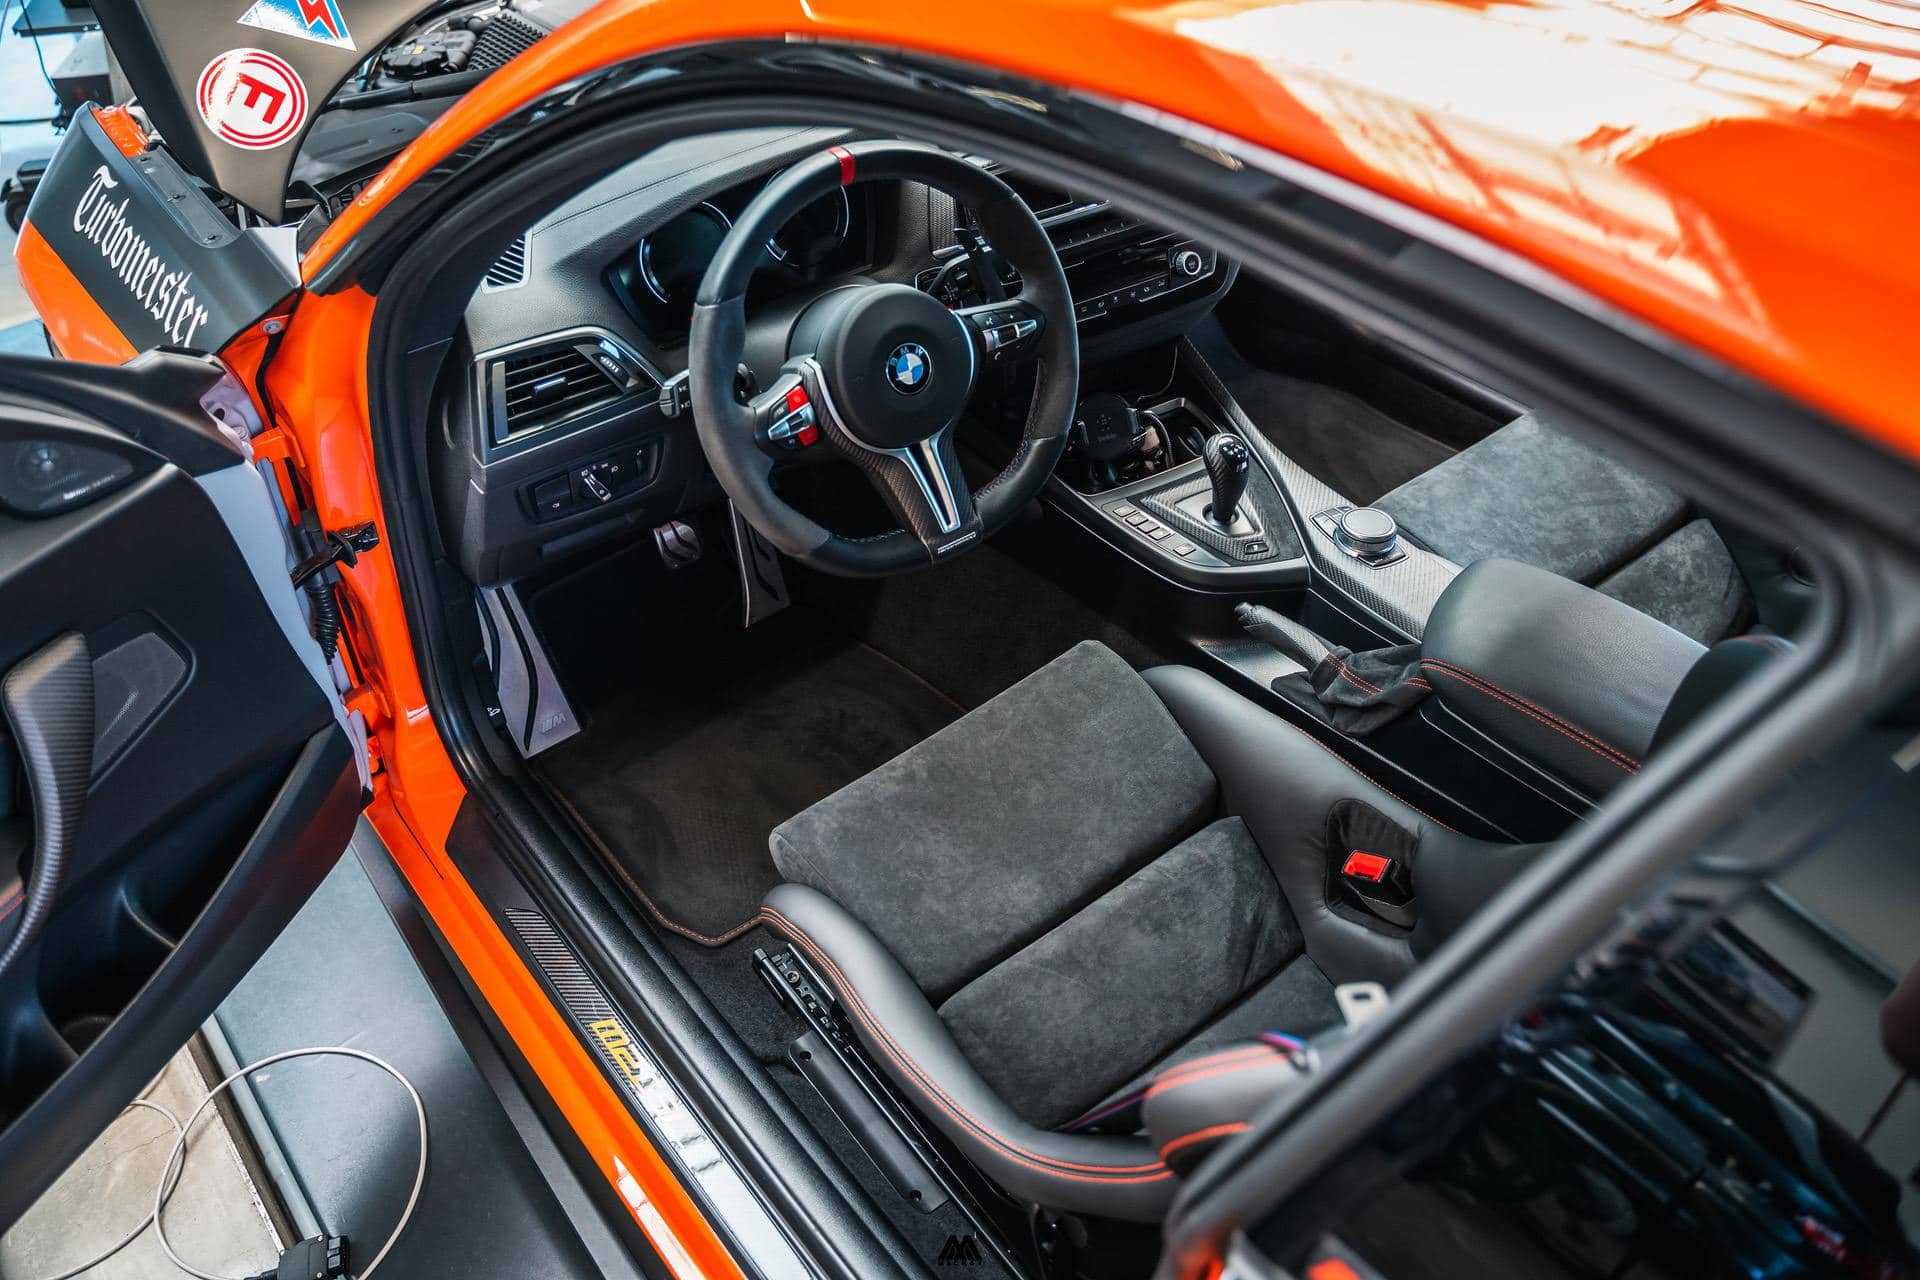
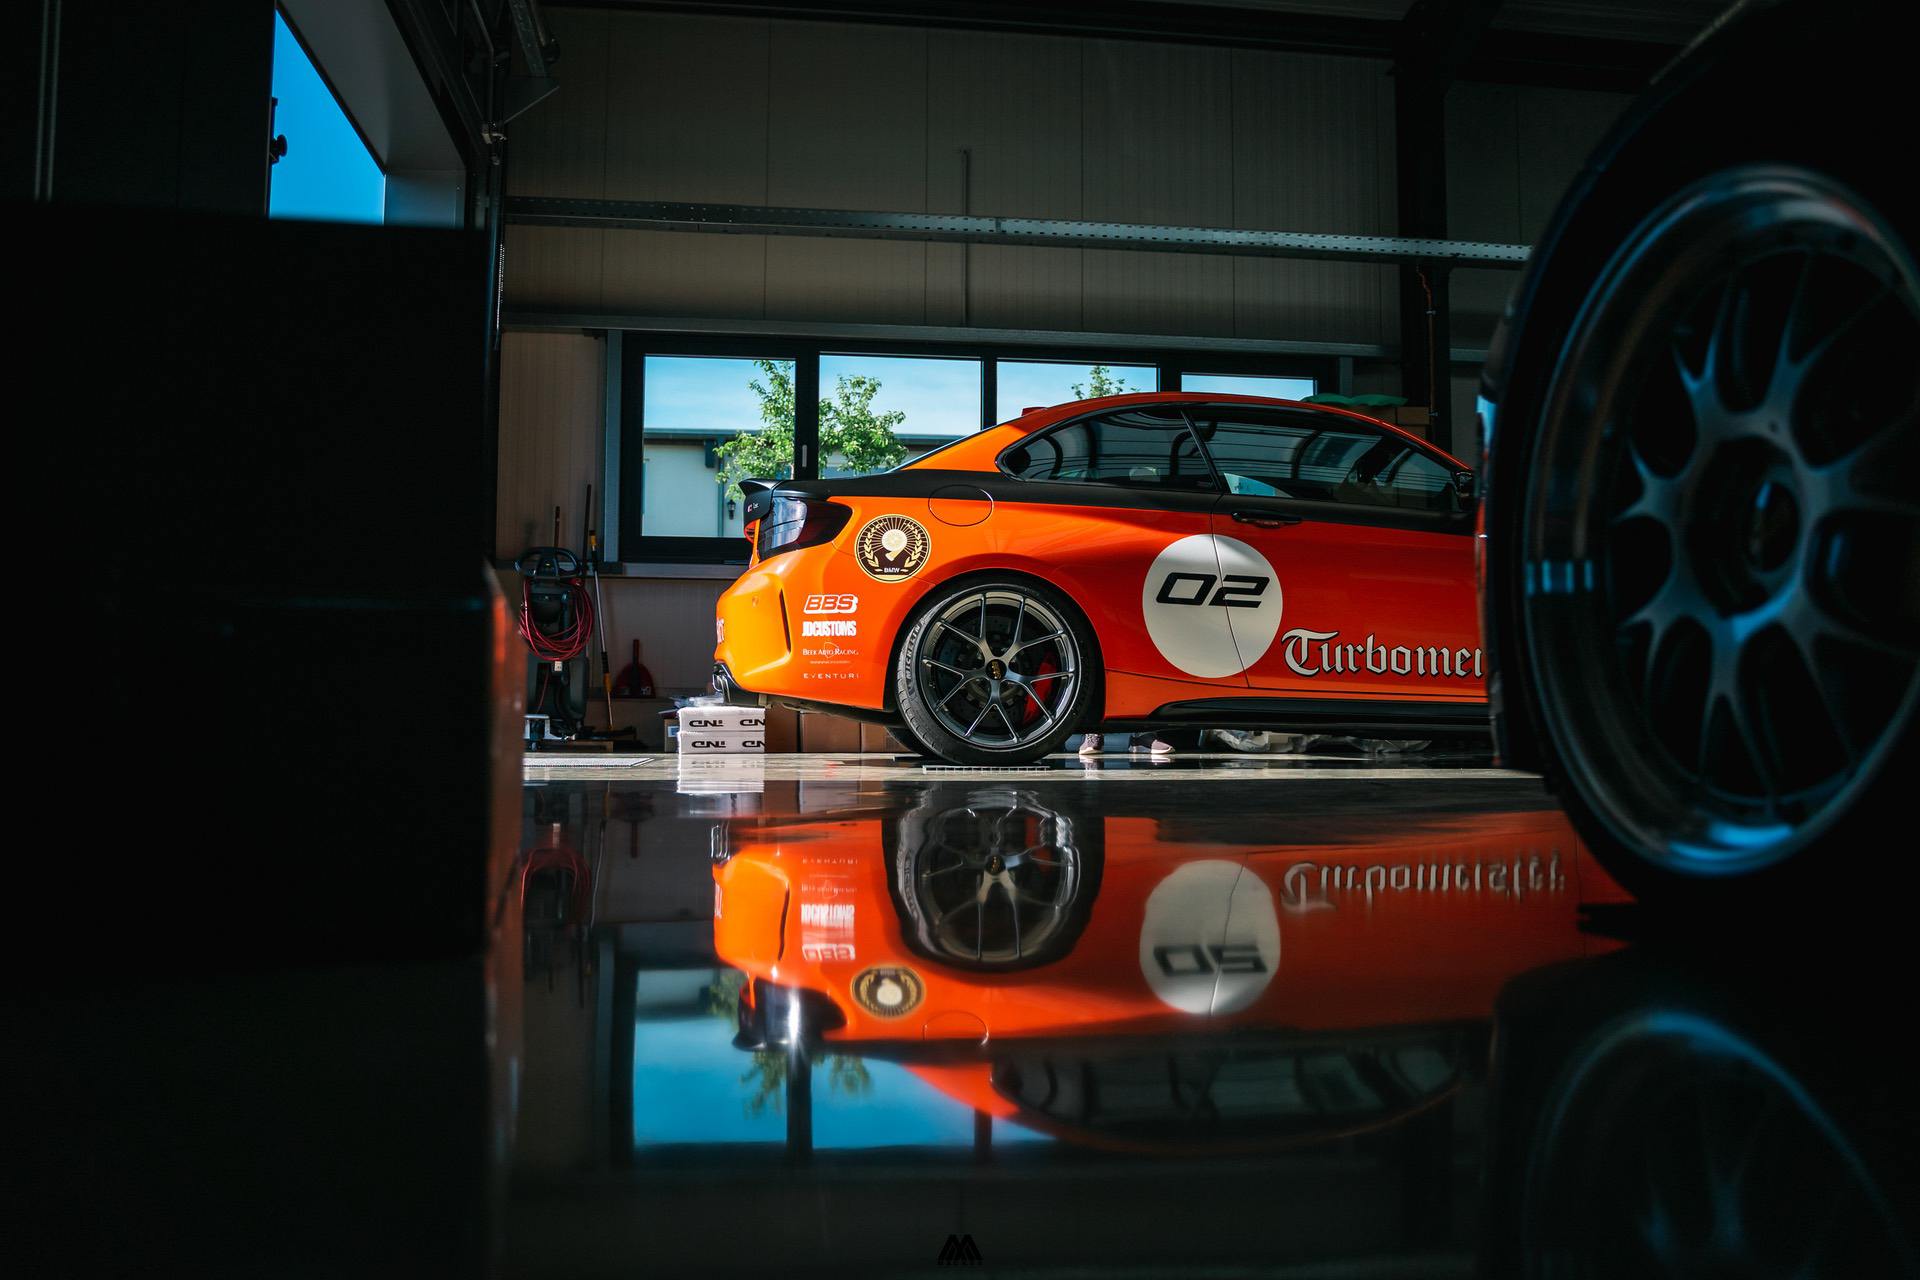
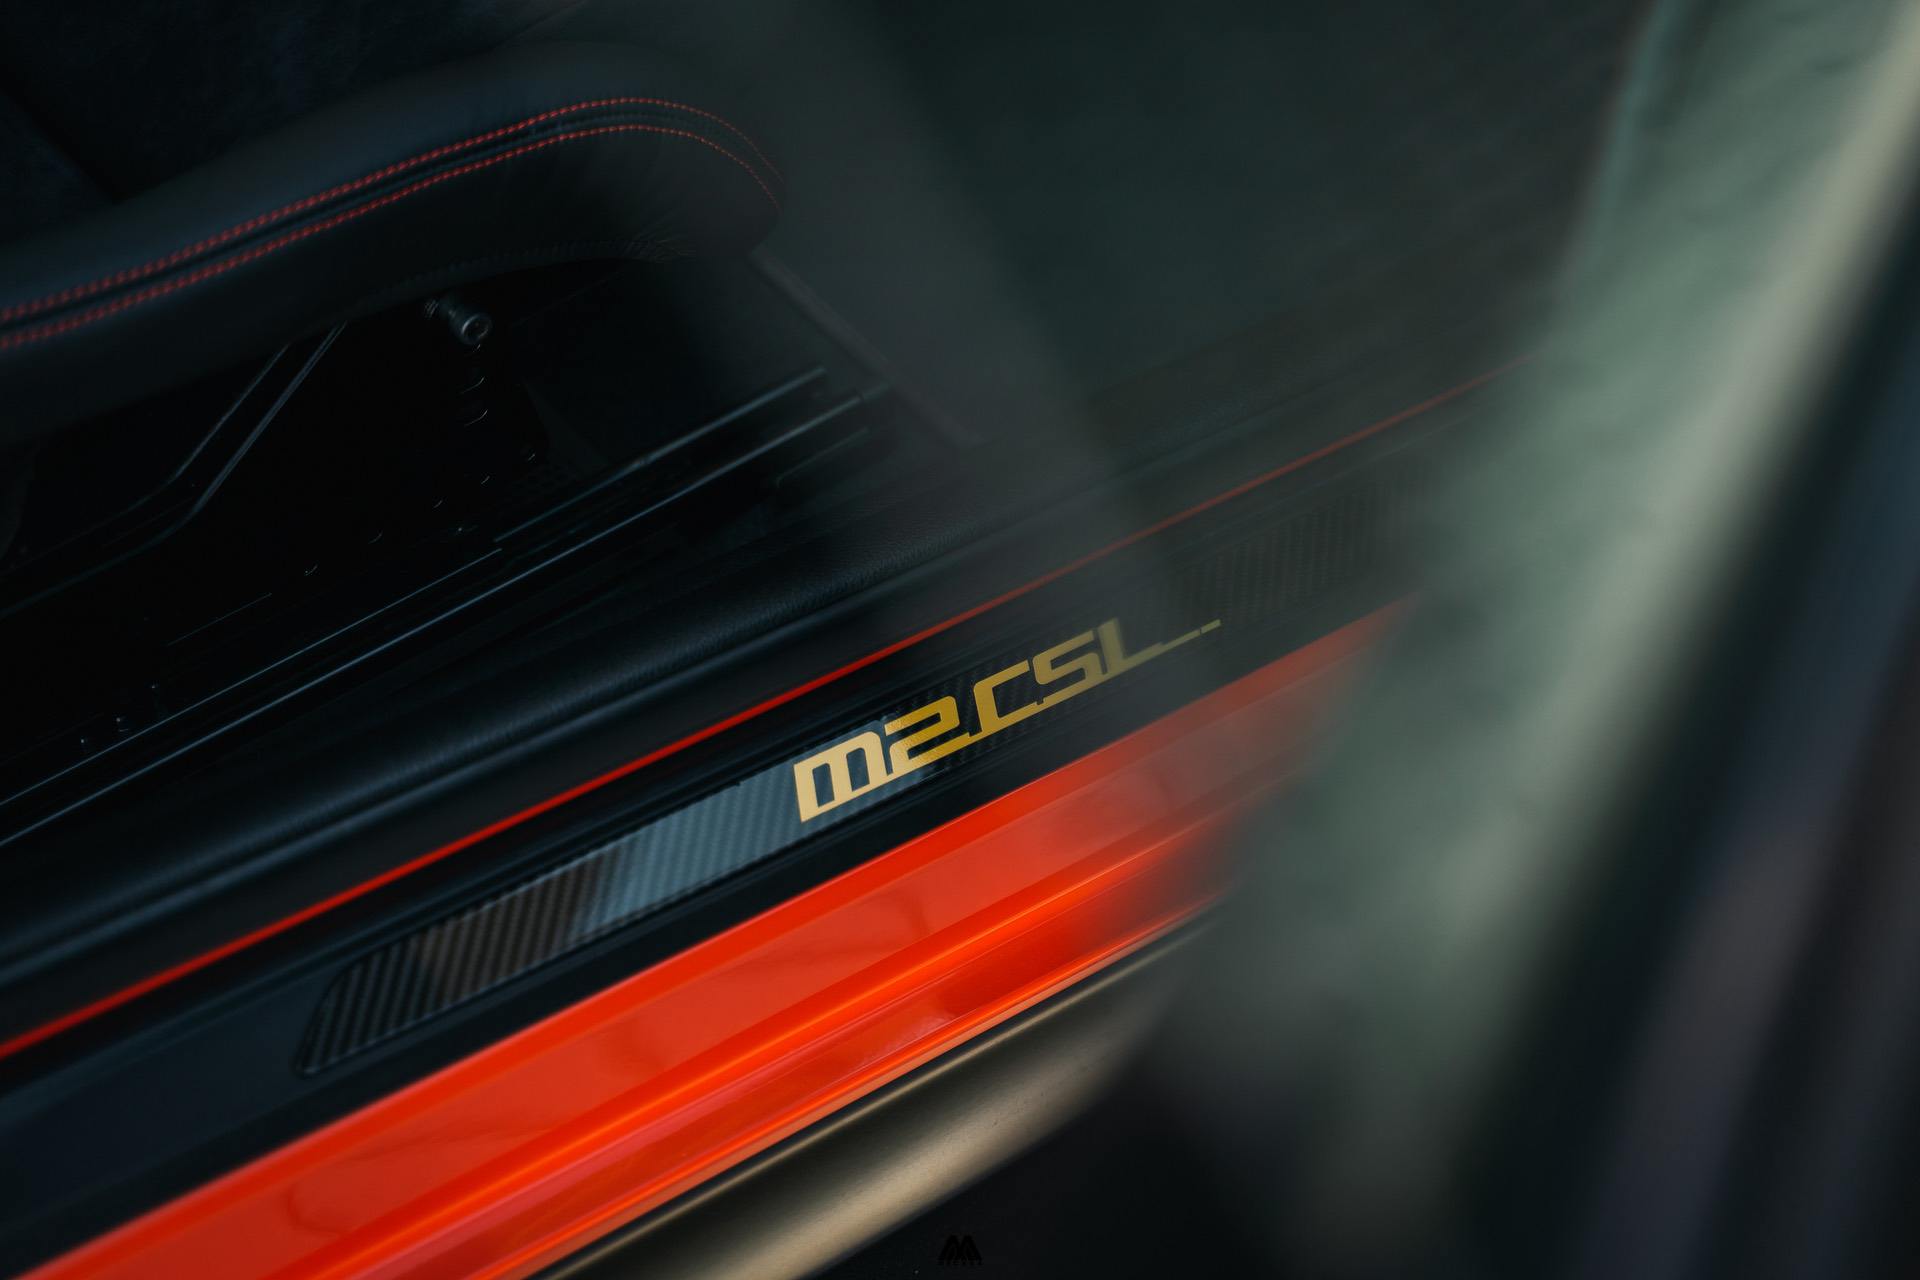
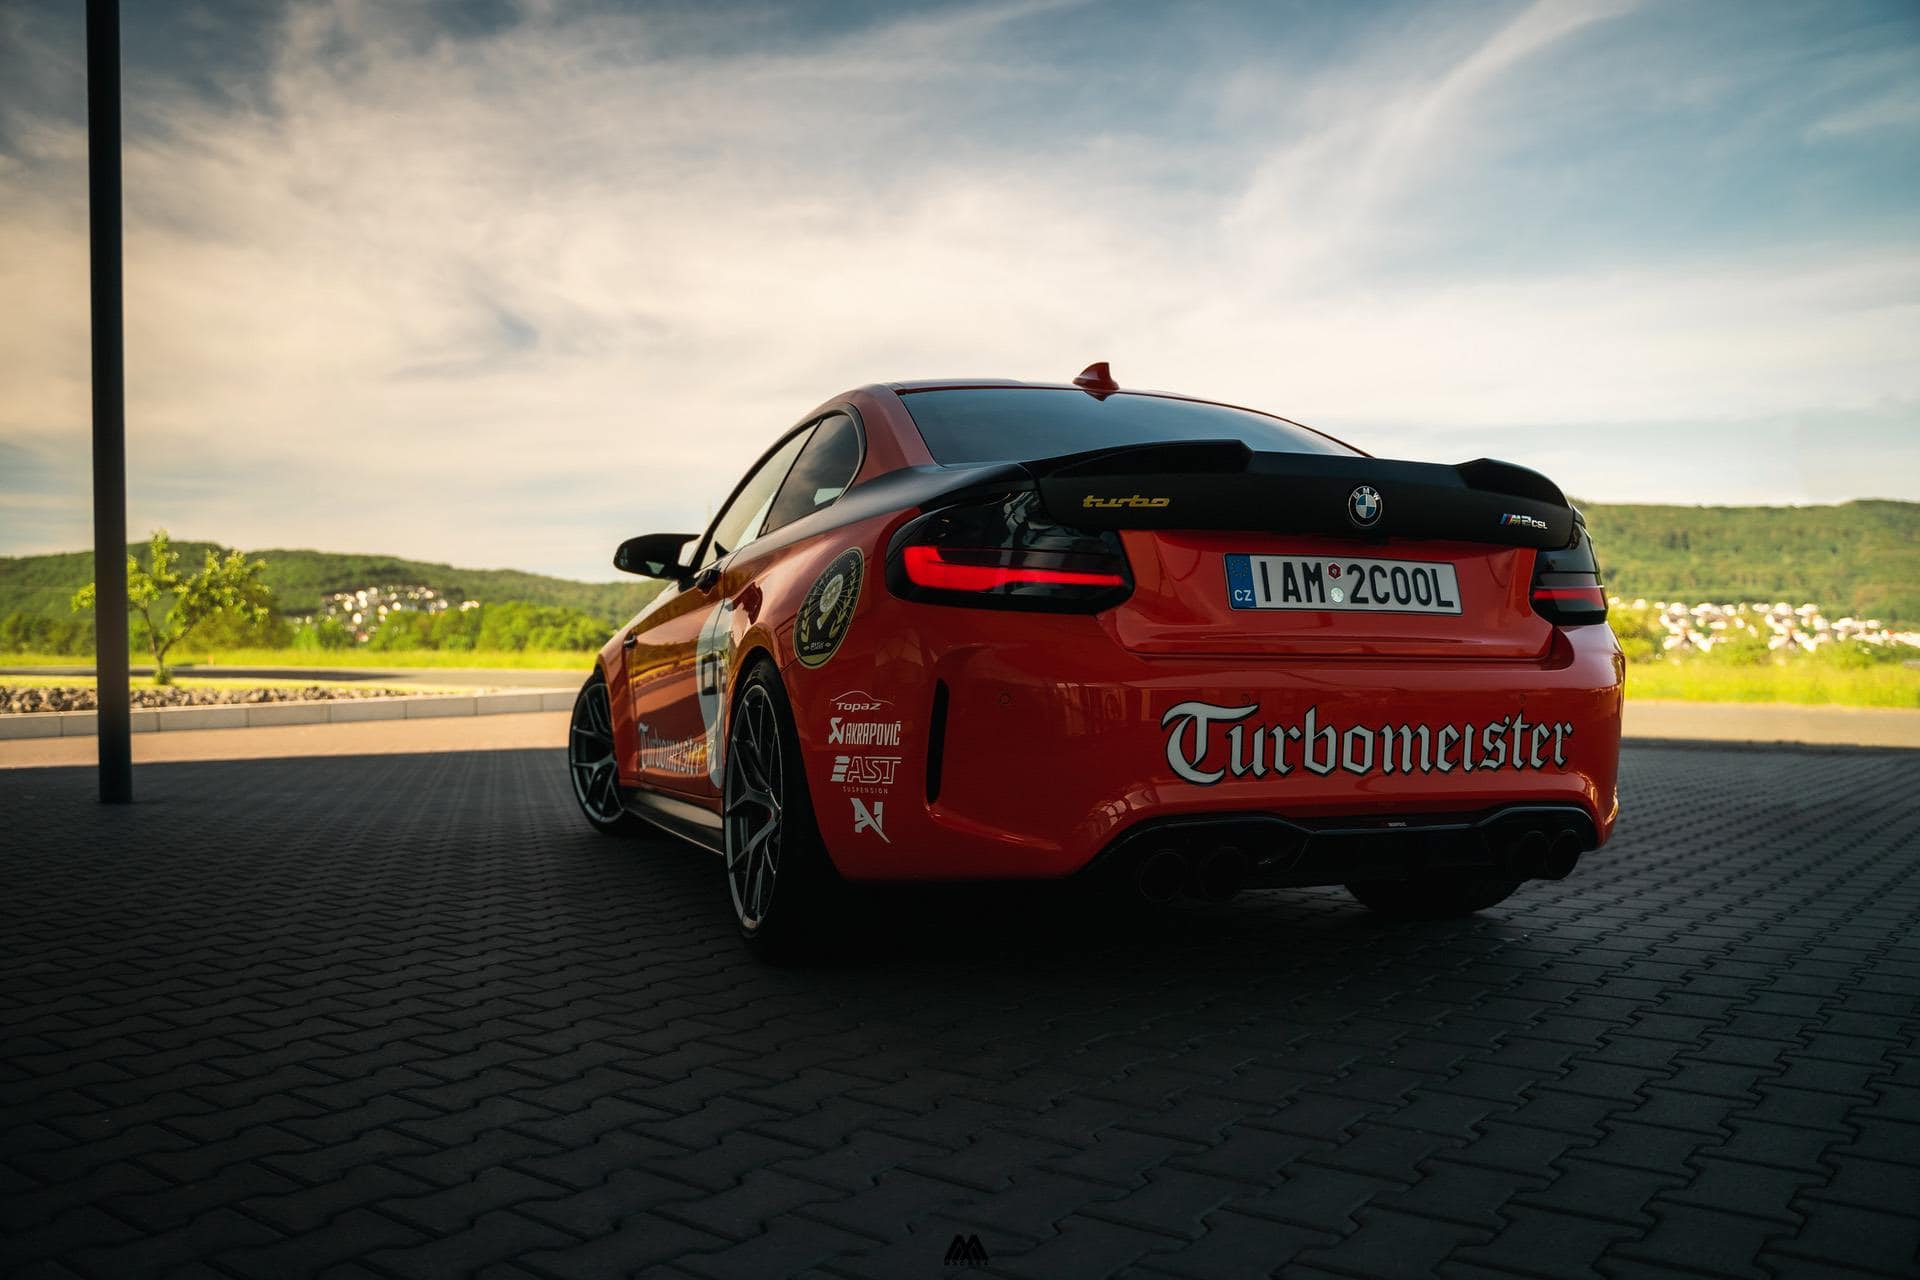
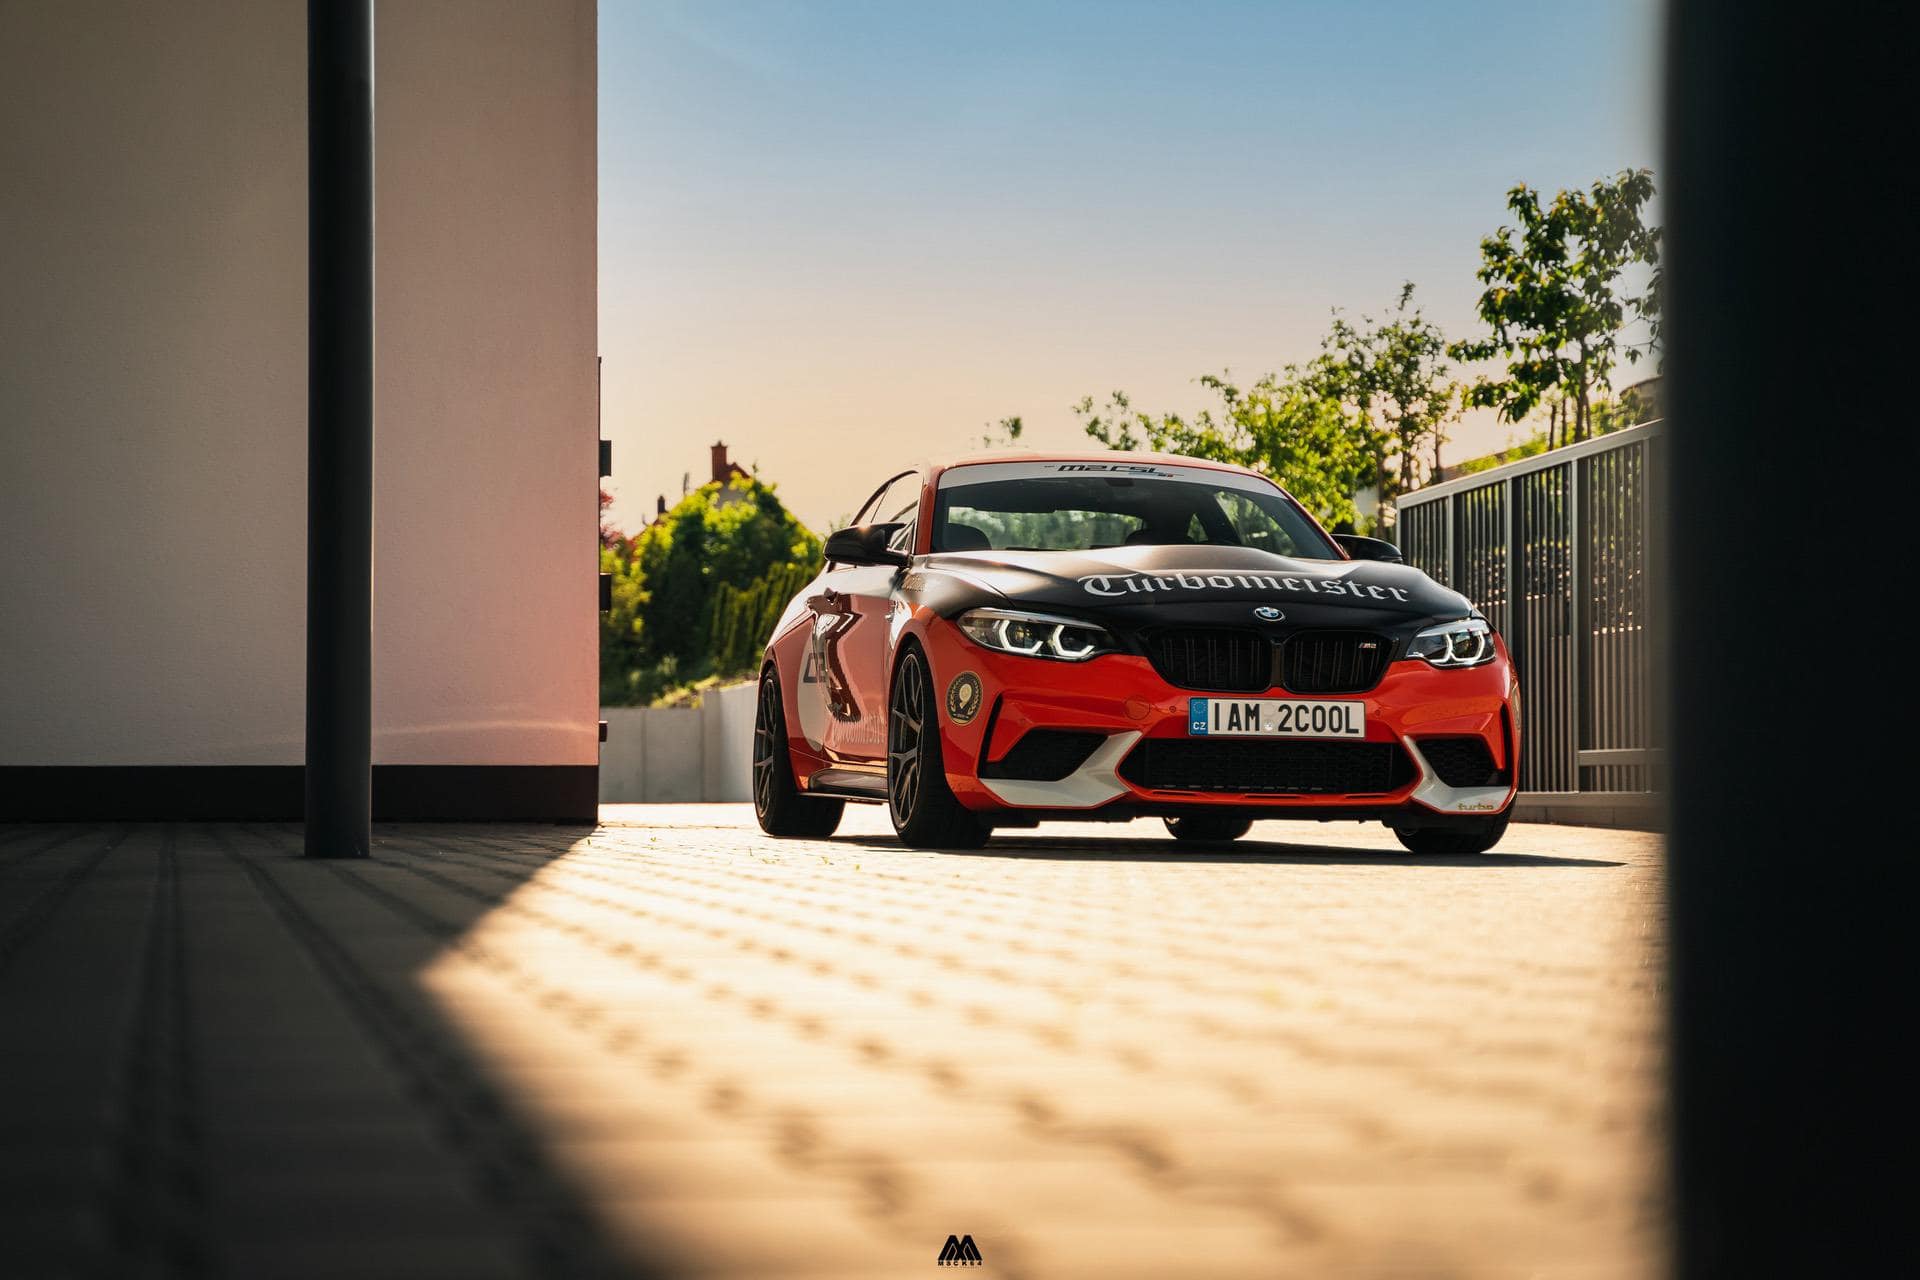
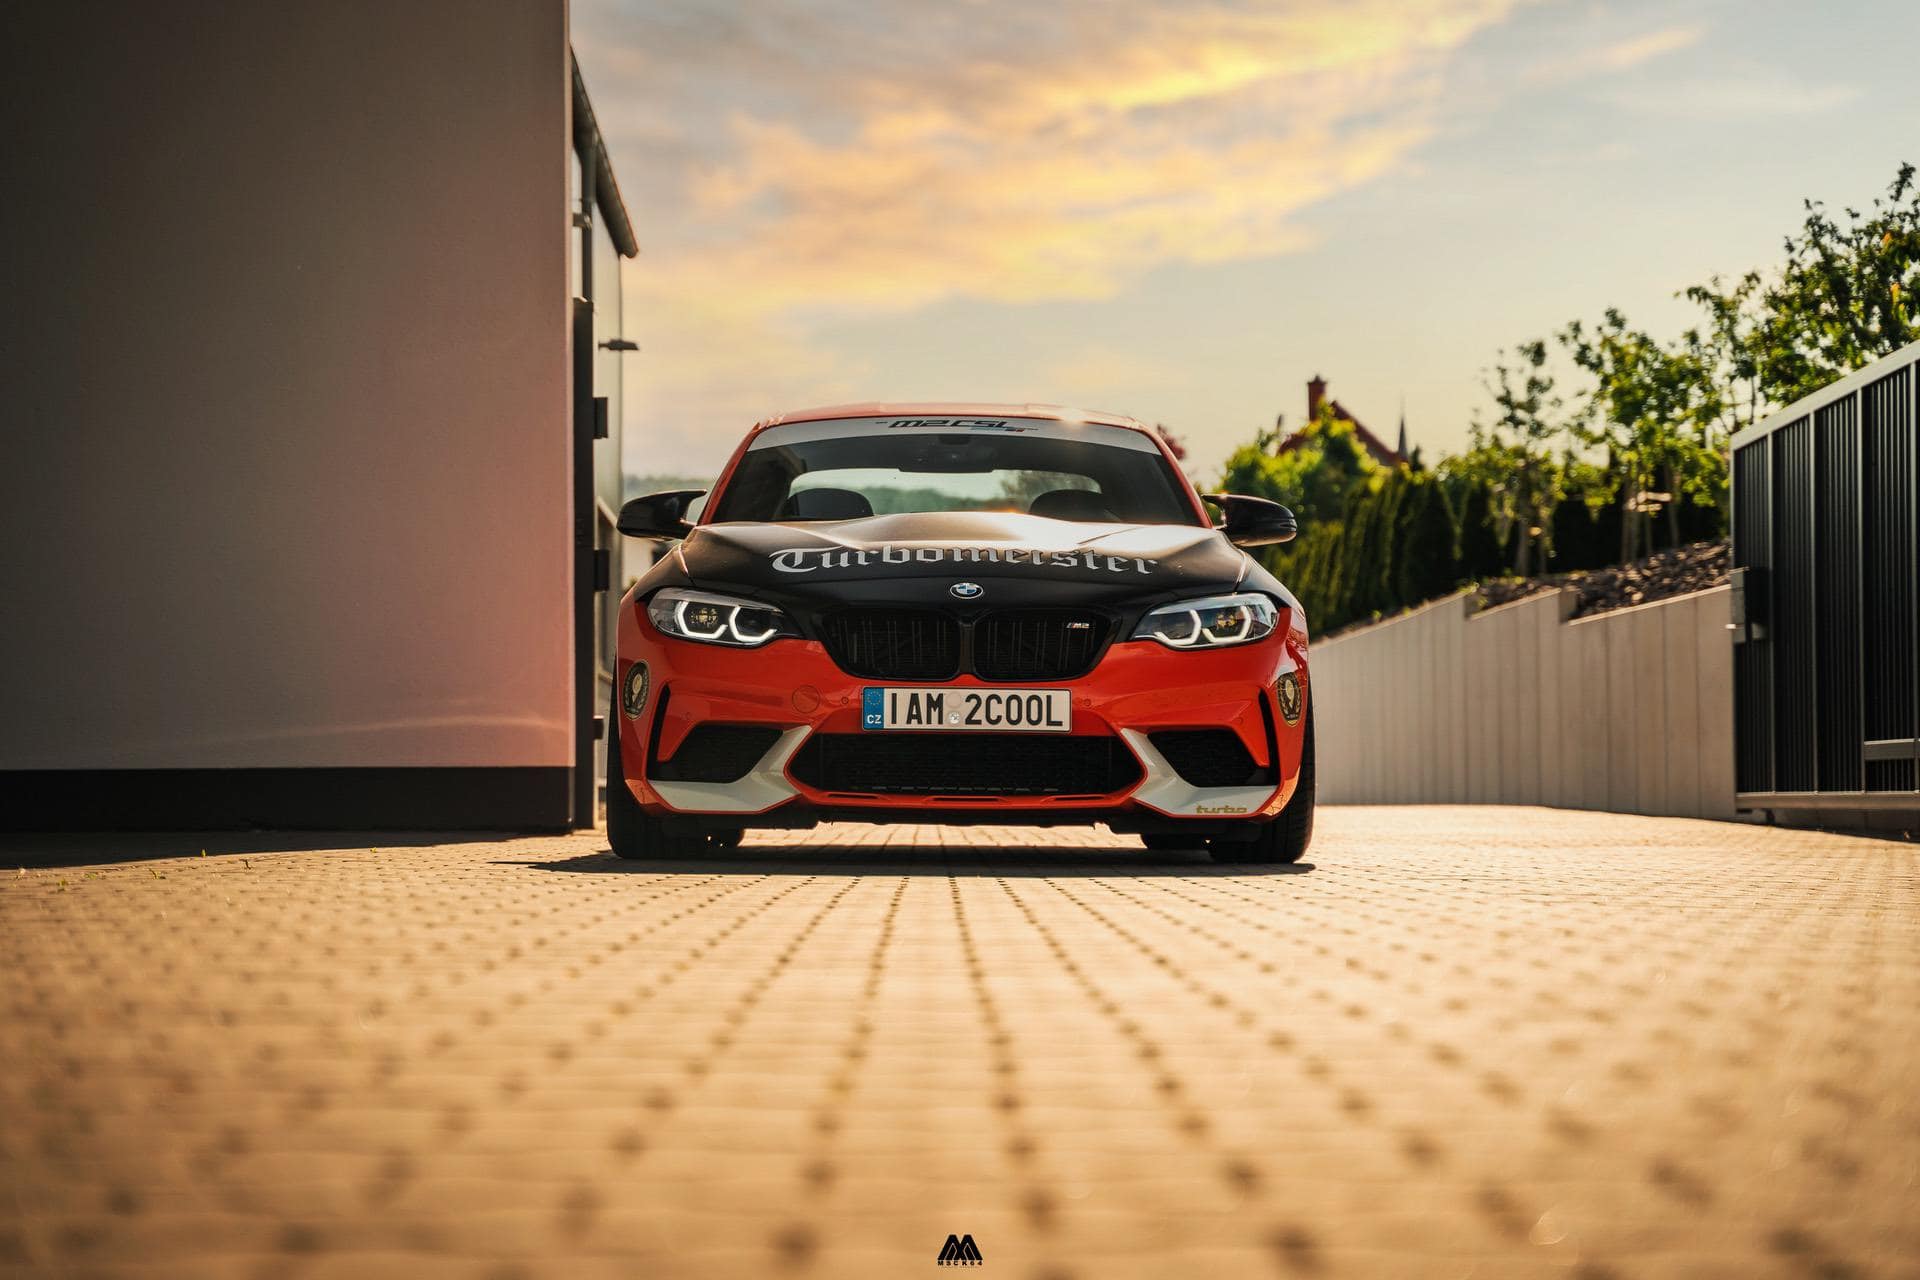
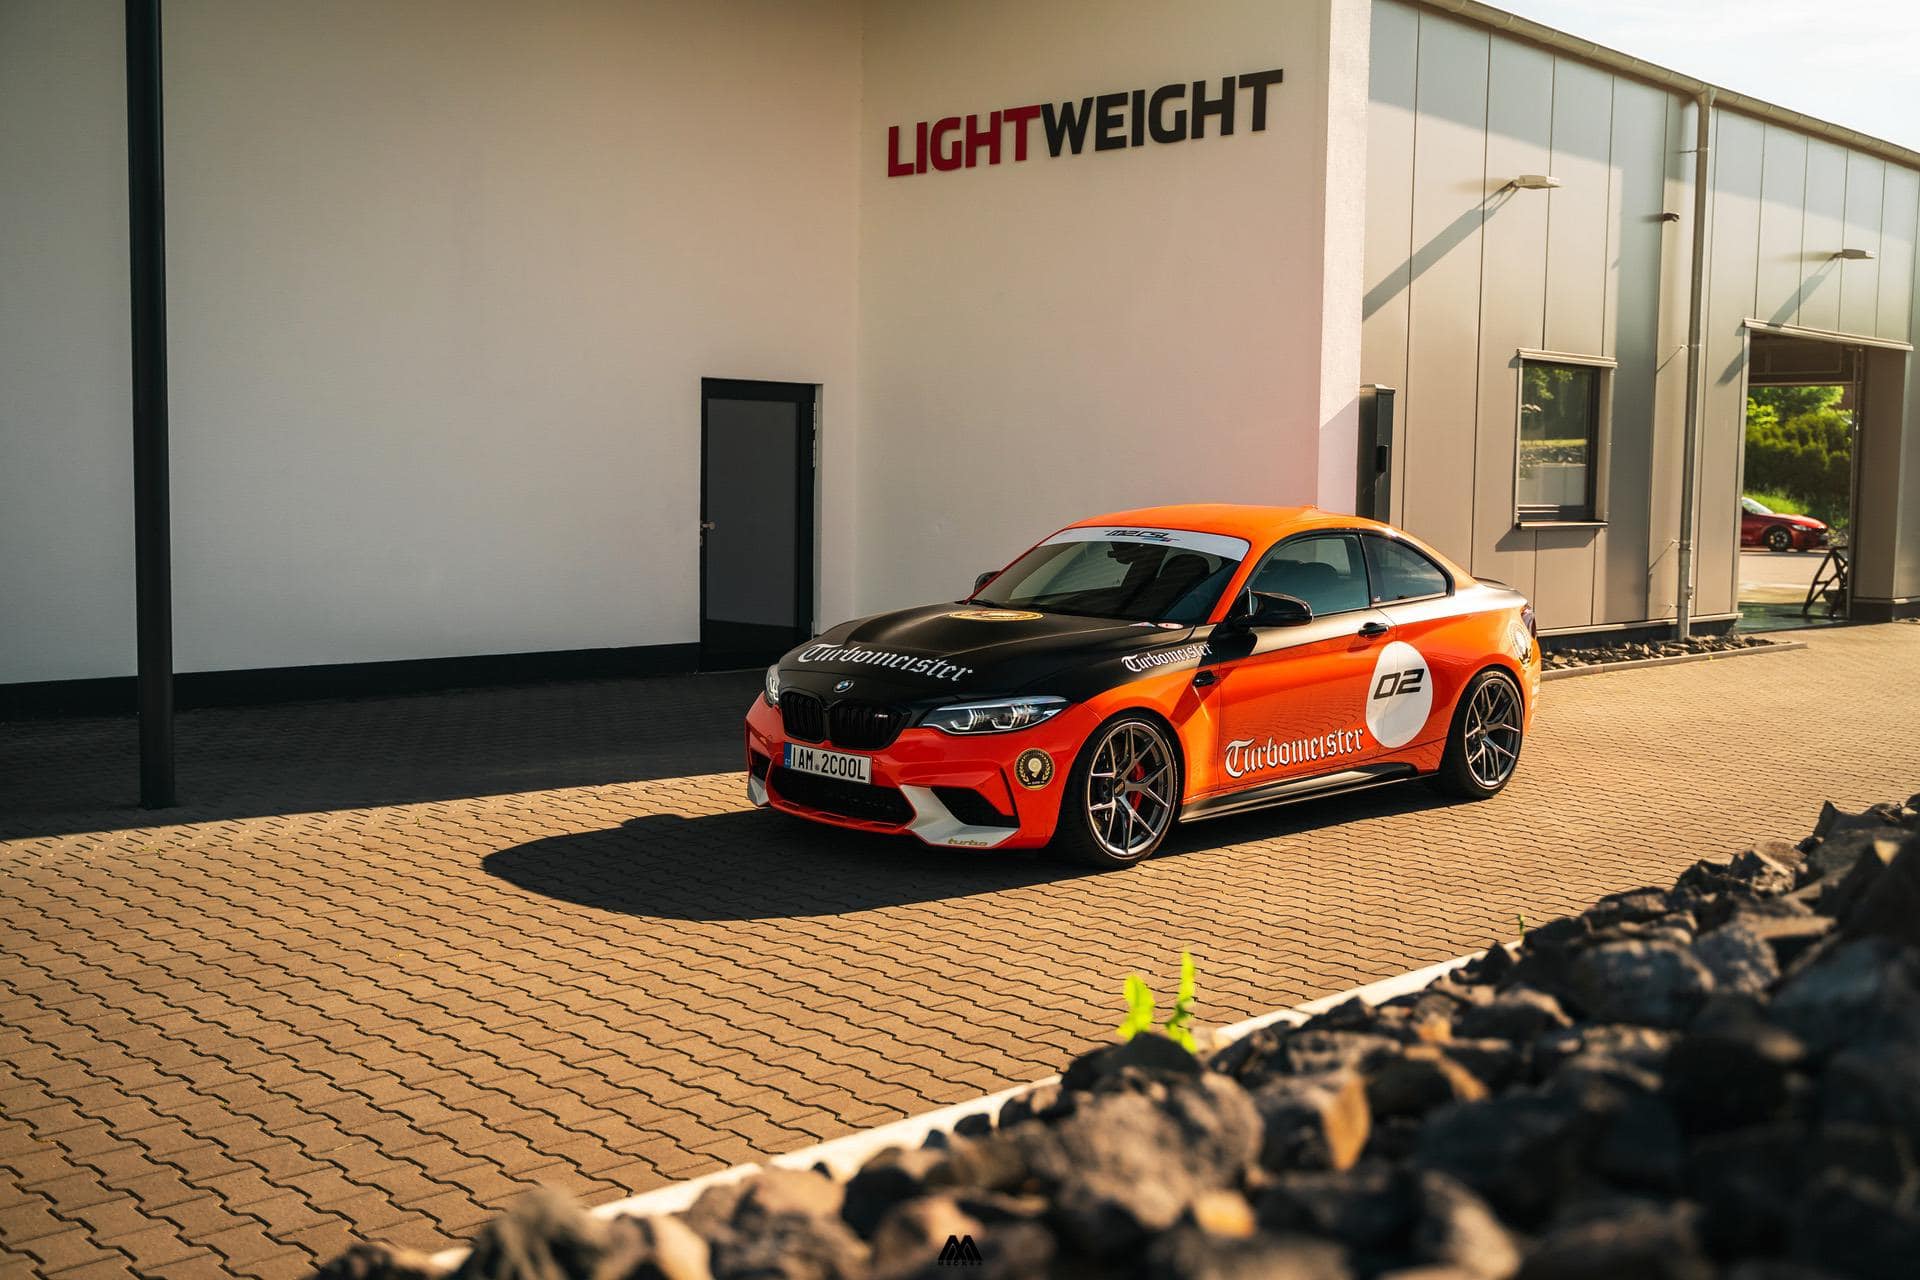
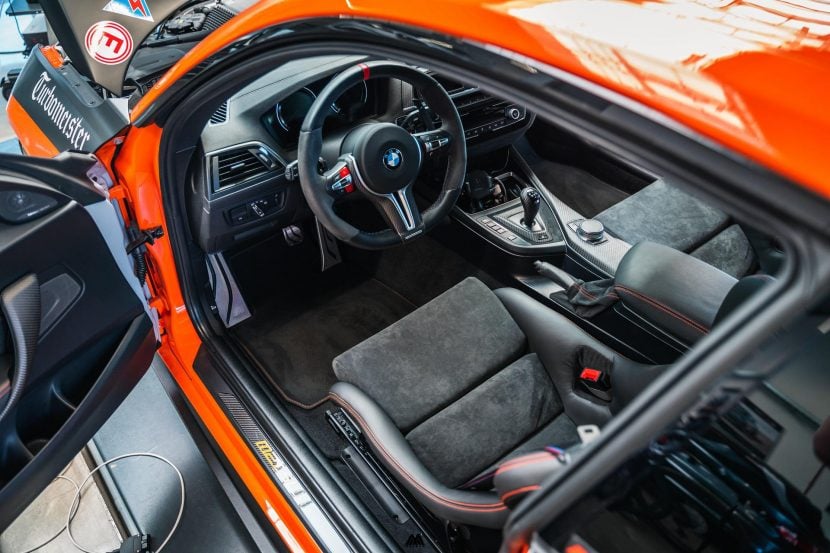
It certainly the time to write down my thoughts and experiences on the installation and sourcing of the right seats and parts, whilst also looking at options of matching the bucket seats to the interior of my M2. Let’s start the story with the fact that my vehicle is the only aftermarket “M2 CSL” in the world, created as a tuning project that would resemble the CSL and Turbomeister themes. This throwback required the installation of bucket seats into my base M2 Competition while also replacing the M Sport seats that came from factory.
Step 1: Choose your seat

The install step was the choice for a bucket seat. Across the market there is a wide range of seats available from brands like RECARO, SPARCO, Corbeau, Cobra, and many more. The choice is one you totally make in connection to your personal preference and simply what you like. Test fitting the seat would be a good idea to allow yourself some kind of familiarity before making your final choice.
It does however mean that you also need to be aware, which side mount adapter brackets, seat sliders and consoles you choose and the height you want to position yourself in the car. Check with the manufacturer of the seat if they have these parts available. Not every brand offers a standard fitment kit for every single car and therefore it is key to investigate this first before continuing.

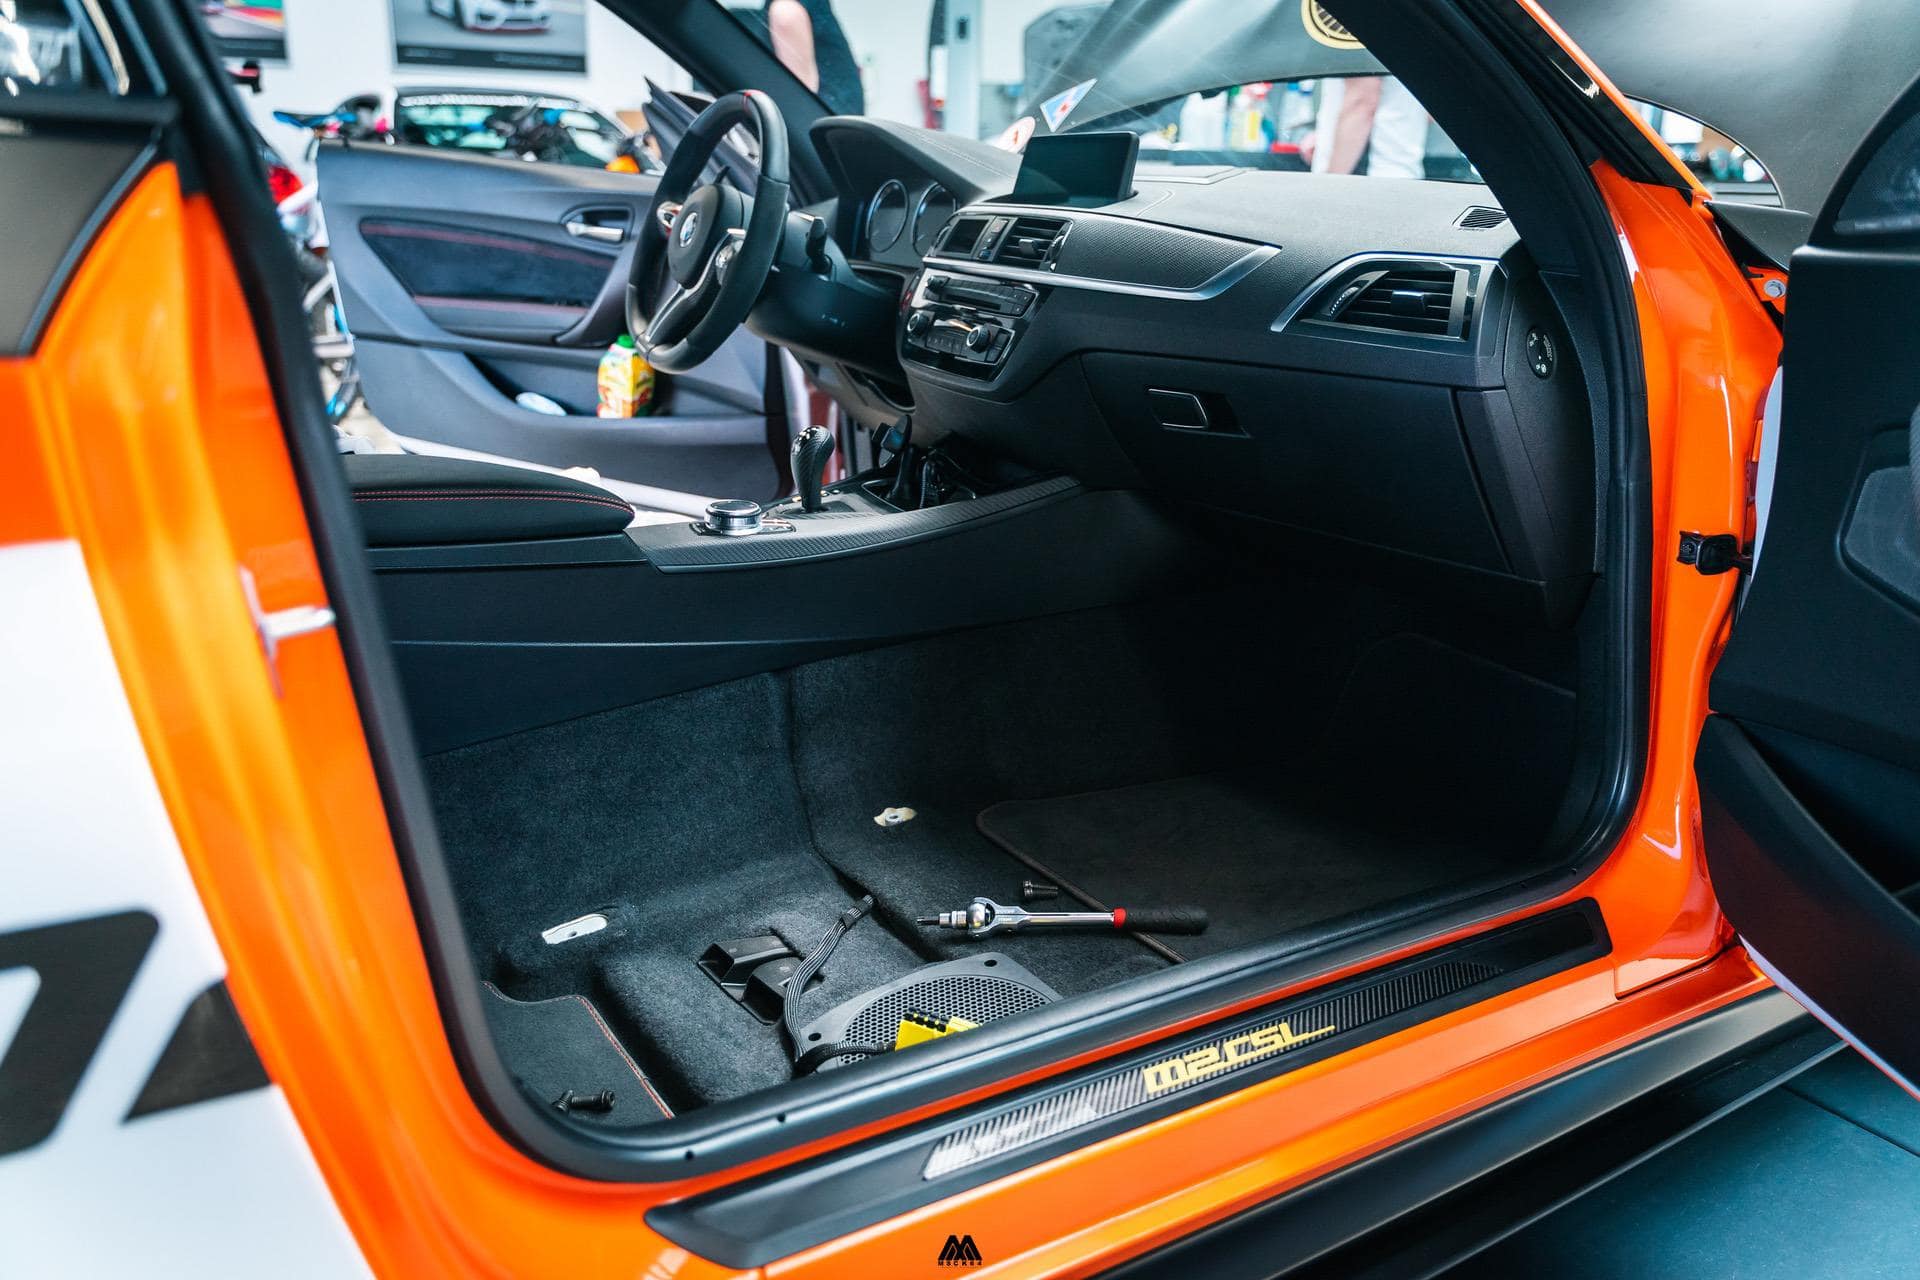
Additionally, it is good to measure the height and position of the standard seat in your car before moving forward. Put the stock seat in the lowest position and measure from the top of the seat cushion (take the lowest position in the seat) to the floor of the car, therefore allowing you to measure the height of your seating position. In other words, measure the seating height from the floor of the cabin to the lowest position where your butt hits the seat cushion. This will be your base level set up, which you will use as a reference.

In my case, my M2 Competition was running the base M sports seats, which offer a height of 12 cm from the floor of the cabin to the place where your butt hits the seat cushion. This was my reference point to determine my seating position in the car. The reason I chose this method was because the standard seats can be adjusted in height quite easily. The bucket seats however have four bolts which go into side mounts, which make adjusting the seat a lot more difficult.
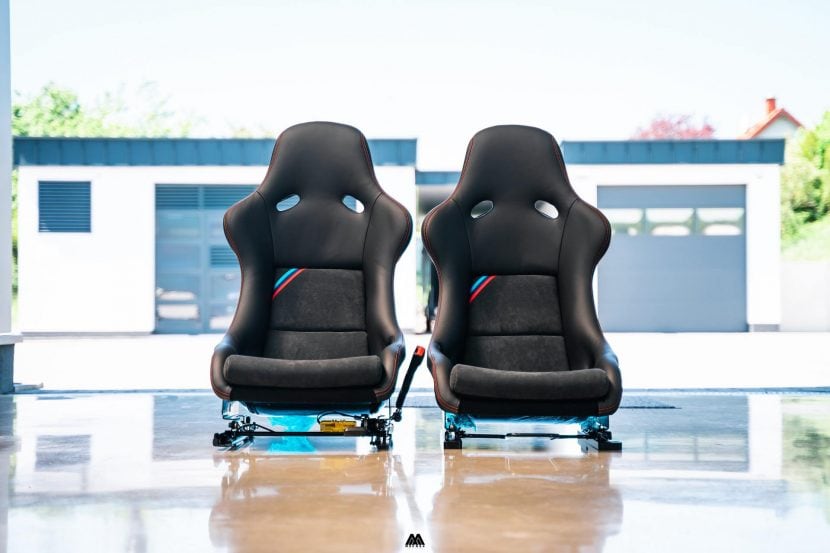
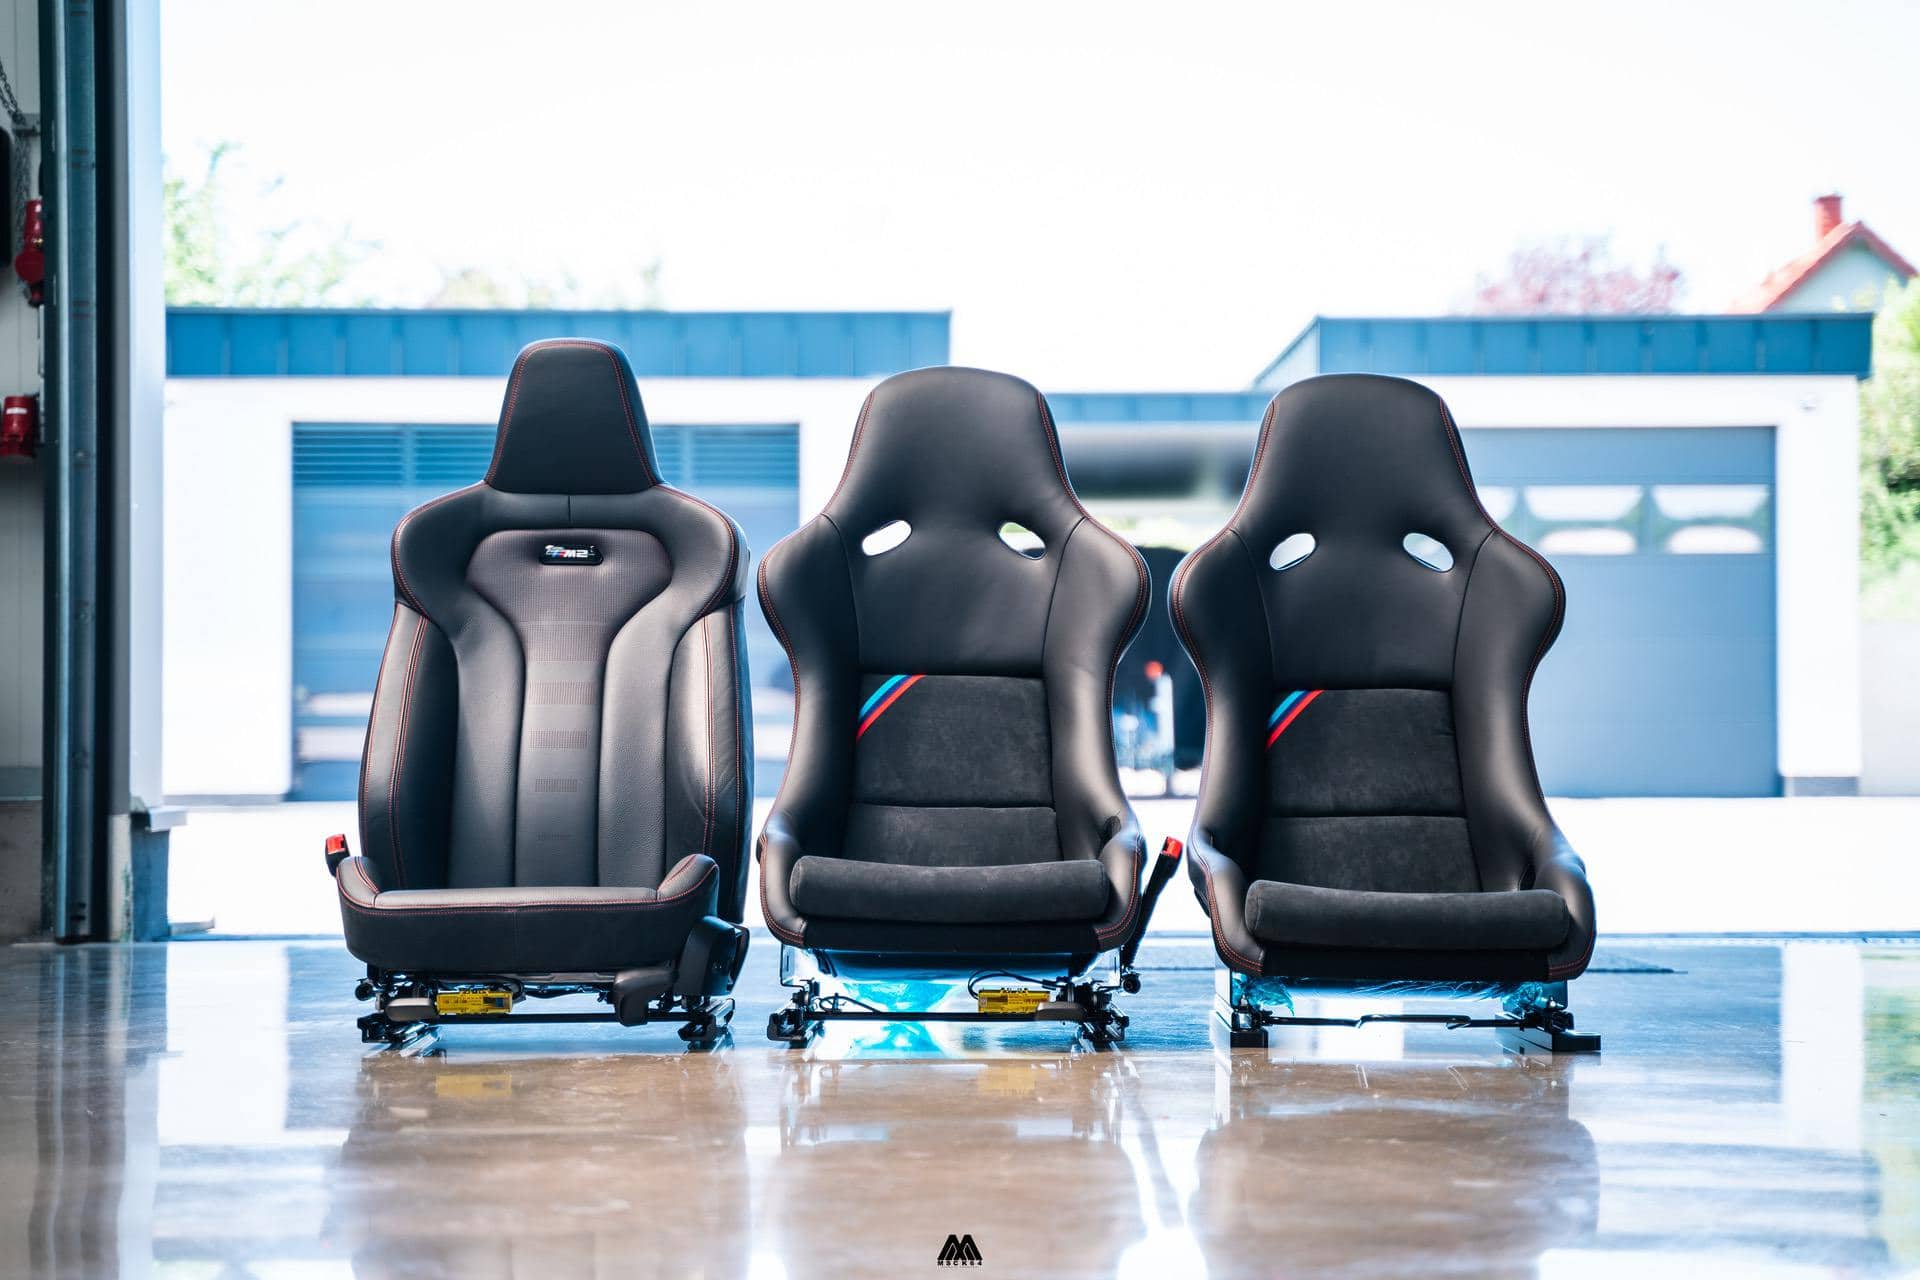
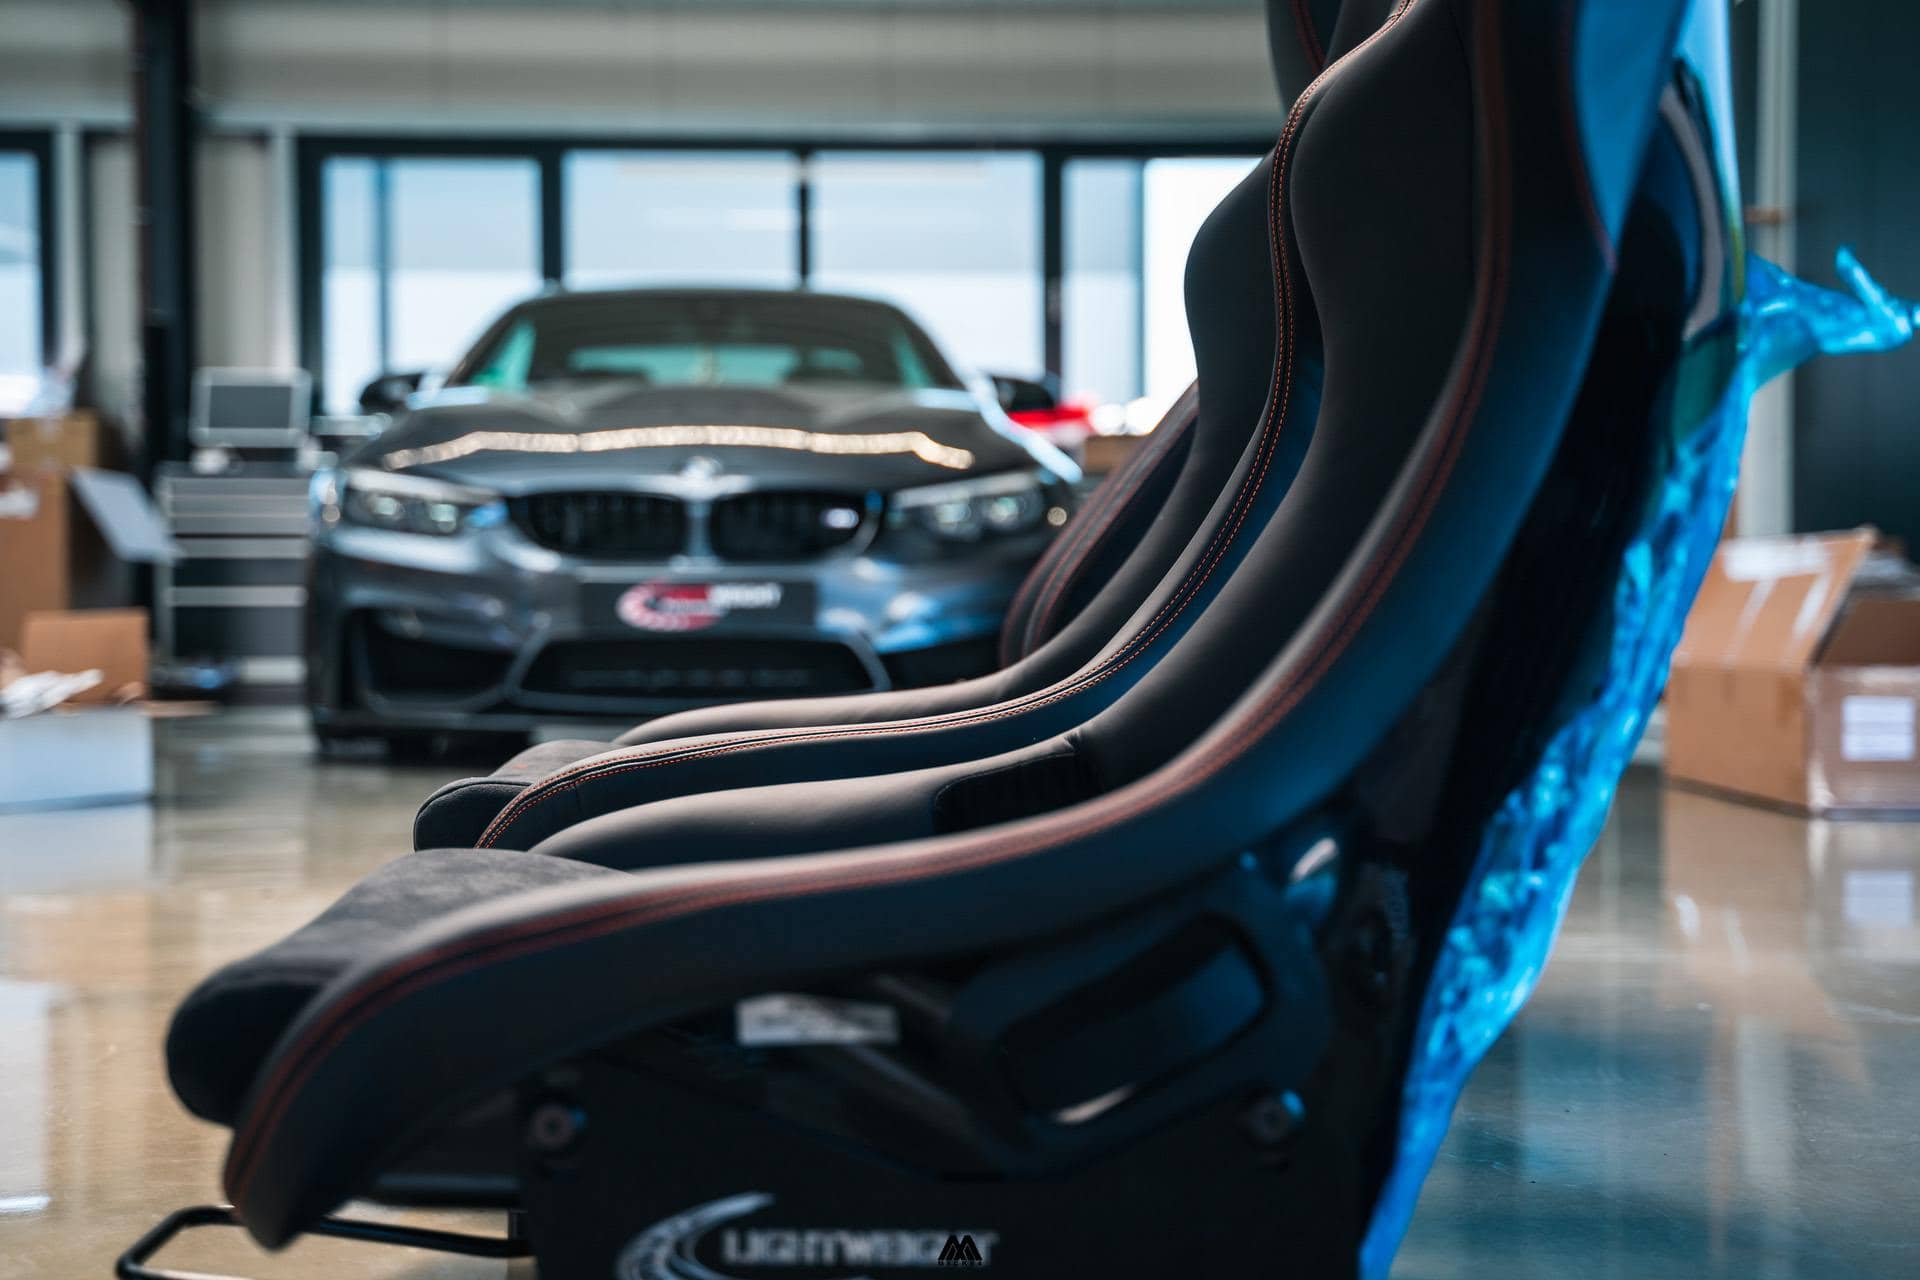
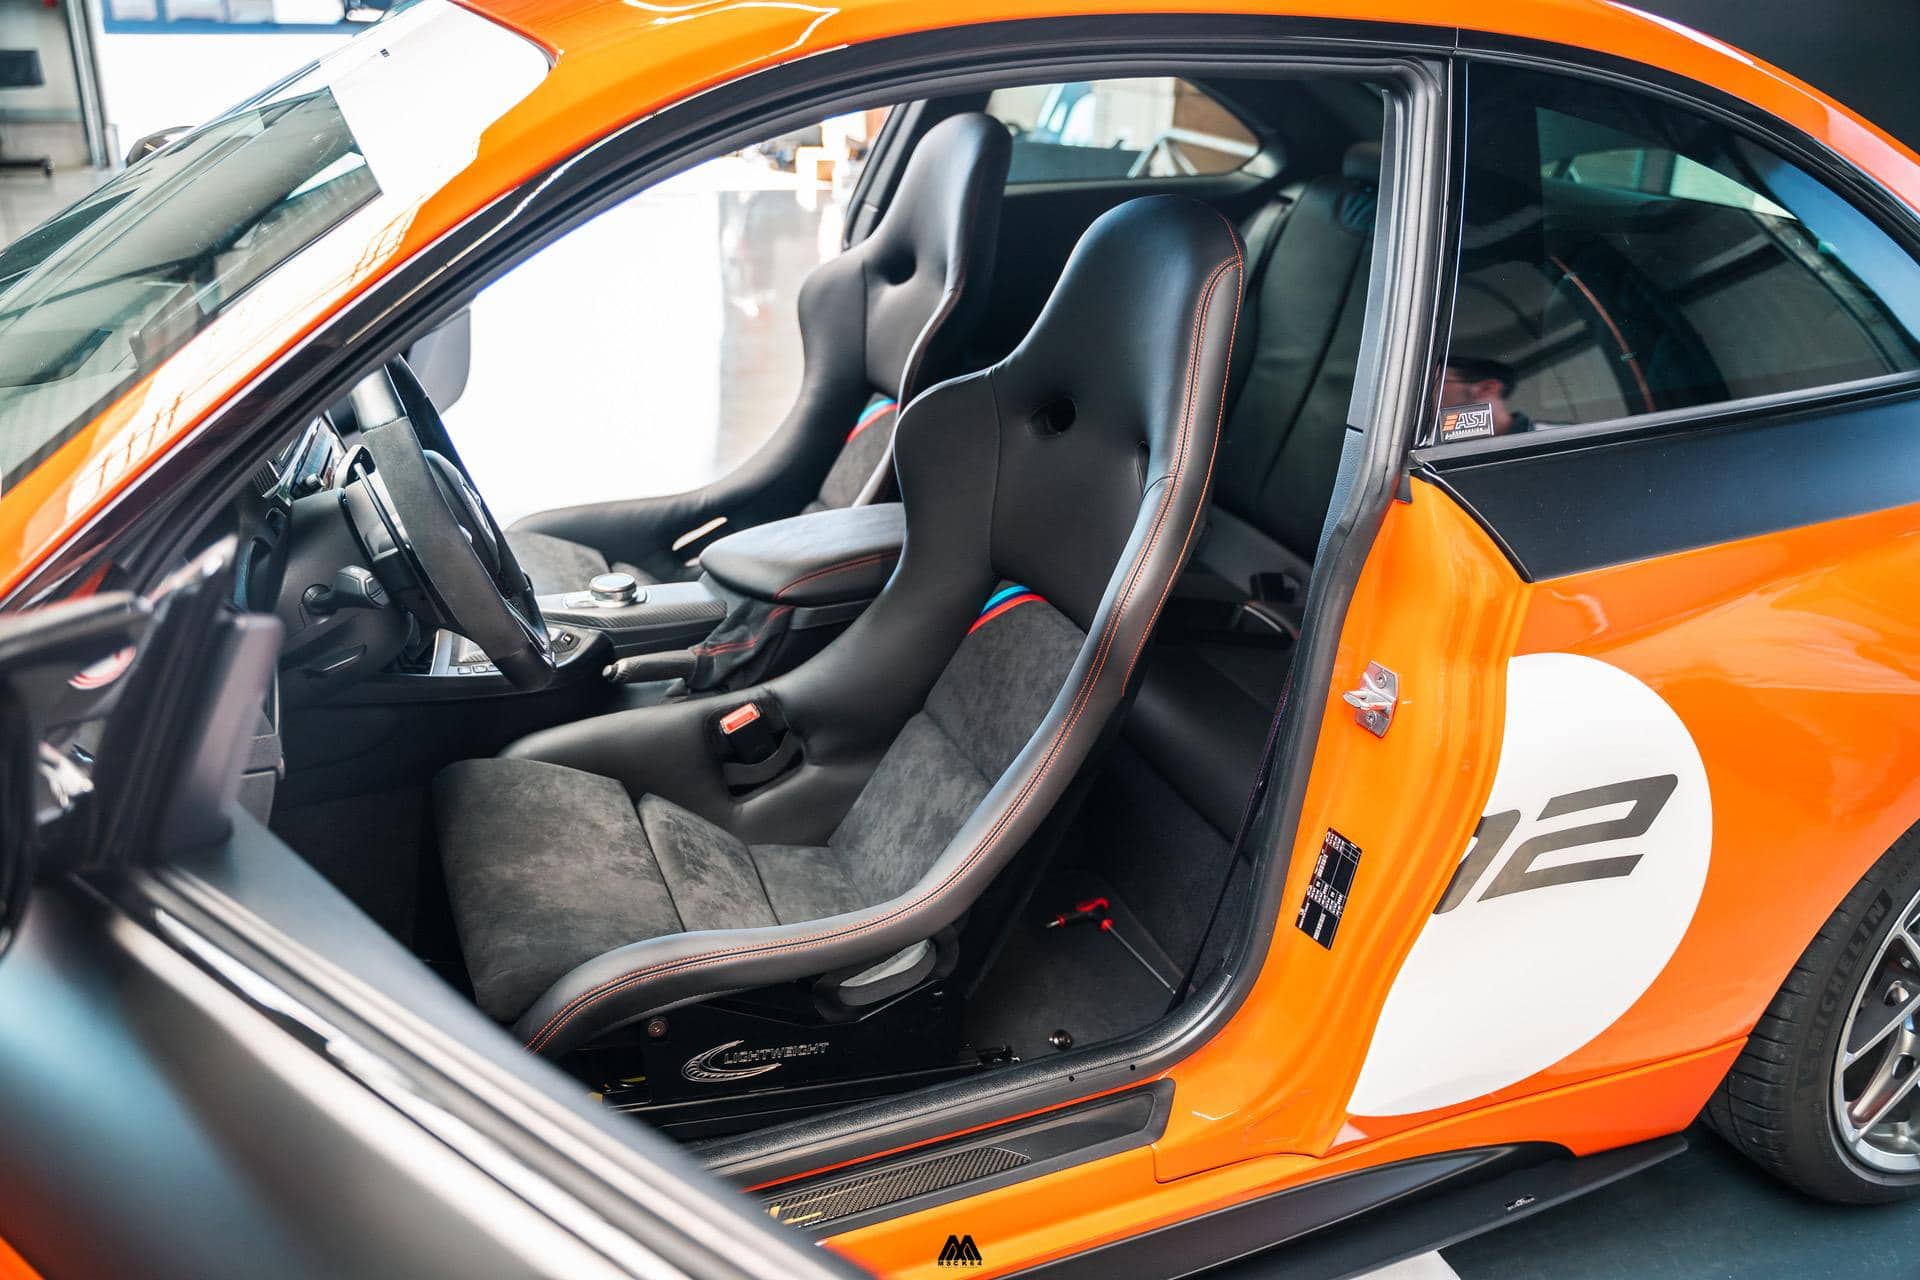
In the end, I went for the RECARO Pole Position bucket seat due to the M3 CSL buckets being RECAROs as well. In many cases, this seat is the choice for people who want to drive on track, but also want to use the car on normal roads. The seats are ABE/TÜV homologated in Europe. allowing you to use them legally on the road. Of course, you can opt for other options, but my personal preference for the RECARO also came from the fact that BMW used the Pole Position as their base for the lovely M4 GTS seats.
Step 2: Customize your seat
A step often forgotten by many is the option to customize your seat before it goes into your car. Bucket seats come in a variety of different versions and often have the choice between Kevlar or Carbon buckets and leather, fabric or water repellent materials for the seating areas. Choices are quite wide and can even be more expanded when you opt for third party upholstery specialists, who can make the seats up to the right standard you prefer. Newly improved leathers, stitching colors or specific adjustments are available if you are interested and are willing to invest a little bit more.
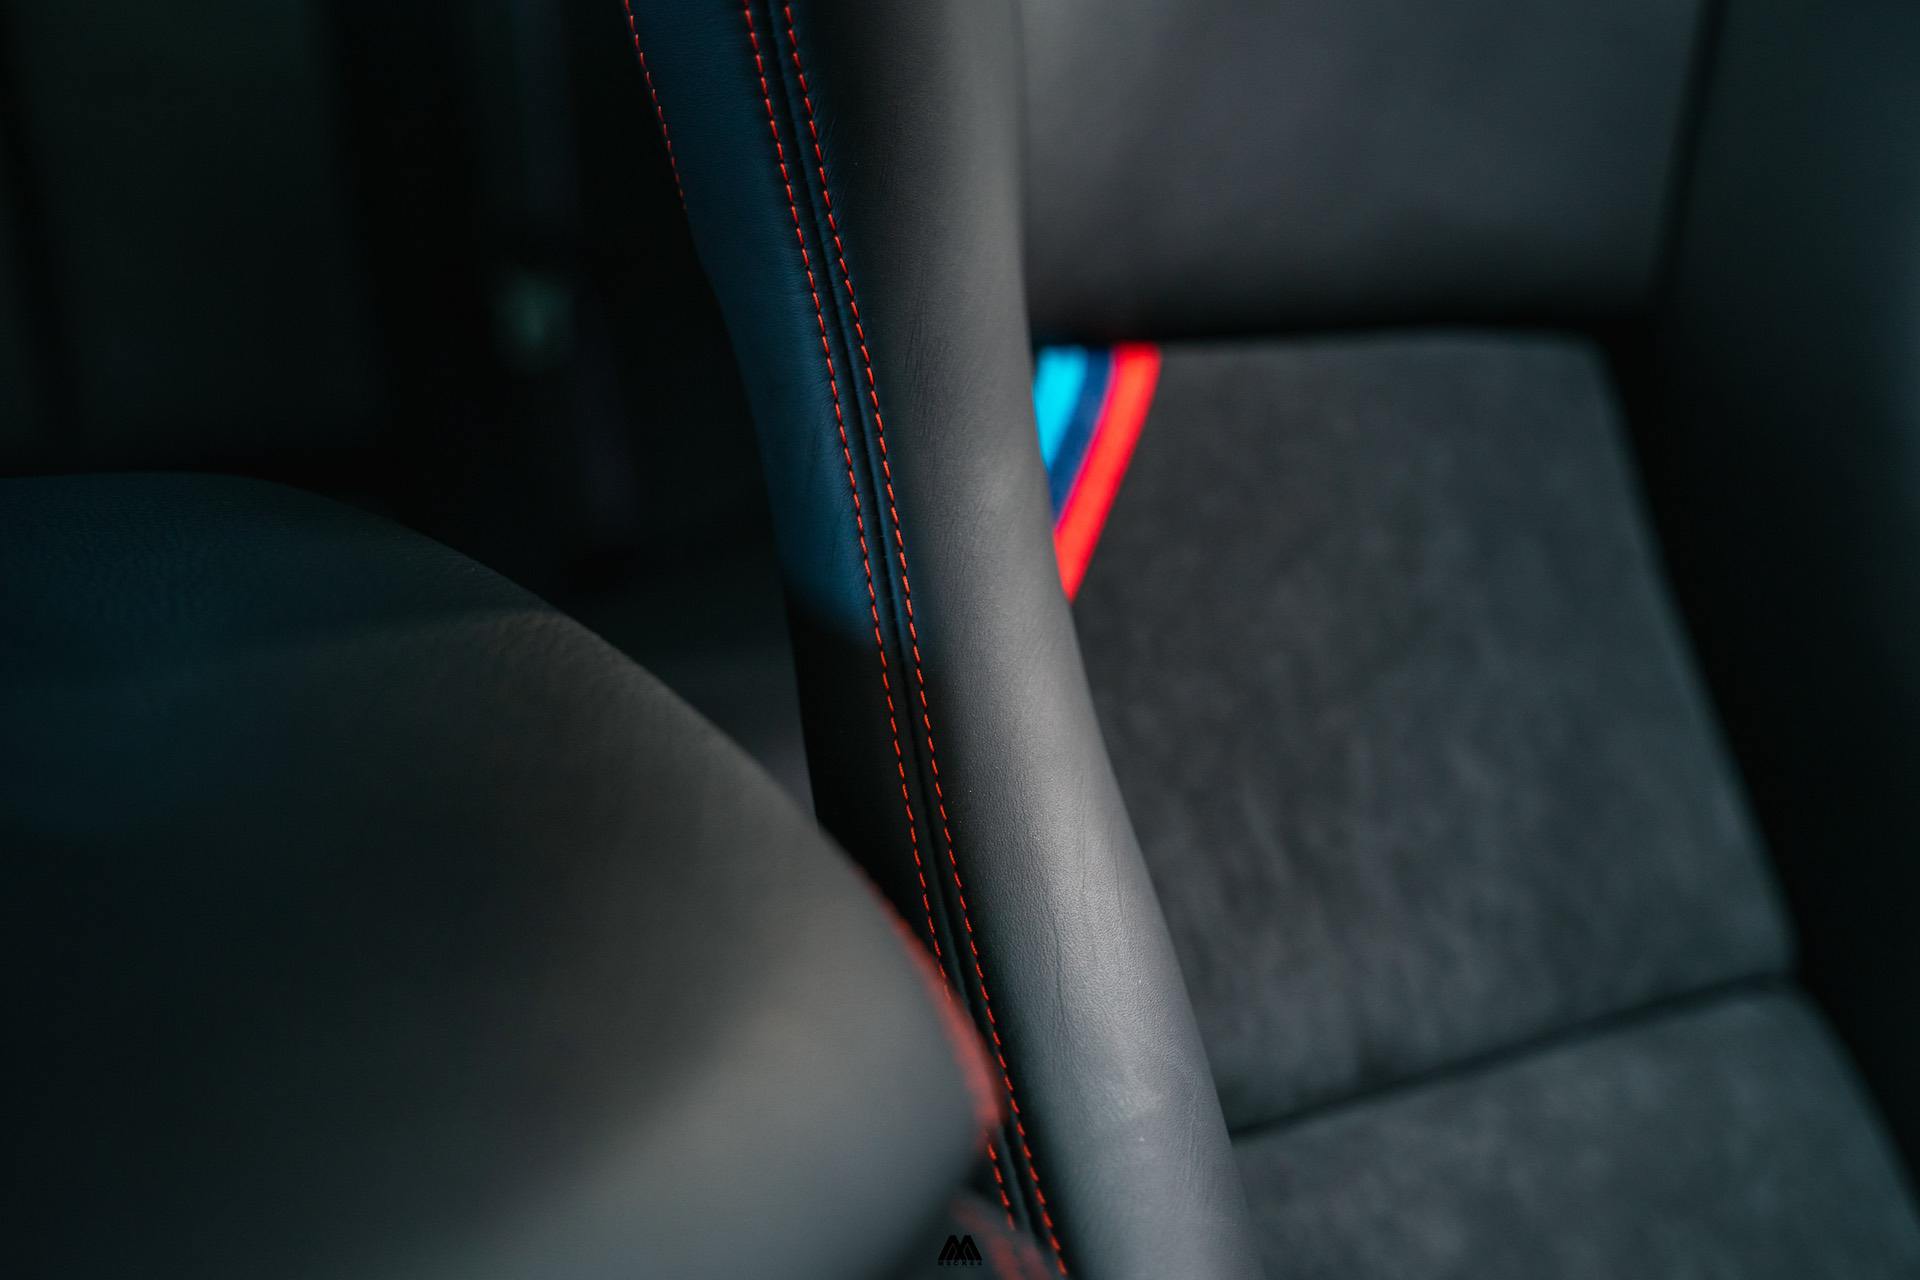
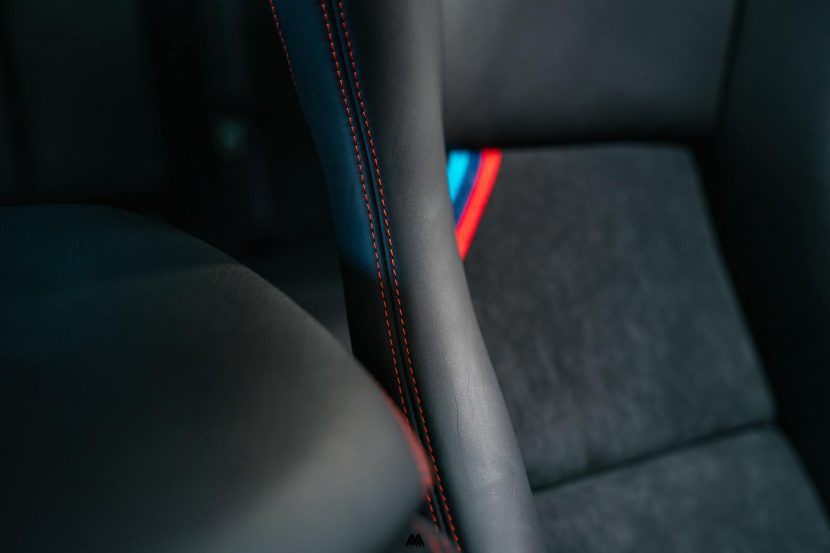
In my case, it was key that the RECARO Pole Position seats came in a specification that fitted the standard interior of the M2, while also resembling the stock M4 GTS buckets. You might ask yourself then why not buy the M4 GTS via a dealer and don’t make life so difficult for yourself. Let me come back to this in a second. First of all, the Pole Positions I ordered were the stock seats with velvet fabric. Getting them to an upholsterer allowed me to choose my seat stitching color matching it to the standard off factory orange in the cabin.
Secondly, the F-series M4 GTS seats are about 5,000 EUR / 6,000 USD a piece, including a carbon shell, and come with a few little tweaks to enhance the seating. First of all, they use the same Merino leather as the interior of the F82 M4 and the belt buckle has a nice little section in the seat side that allows yourself to more easily enter and slide into the seat without having the buckle ending up in your butt or hip. Of course, it doesn’t mean that if you order a base carbon shell Pole Position at RECARO, (priced at roughly 2,200 EUR / 2,650 USD a piece) that you can’t add these details.
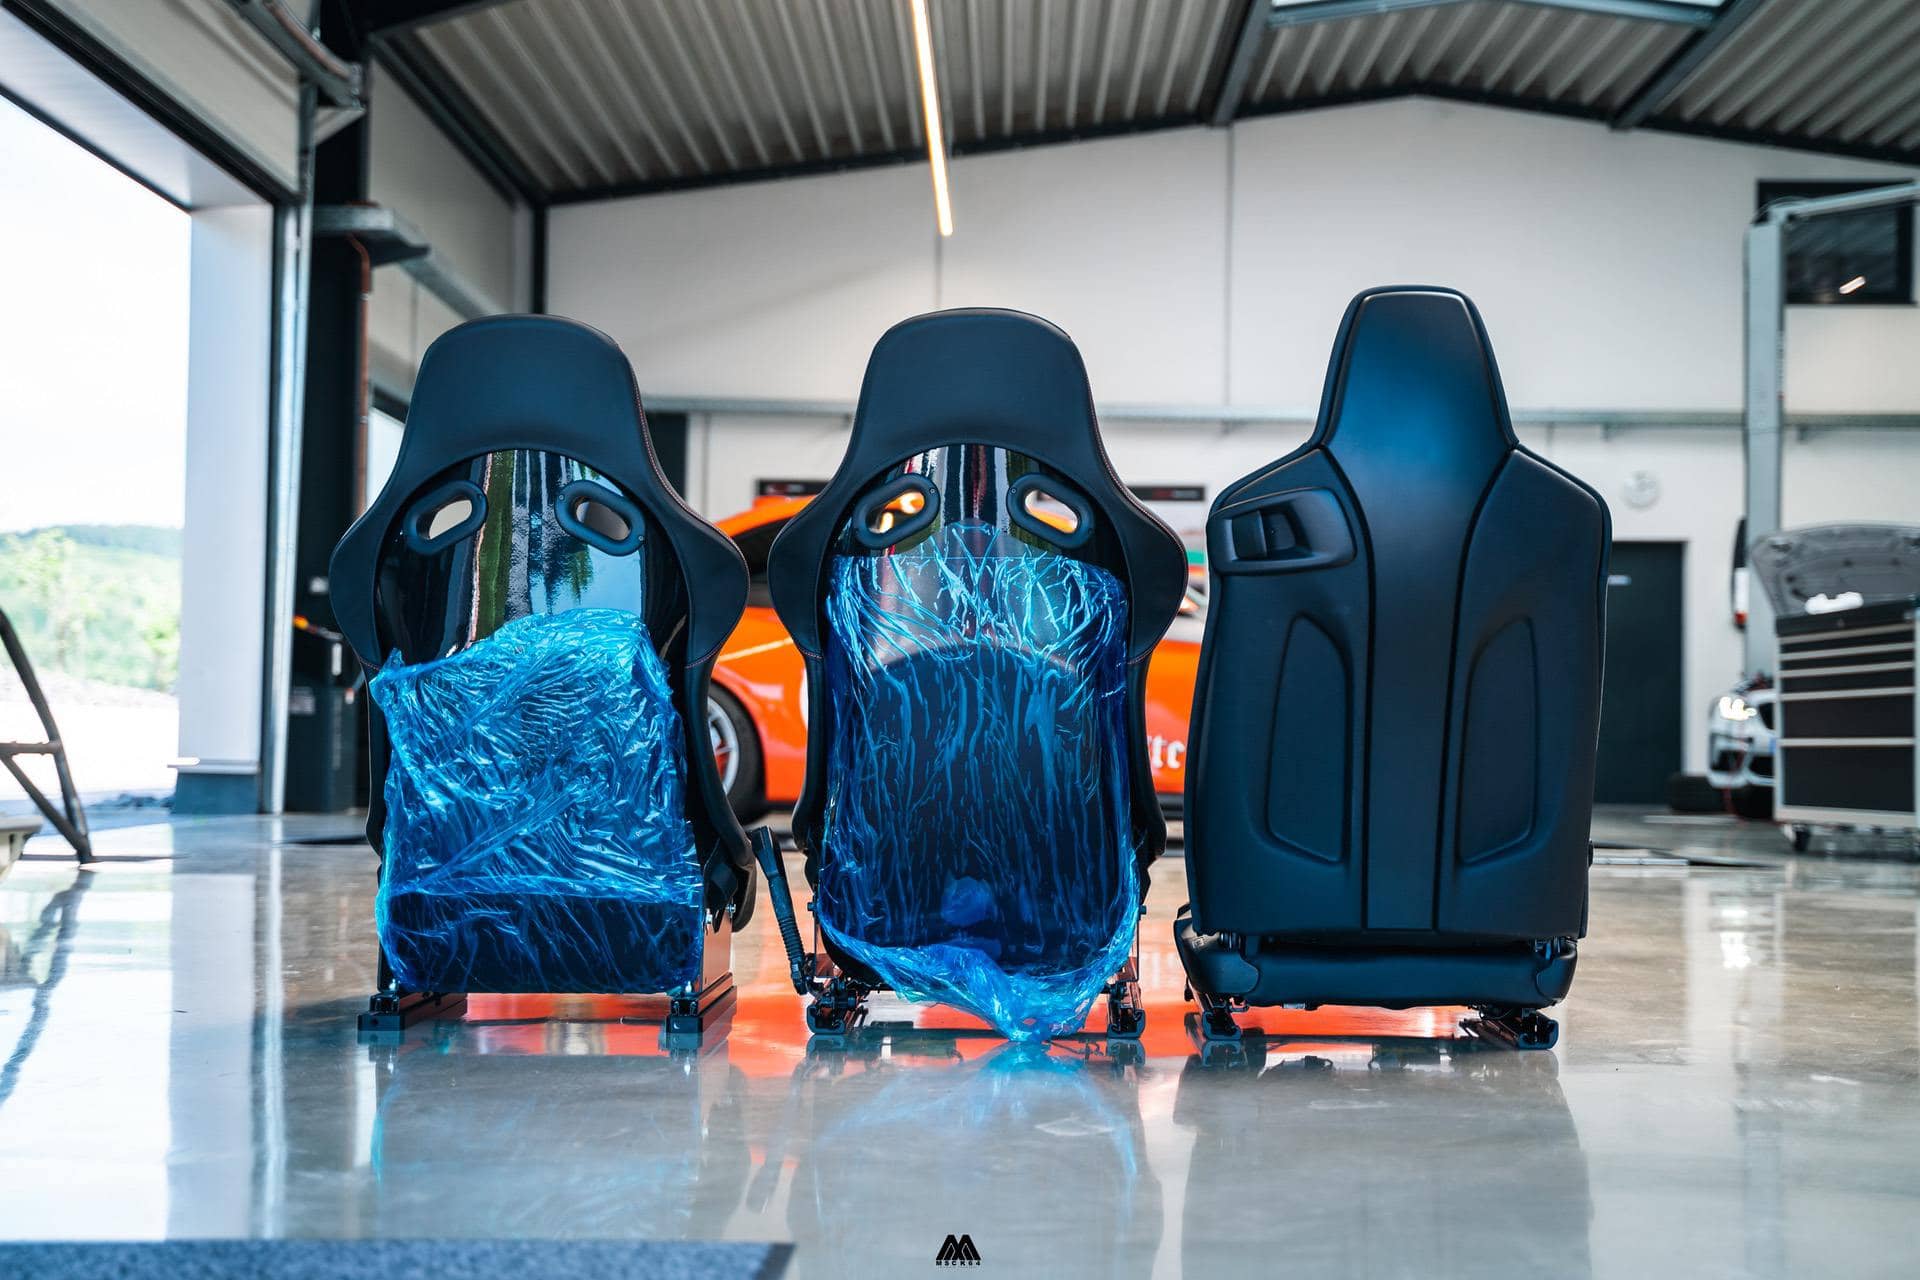
In my case, the upholsterer took both my seats – one left and one right hand side – and changed the base material. I chose the standard Kevlar shell and not the carbon ones to save some cost, but also because the M3 CSL didn’t come with carbon buckets. We went for the same design as the M4 GTS seats opting for the correct orange stitching resembling the stock seats, Nappa Leather (an improvement over the stock Dakota leather) and we integrated the belt buckle section in the side wall of the seat allowing easy entry into the seat. Total cost of the work done was roughly 1,500 EUR / 1,800 USD for two seats bringing my total cost for both seats at around 3,000 EUR, which is considerably less than one new M4 GTS seat.
Step 3: Choose your seat mounting
Of course, this wasn’t all! The next step was even more important and is based around three specific ingredients. First of all, you need to decide on your position when it comes to height. If you are a smaller person, you definitely want to sit higher, and vice versa for taller people. The main reason is that bucket seats will definitely have you sit a few centimeters lower, so you need to be aware of this when you choose your seat mounting.
Secondly, there is the question of legality of the seat brackets. Certain brackets are ABE or TÜV homologated and some are not. This is important in markets where this is of importance and require certified products. A number of suppliers are offering quite different options, which I will discuss below. My first point is the question of if you want to slide your seat forwards and backwards. Not everyone wants this, but in most cases people opt for it.
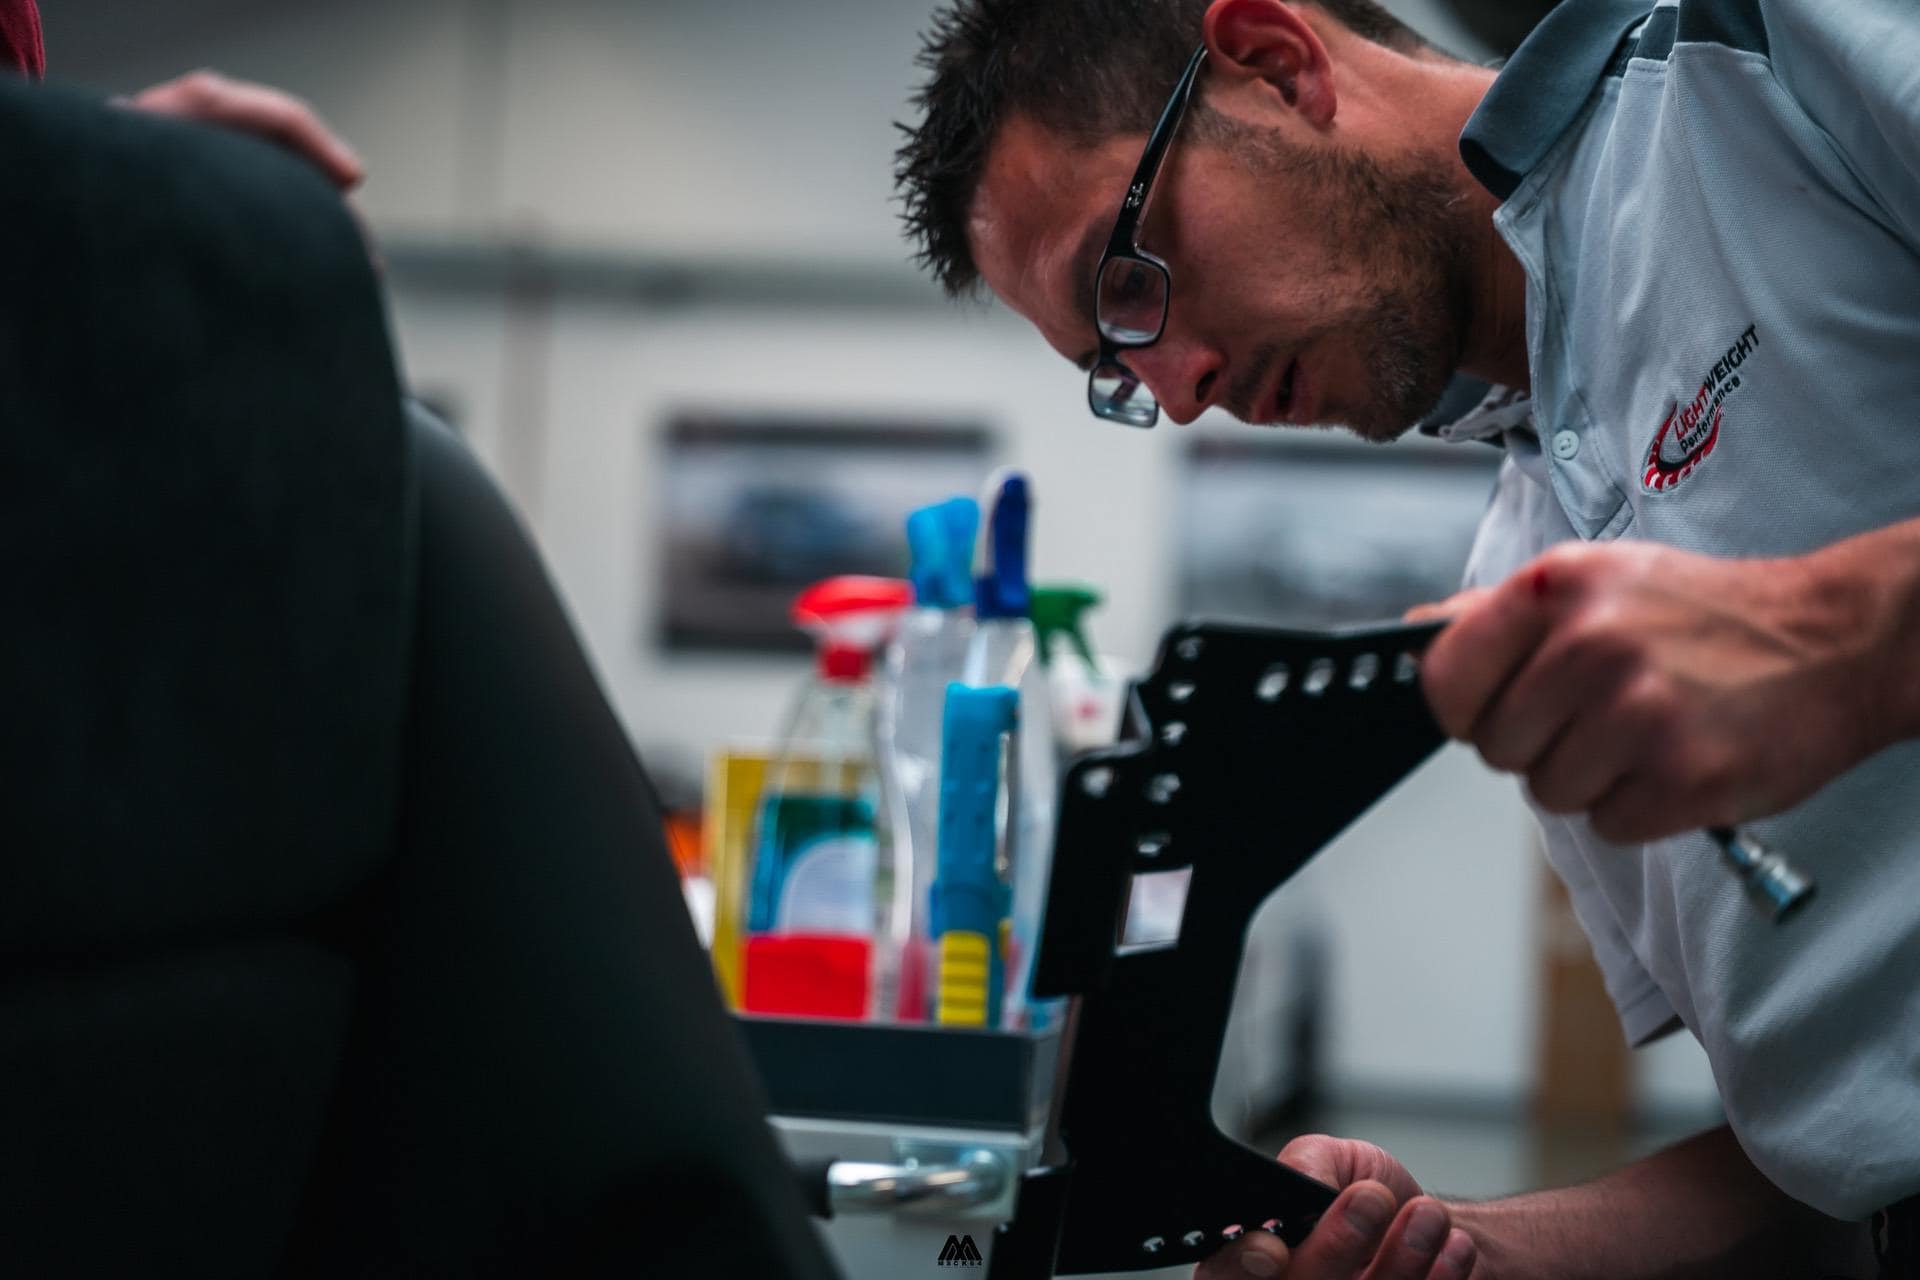
Referring back to my set up, I decided to take this opportunity as a test and come up with a comparison between a stock seat and the RECARO buckets using two different mounting solutions offering us the choice between sitting lower and really low. The two systems were totally different in many ways and allowed for a comparison between two sides of the spectrum; the Brey Krause seat mounts and the Lightweight Performance mounting set up. As a reference, I also acquired information on the stock RECARO system which is the most common option owners opt for.
Brey Krause seat mounts
The Brey Krause solution is available in the US through a number of stores. Known for their Porsche solutions, which are more widely available, the US brand also offers options for BMW and MINI. The set up for the M2 used in this story is quite a modular solution. You can opt between two seat mount widths and there are replacement bottom mounted seat adapters. As additional accessories, you can get side lap belt mounts and sub strap mounts in case you want to use four-, five- or six-points harnesses. There is even a fire extinguisher mount.
The Brey Krause seat mounting uses a set up that allows you to reuse the stock, bottom mounted seat adapters and the stock sliders of the seat, even when you have automatic stock seats! This is an excellent solution for those people that want to use their standard three-point belt and have no requirement to fit a harness. For people who want to add a harness, have the option to add the right mounts at a decent price level.
The base price of the Brey Krause solution (for two seats you need two kits) is around 400 USD, which is roughly 560 EUR (shipping and (import) taxes) as soon as you receive the kit in Europe. The Brey Krause doesn’t have ABE or TÜV homologation and only lowers your maximum to 10 cm (minus 2 cm) in comparison to the standard lowest stock seating position. You can however opt for a much higher seating position due to the vast majority of mounting adjustments. Another really big benefit is that this kit allows you to keep your electric sliding adjustment option from the stock seats.
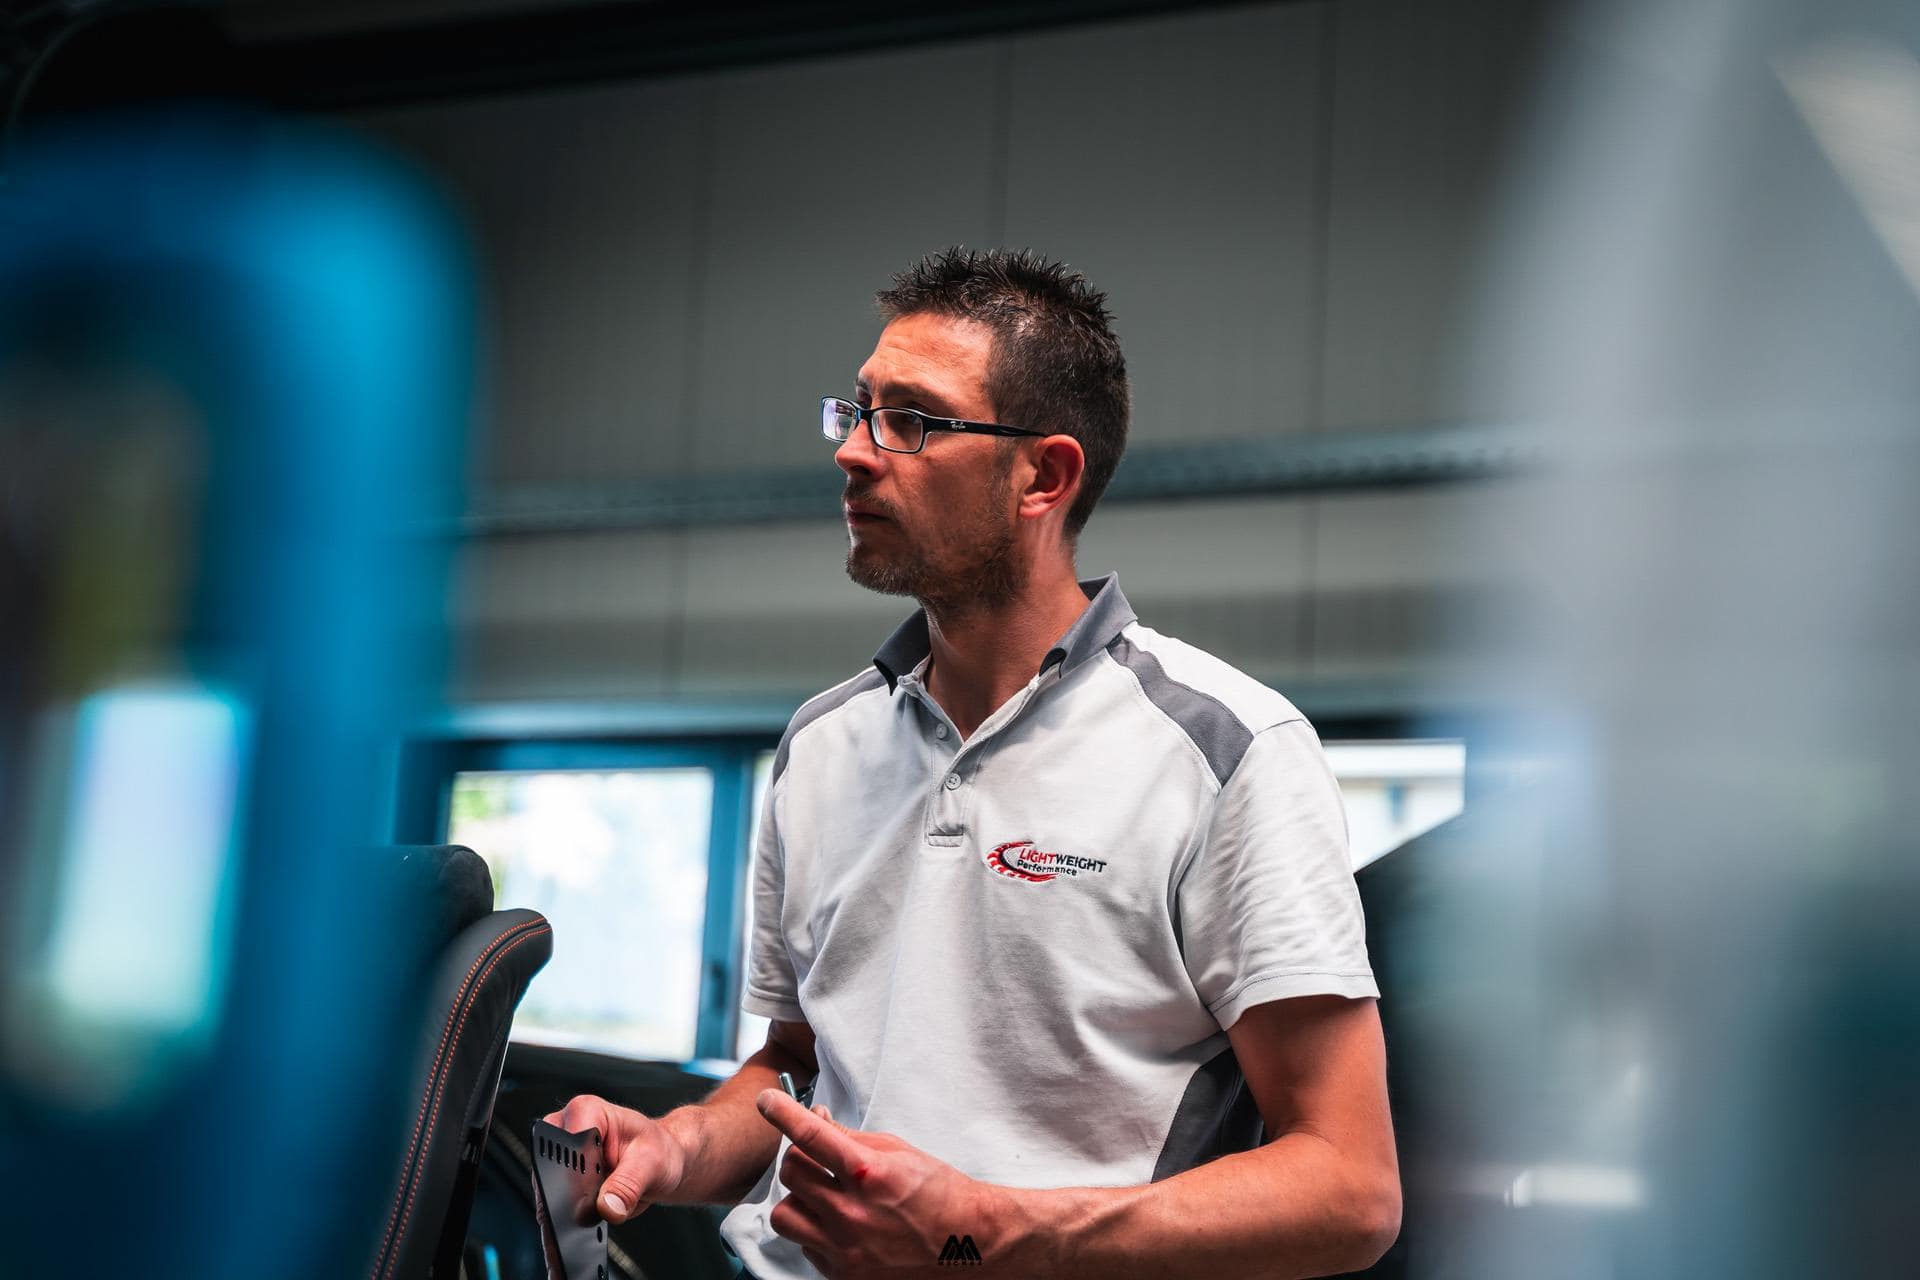
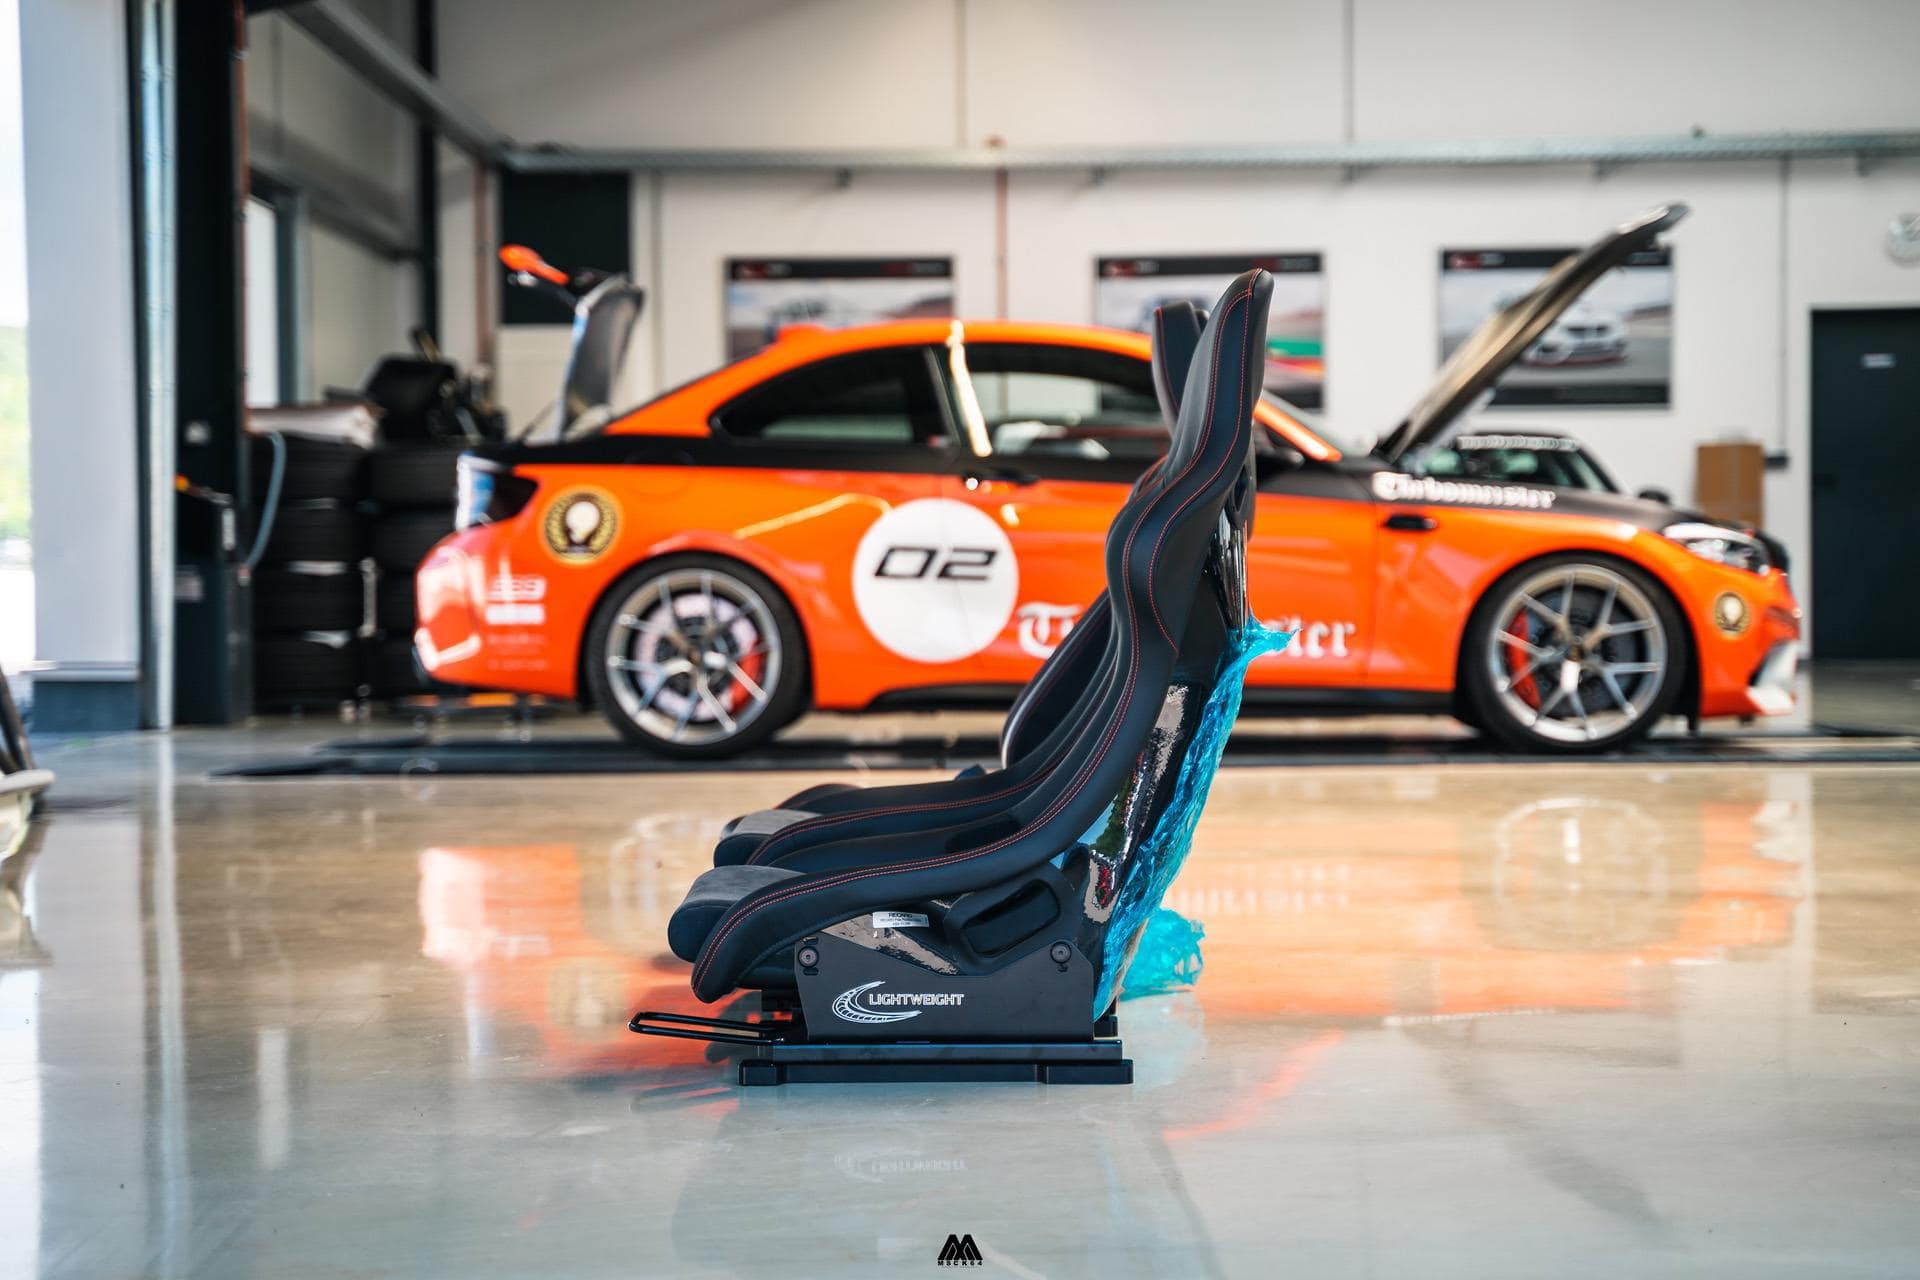
Lightweight Performance seat mounting

On the other end of the spectrum we have the Lightweight Performance solution. Developed by the owner of Lightweight Performance, the Germans claim that they offer the lowest seating mount in the world, which offers a combination between their own parts and the RECARO sliders. The kit is fully ABE/TÜV homologated, offering the ultimate solution for the European market.
The base set up isn’t modular, but does offer more! The console comes in a H-shape and is placed underneath the seat side mounts and slider. The console offers you the option to adjust the position on the seat inside the car to your liking and has mounting points for your 4/5/6-point belts. The side mounts with the engraved Lightweight Performance logos offer less height adjustments than the Brey Krause mounts, but will allow you to sit a whopping 4 centimeters lower than the stock seats. For tall people this is the ultimate solution.
There are no other specific options or extras available. Also for electric seats, there is no solution since the Lightweight Performance solution replaces all the stock parts. The stock consoles or bottom mounted seat adapters are gone from the car and you will have a completely new console set up with the sliders coming from RECARO themselves.
A solution for two seats will set you back a total around 1,400 EUR / 1,700 USD including the appropriate TÜV paperwork. You will get the aluminum seat consoles and long slide rails sliders, which offer fitment for the 4/5/6-point harness and the option for mounting your serial seat belt in the console. Of course, pricing for both solutions discussed here will differ depending your M car and the preferences you may have.
RECARO seat mounting
As a reference I also acquired information on the standard RECARO solution, which is more closely related to the Lightweight Performance solution, where the complete consoles are replaced and new side mounts are being used. The main difference between the RECARO solution and the Lightweight Performance solution is the fact that the RECARO seat mounting makes you sit about 2-2,5 cm higher, which for certain people could be too high when they want to wear a helmet on track.
From a price point of view, you are looking at 650 EUR for a set of two including sliders, but it has to be noted that the mounting of the belts (both 4/5/6-point and standard belt) is not as well integrated into the final set up as Lightweight Performance offers. Their solution is by far the most tidy and neatly integrated with the connection points positioned at the lowest point possible.
Step 4: Choose and mount your seat belts
A point I already touched on in the previous step is the choice of belts. I won’t go into too much detail on this subject, but I want to share with you that you really need to be aware before you make a choice to go for racing buckets which kind of belts you want to fit. If you go for 4/5/6-points, then you might need a cage in the back of your M car as well, allowing you to fit the shoulder belts. If you stick to 3-points, then you can go for cheaper solutions, like the Brey Krause option for instance. There are enough options, but be aware that your choice of belts plays an important role as well.
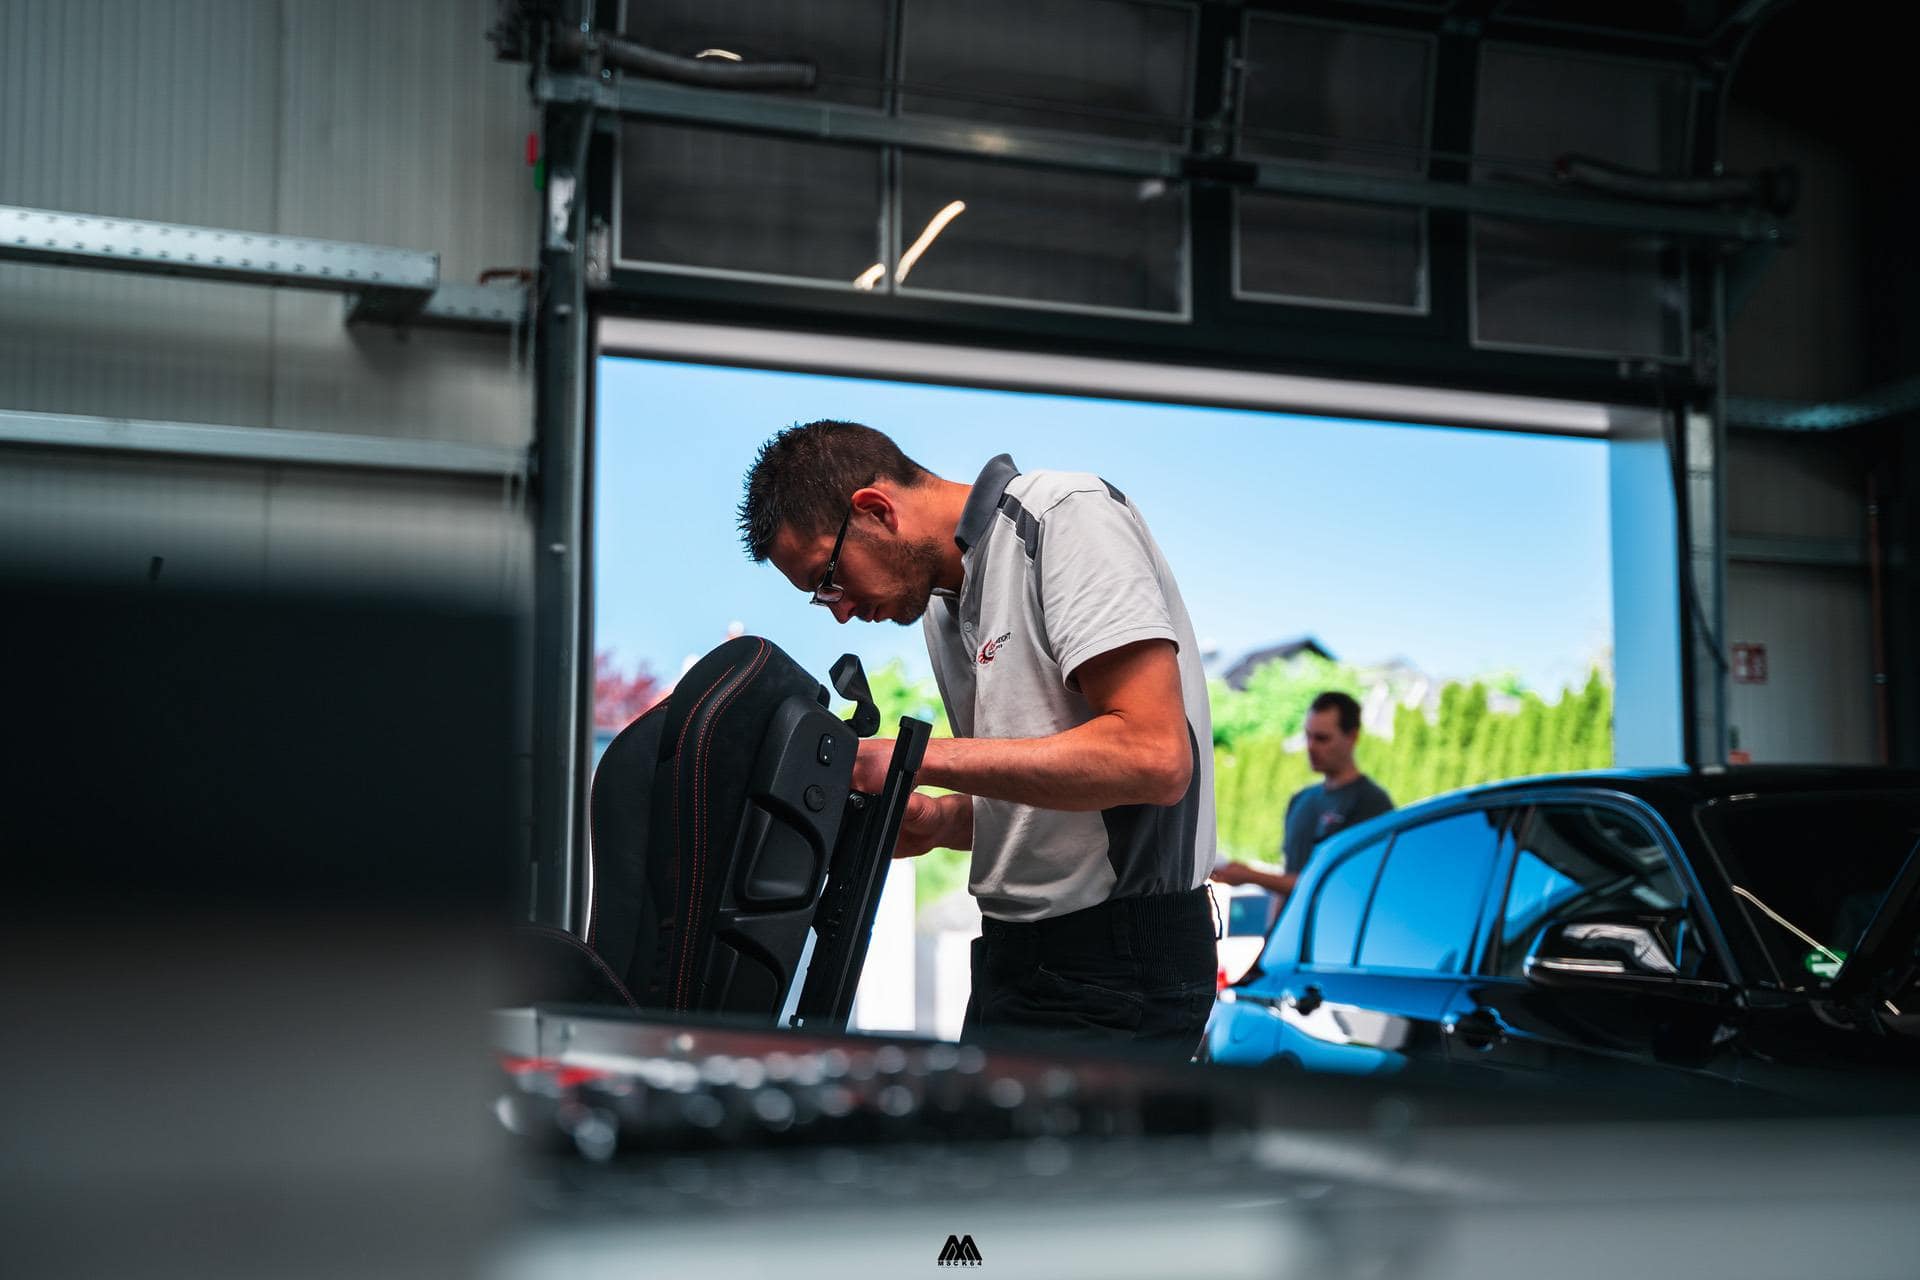
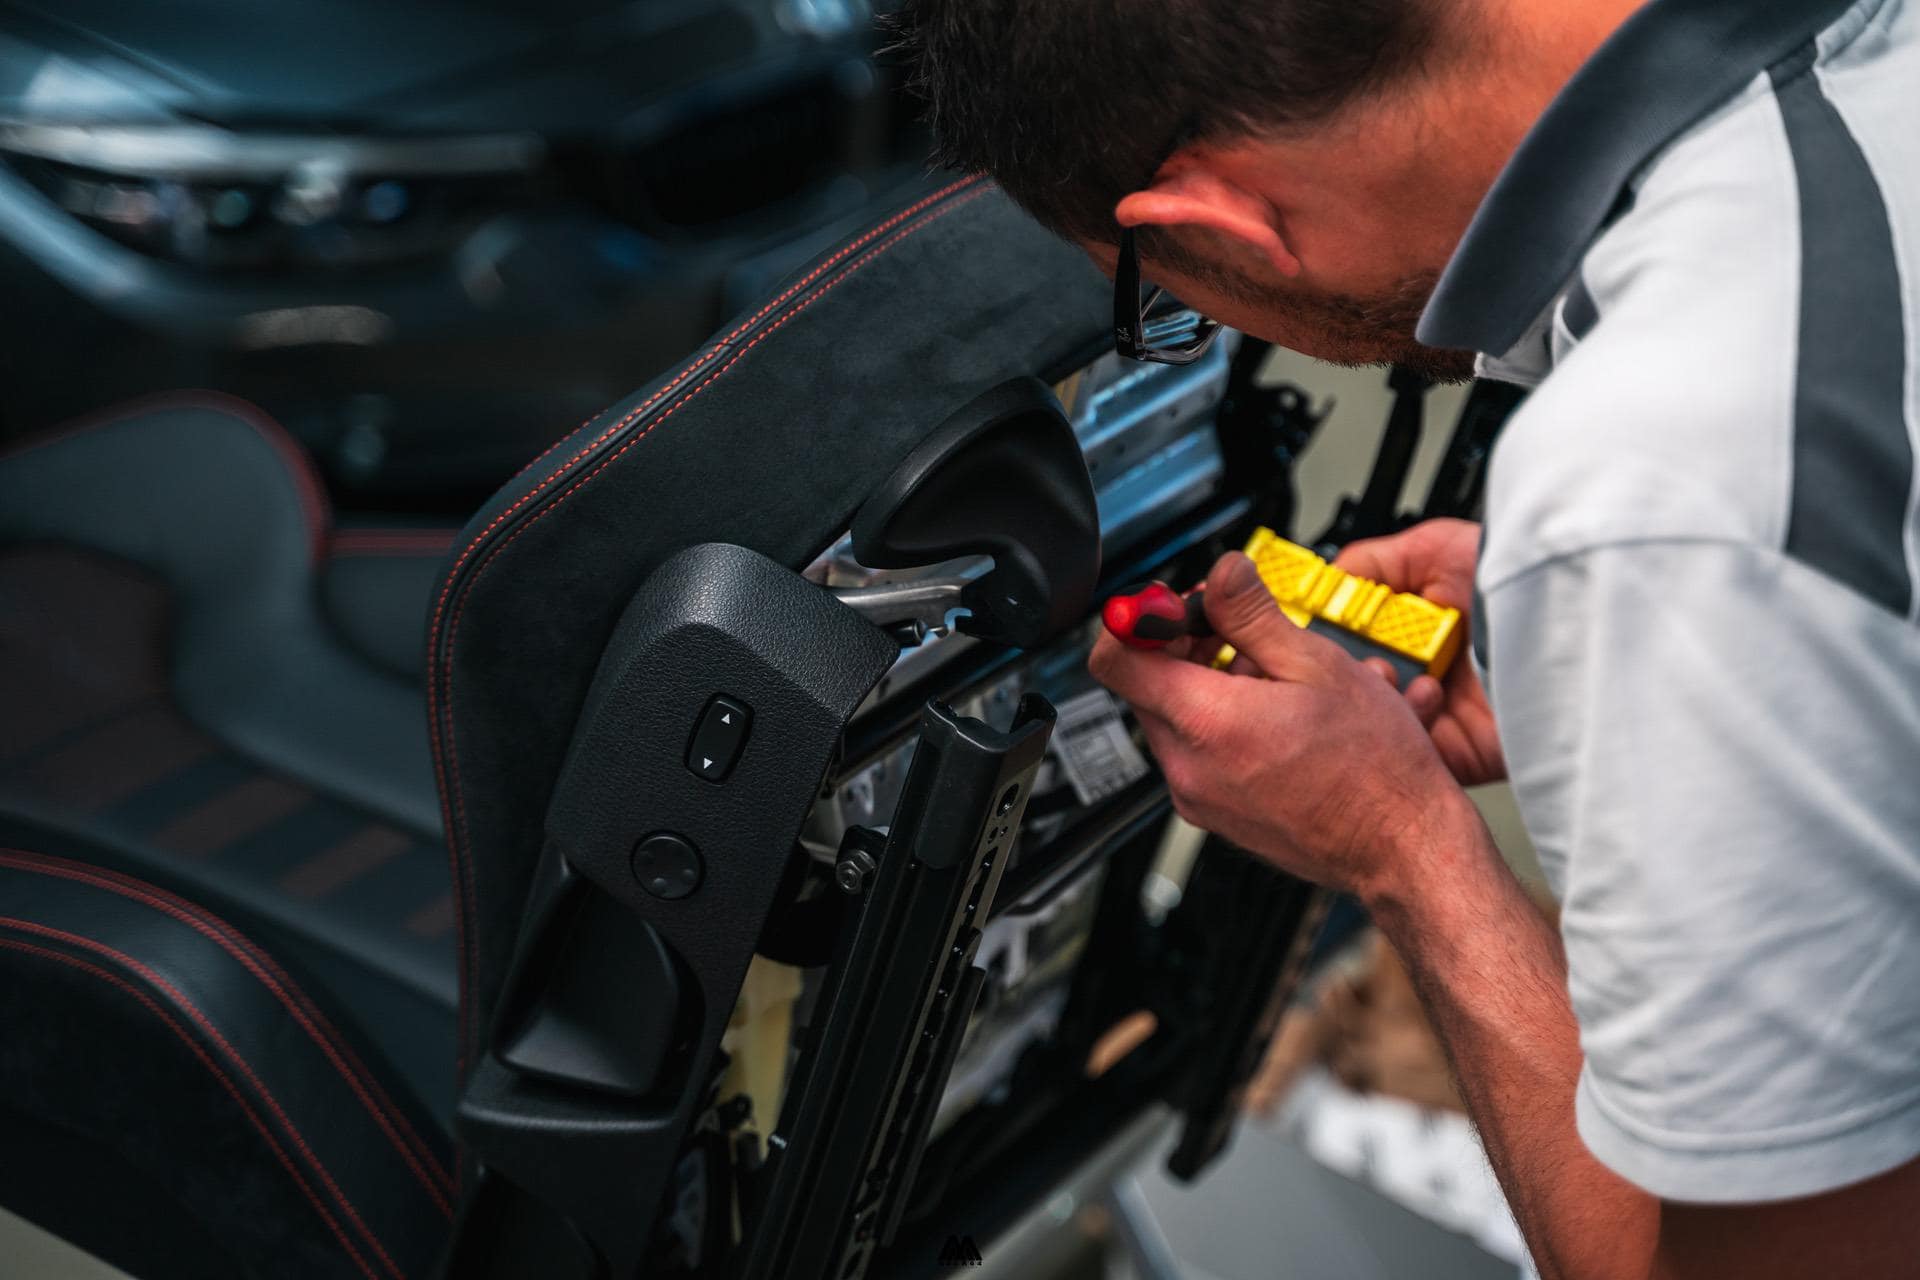
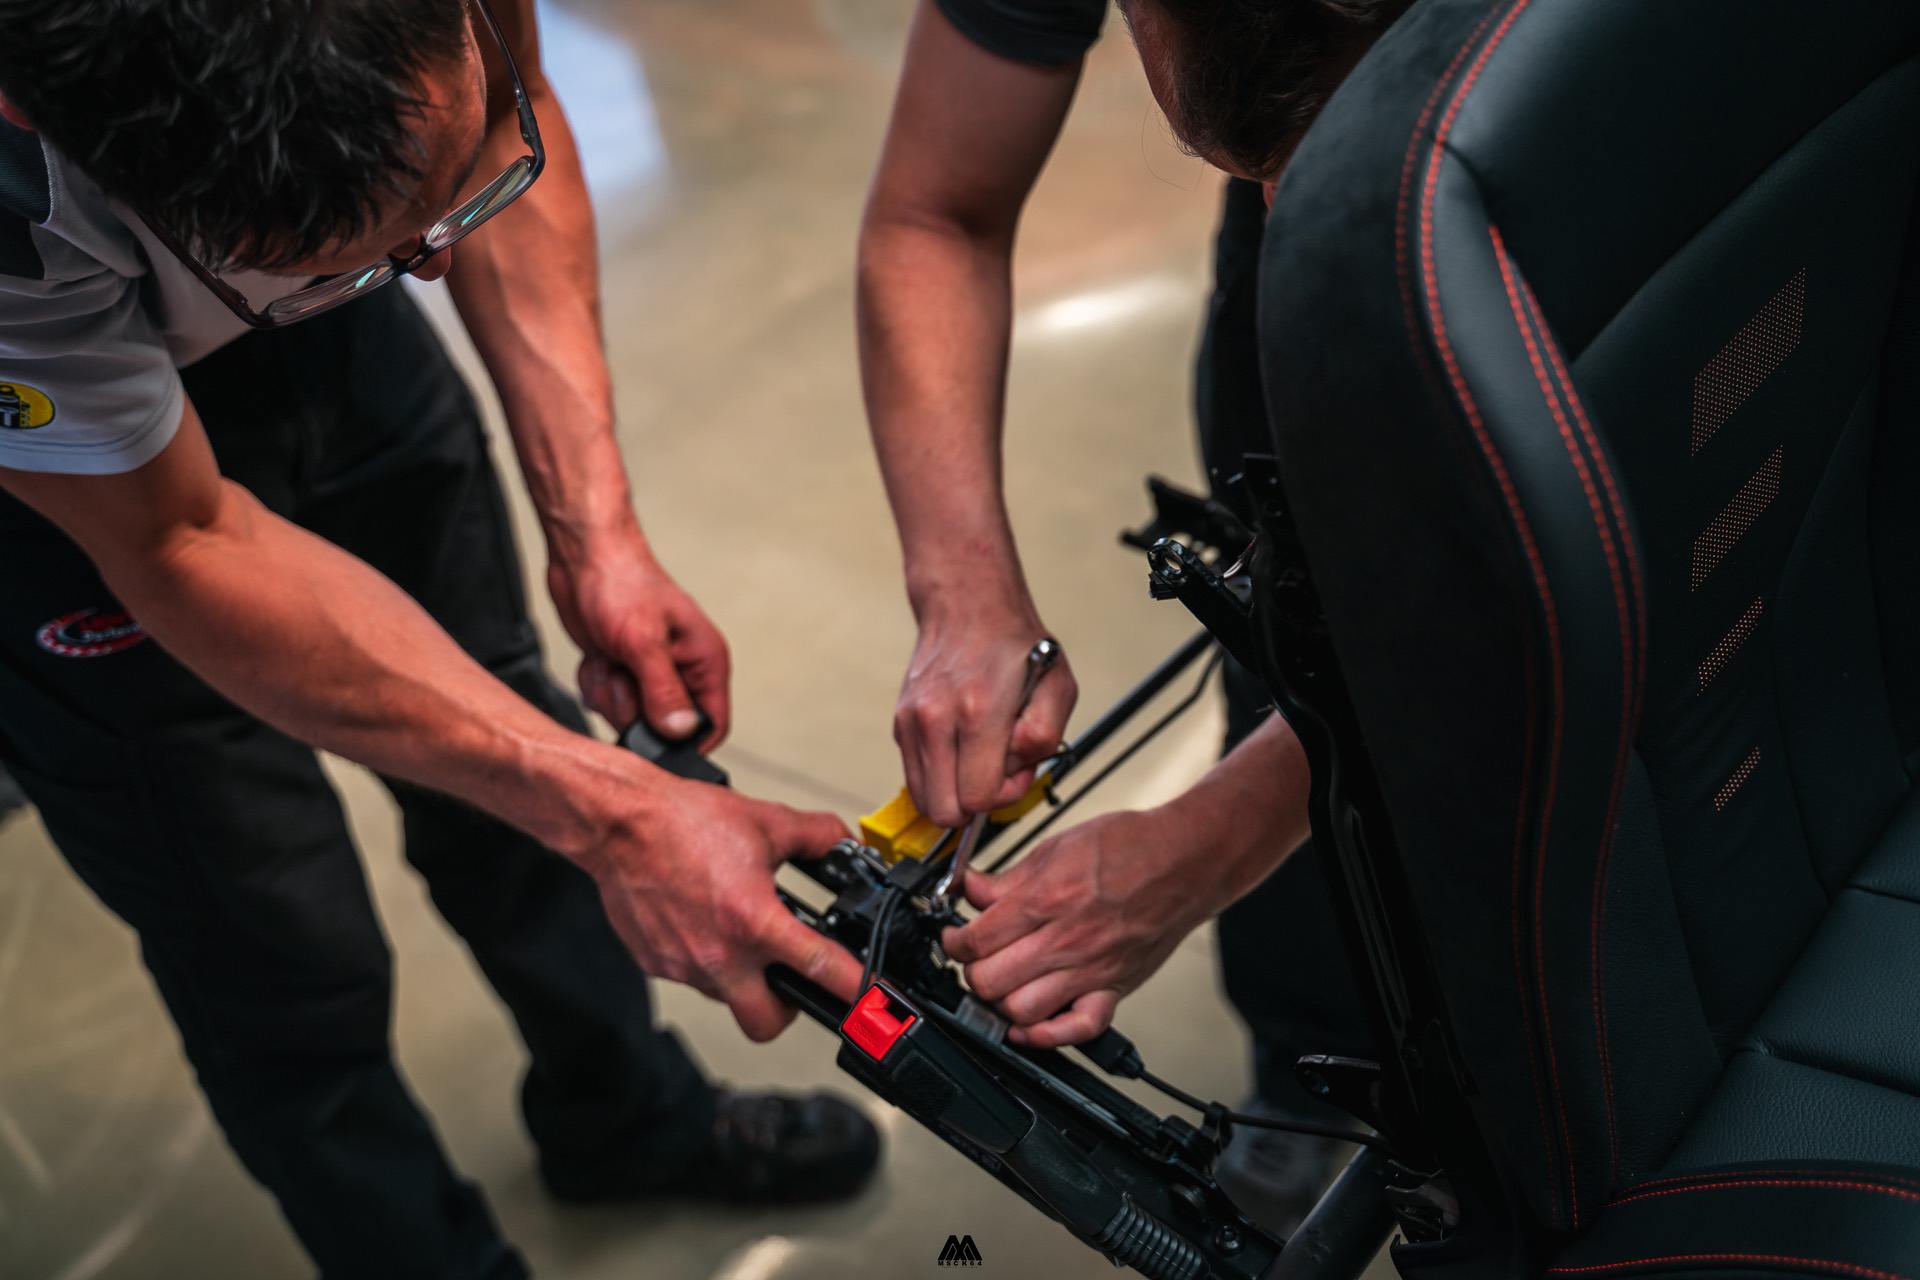
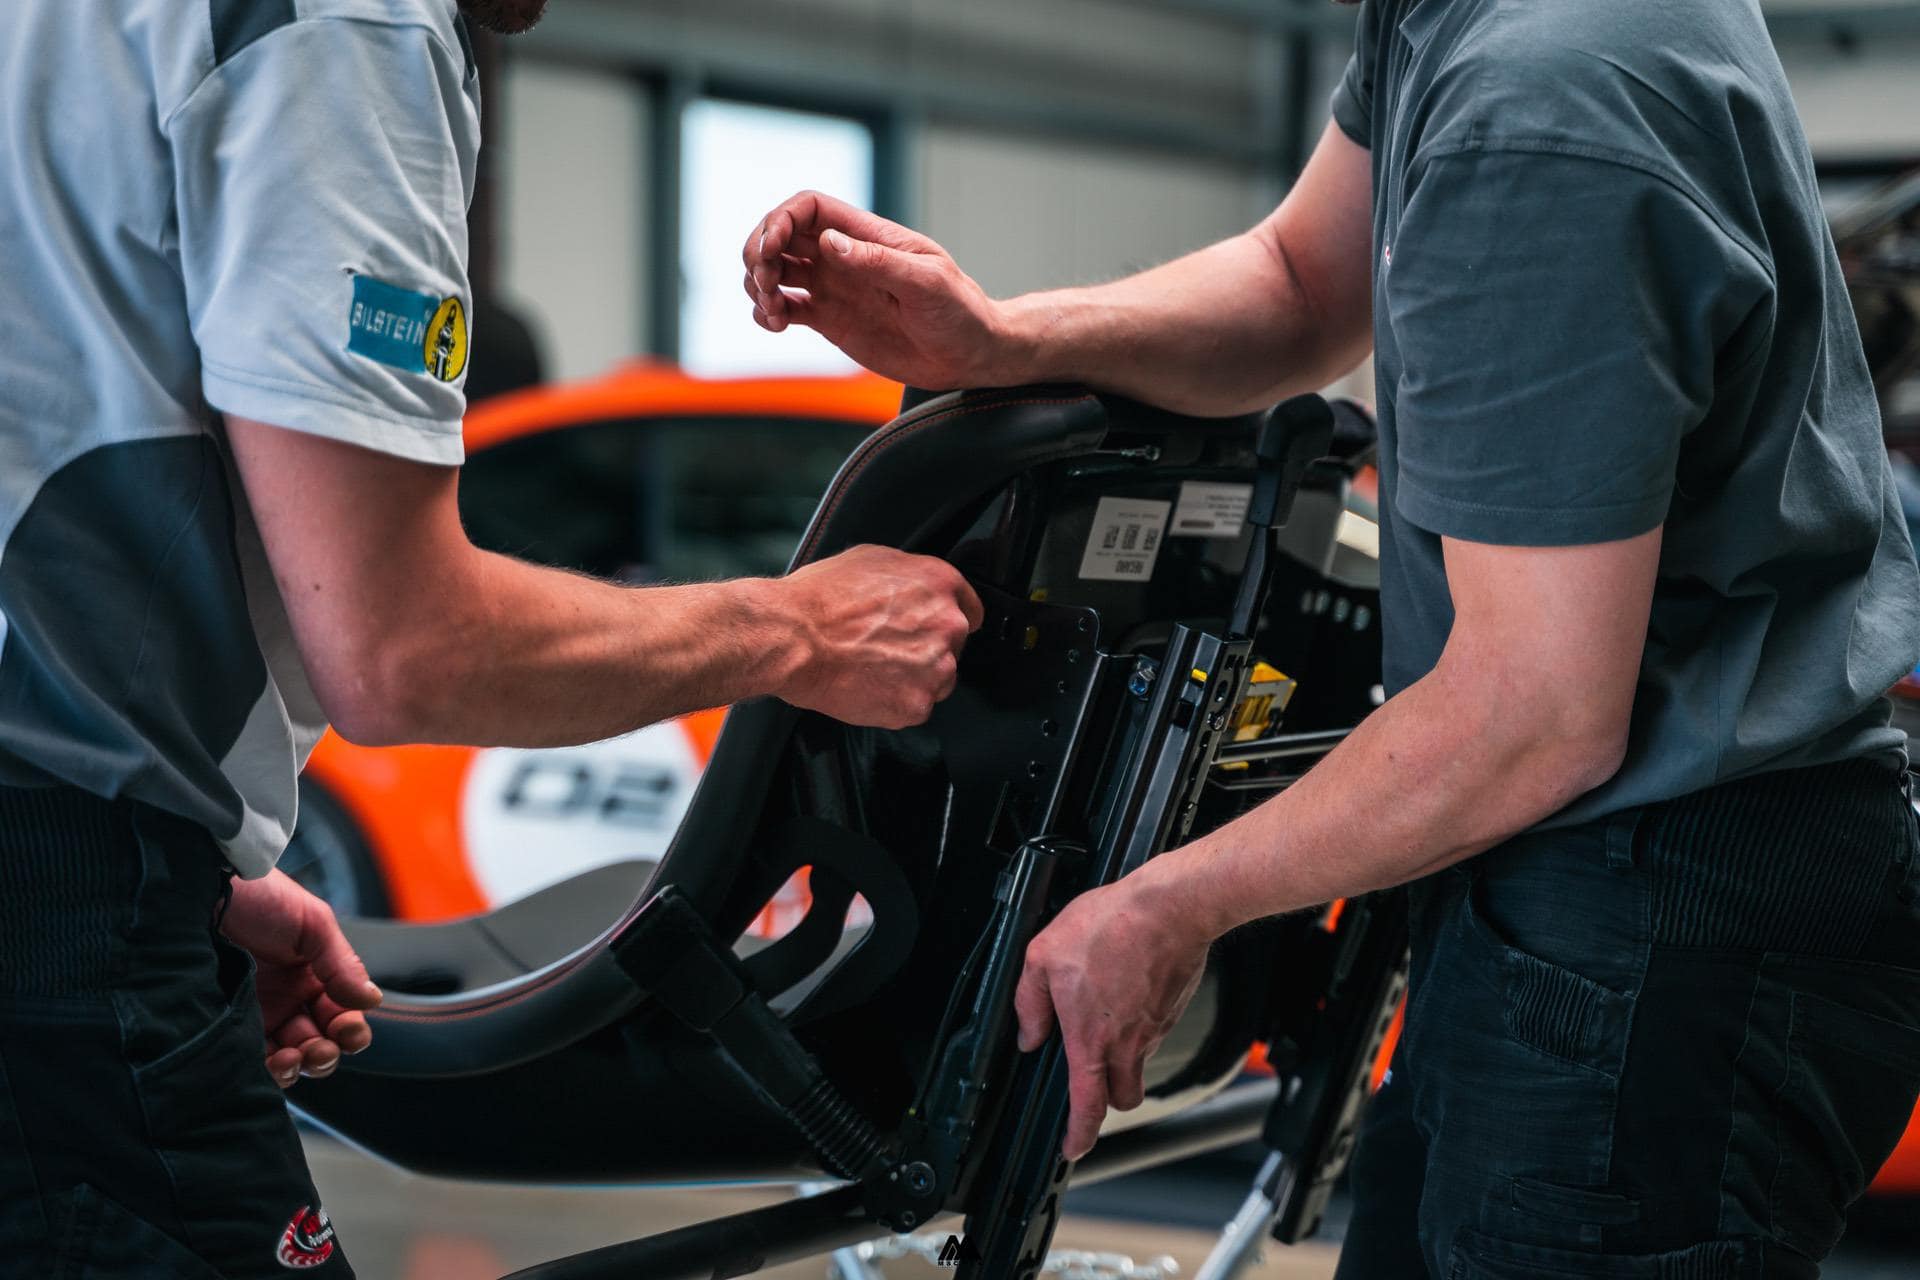
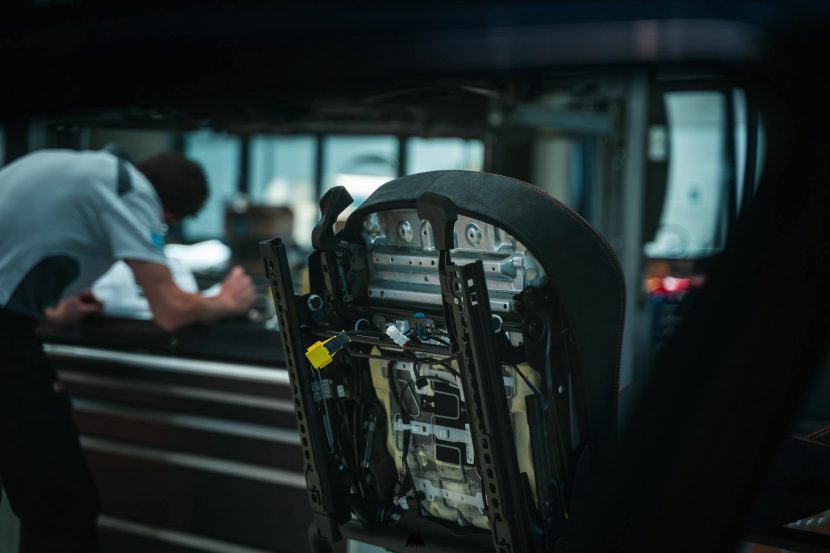
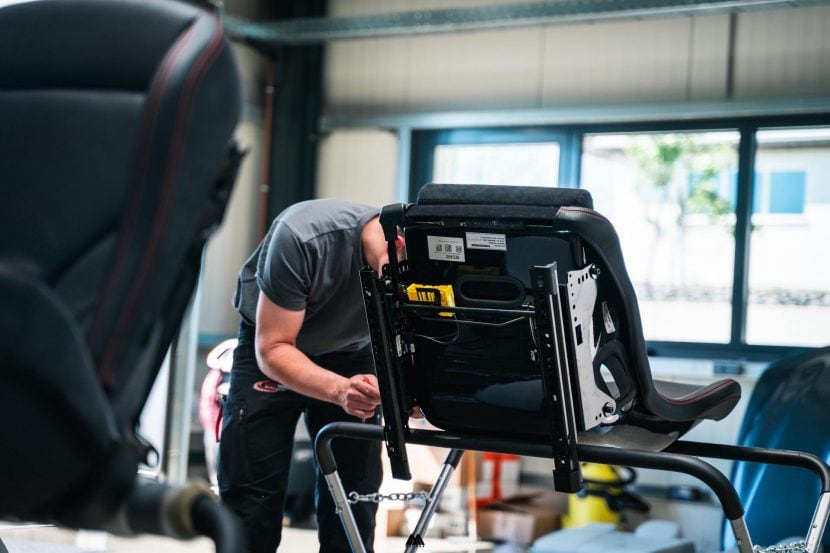
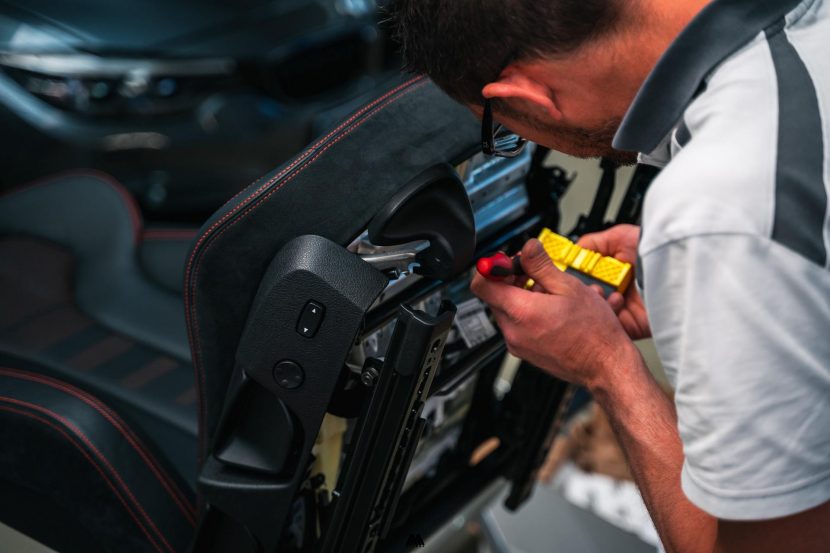
Step 5: Installation of the seats

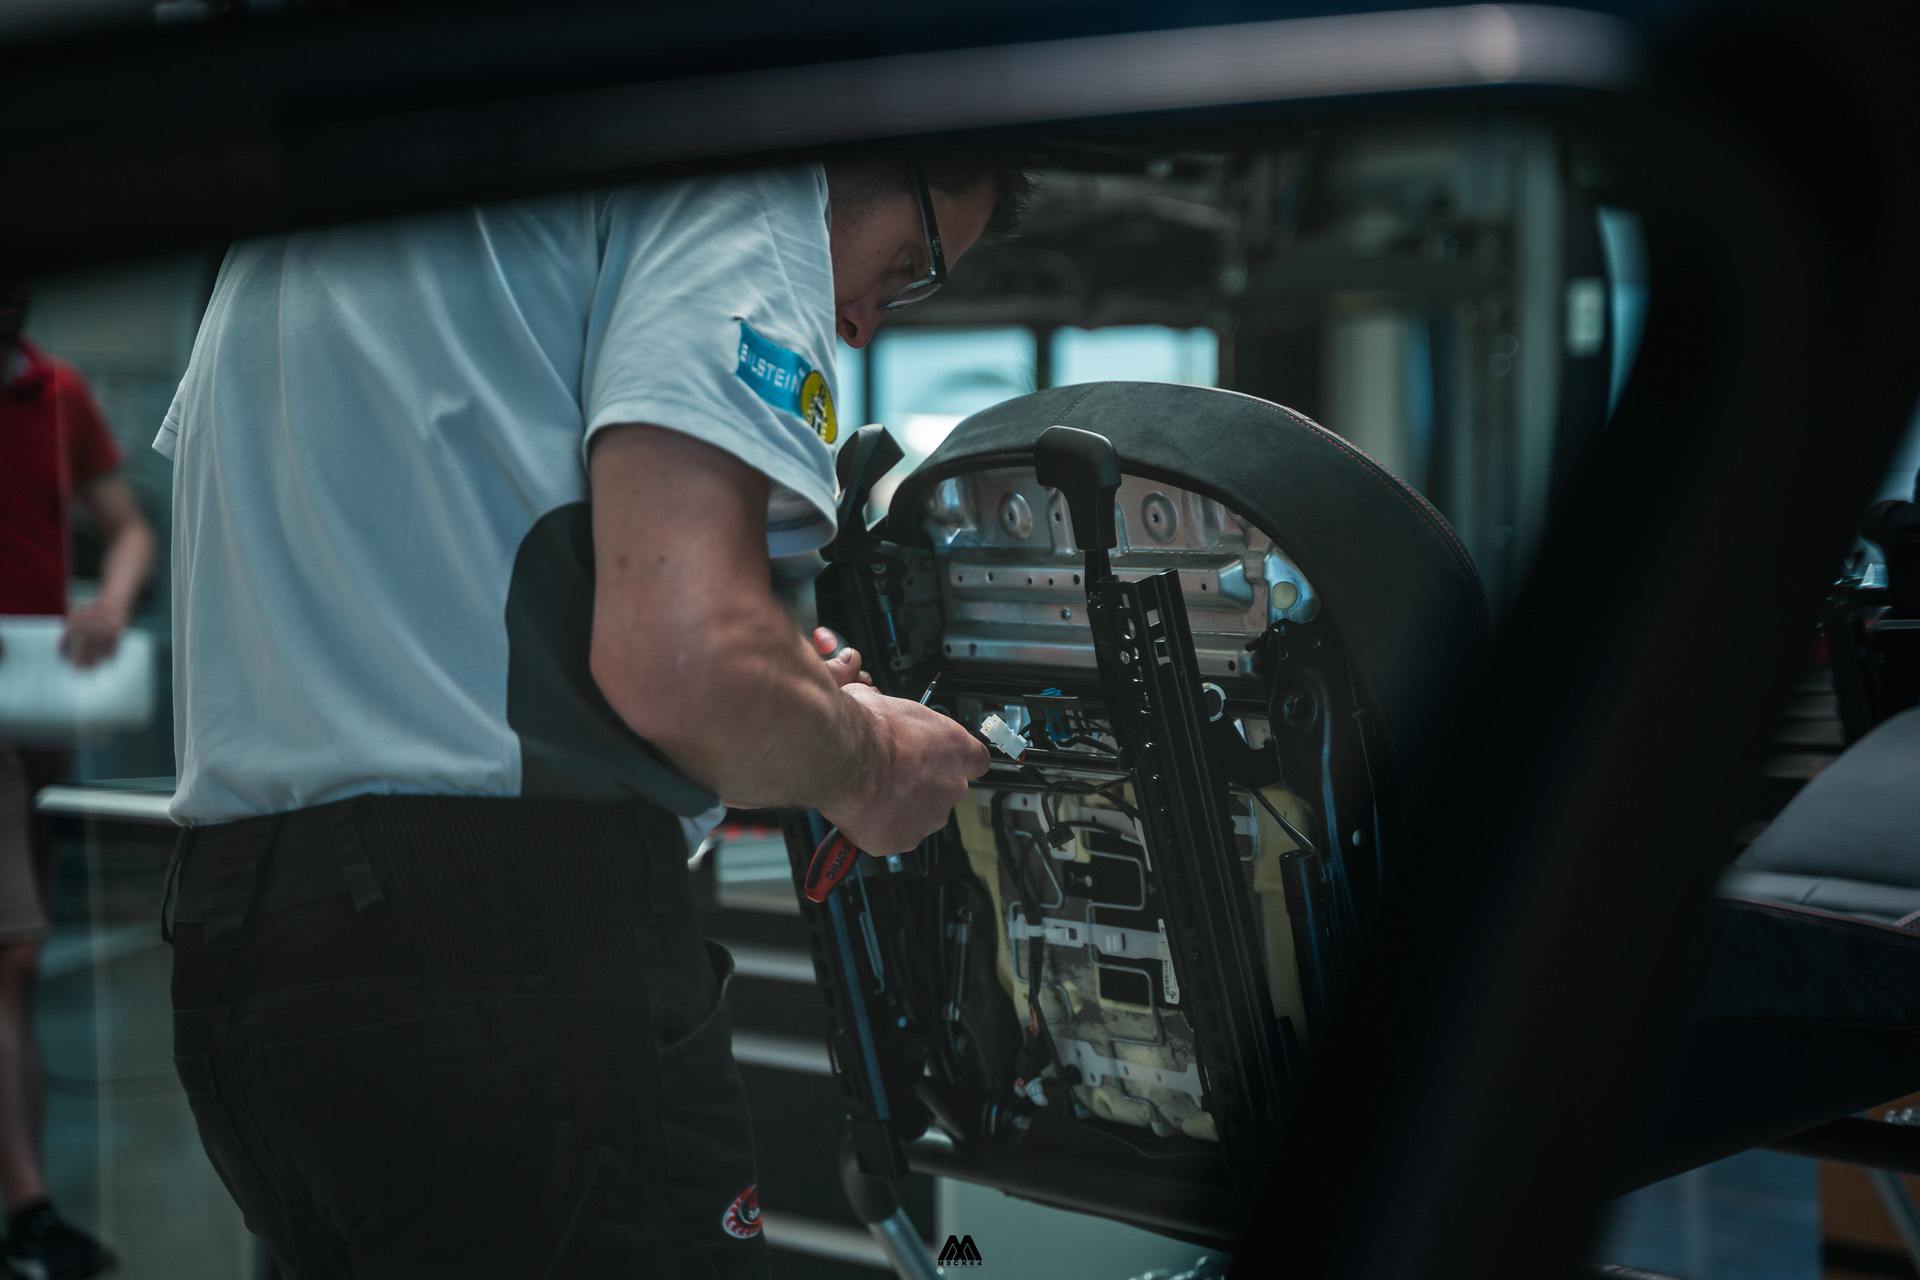
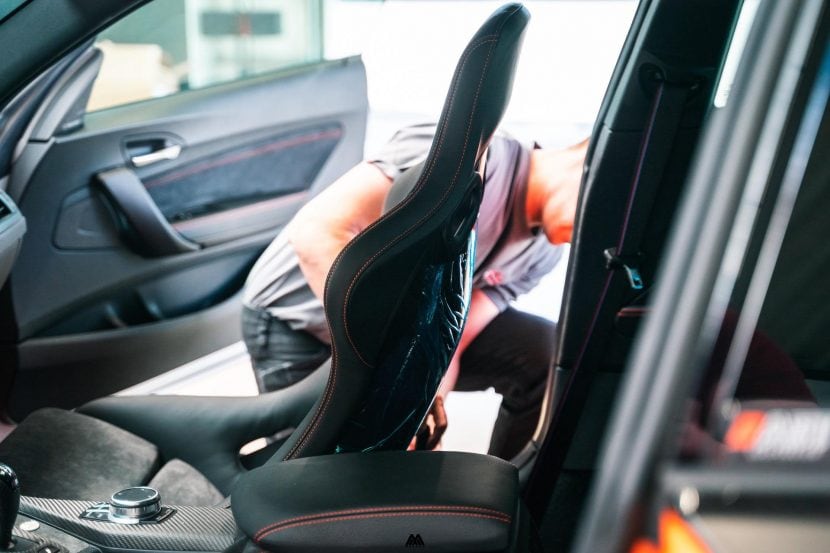
The installation of the seats is not as difficult as it may seem. It is important to prepare the bucket seats with the mounts before they go in and keep the protective material on the seats until they are fully installed inside your car. Also, don’t start your car or enable the ignition while installing them, more on this below. The overall installation is quite easy to follow and you can do this at home or let a specialist do the work for you. They will need a few hours to do all the work.
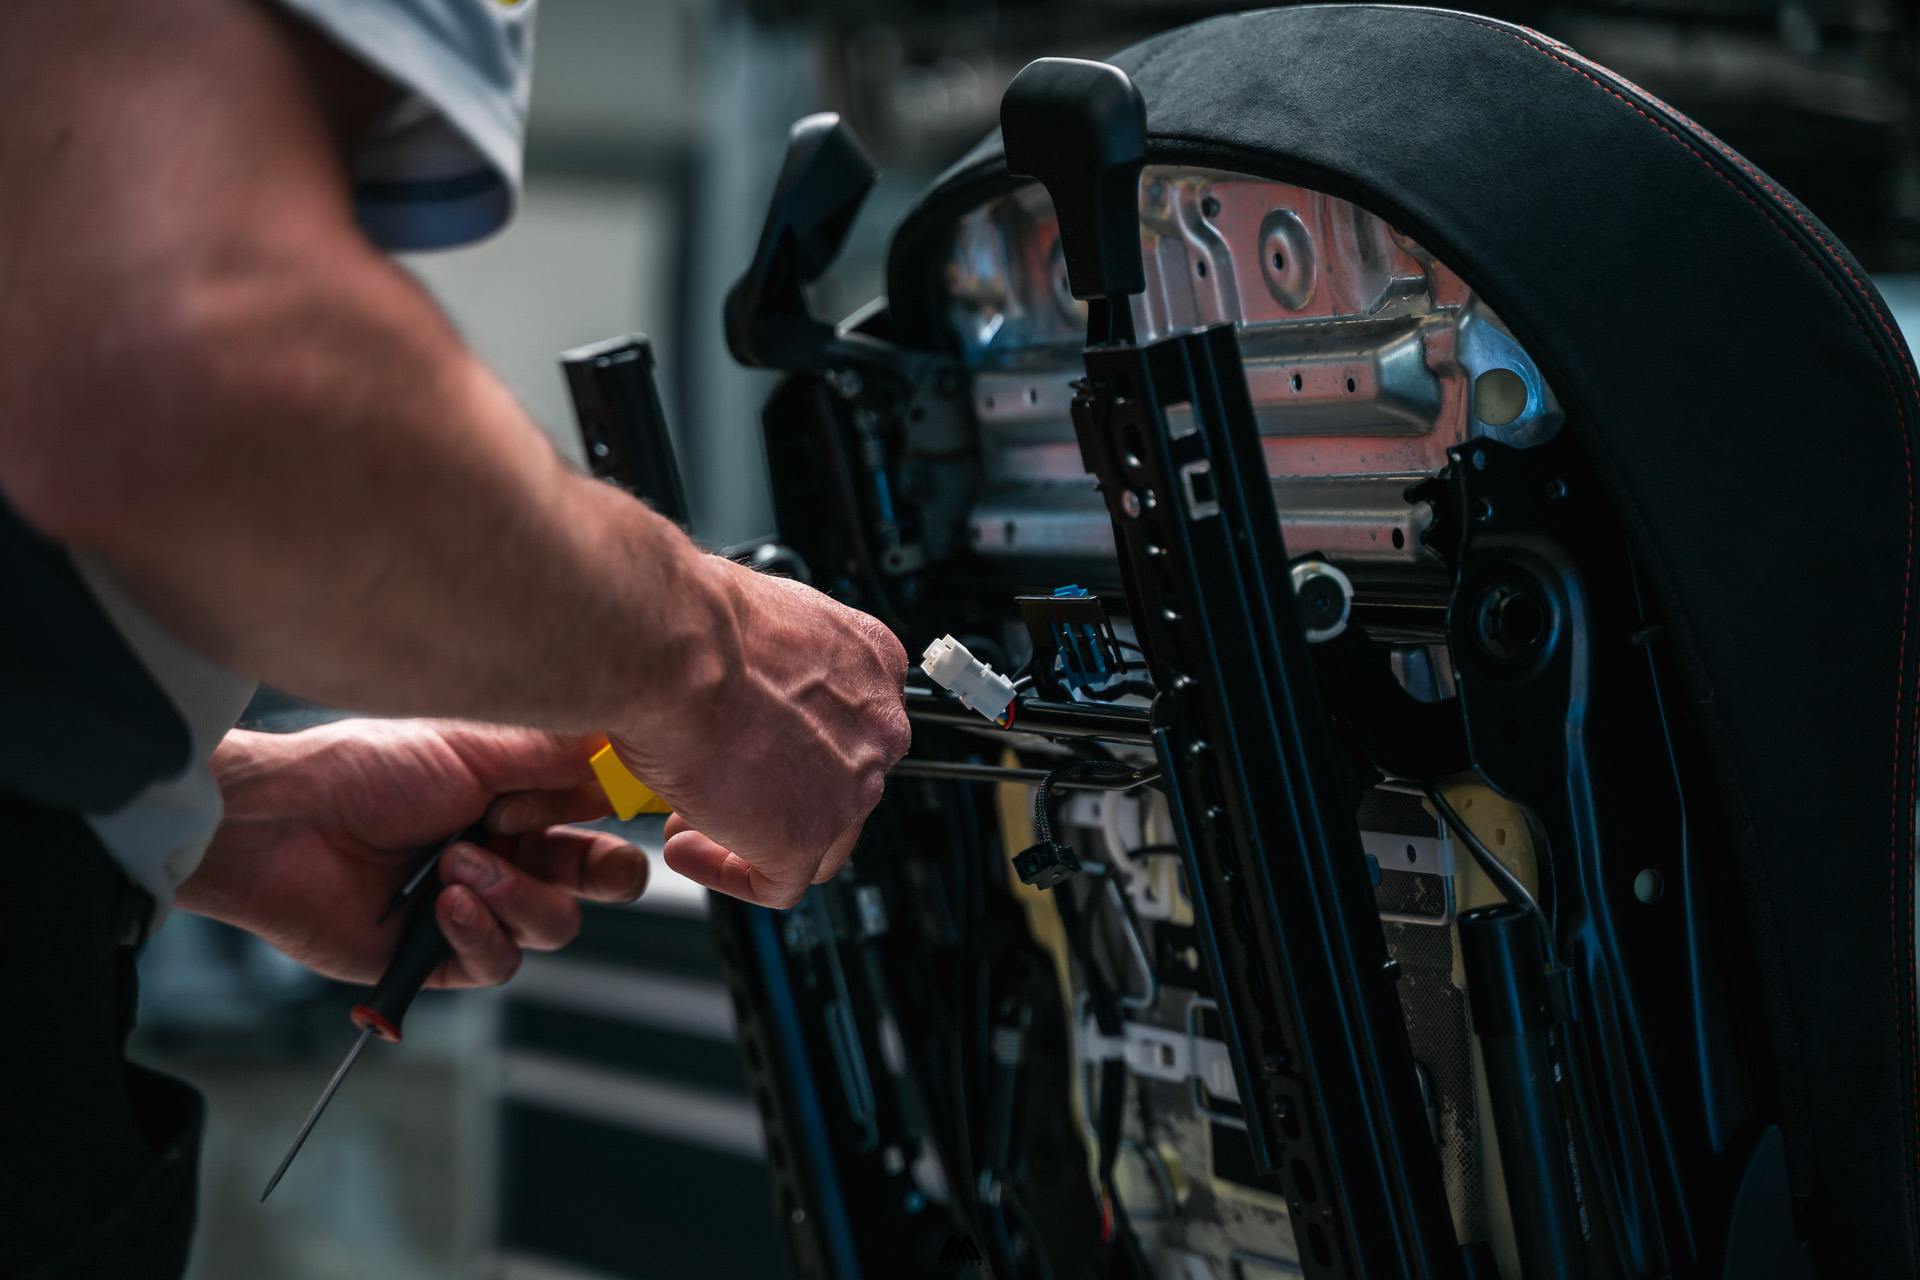
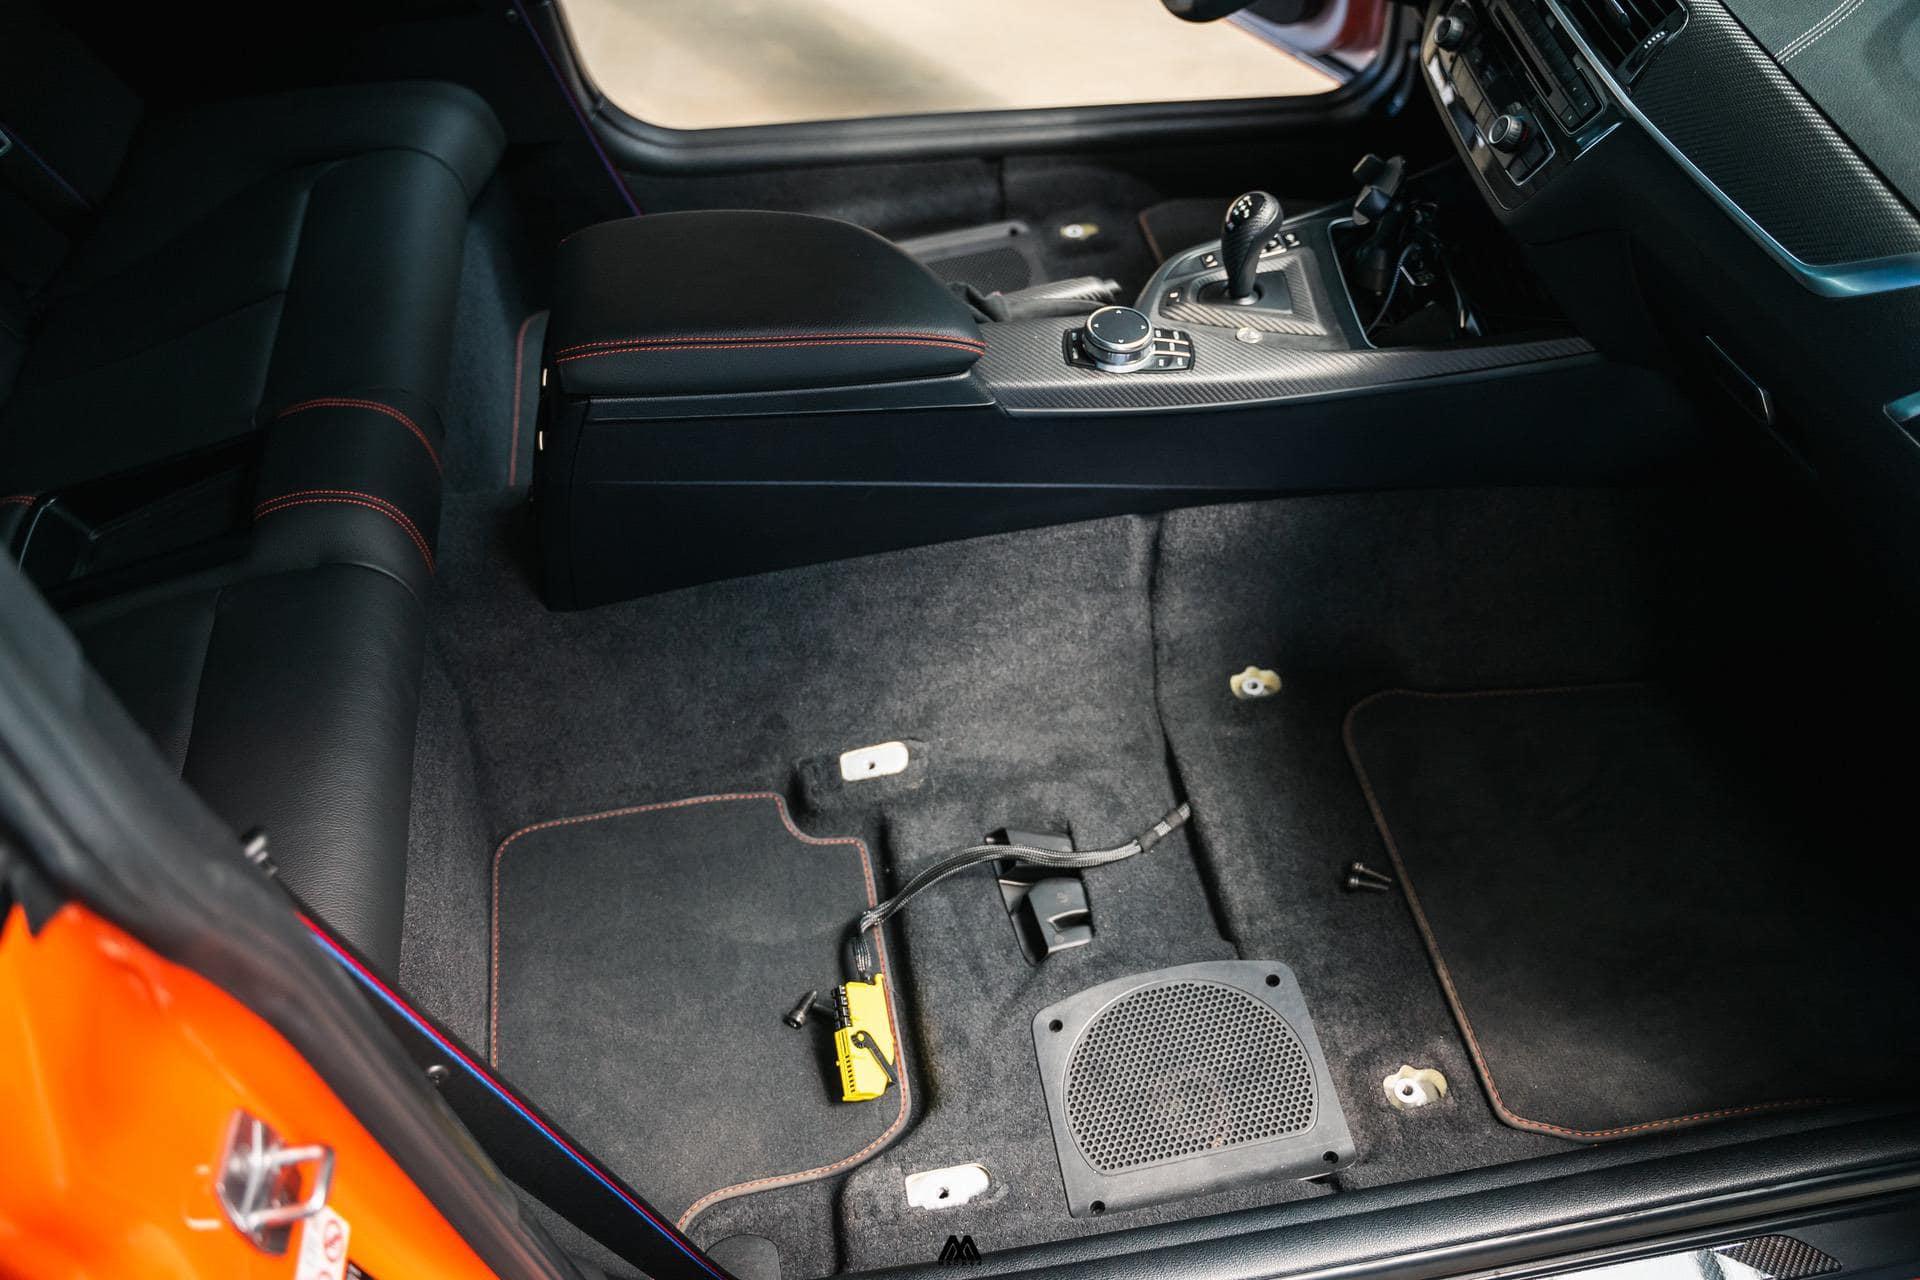
There is one major point to take note off. The electrical connection between the stock seats and the car is being removed the moment you take the original seats out of the car. The airbags inside the seats are taken out of the car and the car will flick an error the moment you switch on your M car. This error can be removed in two ways but for the purpose of this guide, we will skip this step.
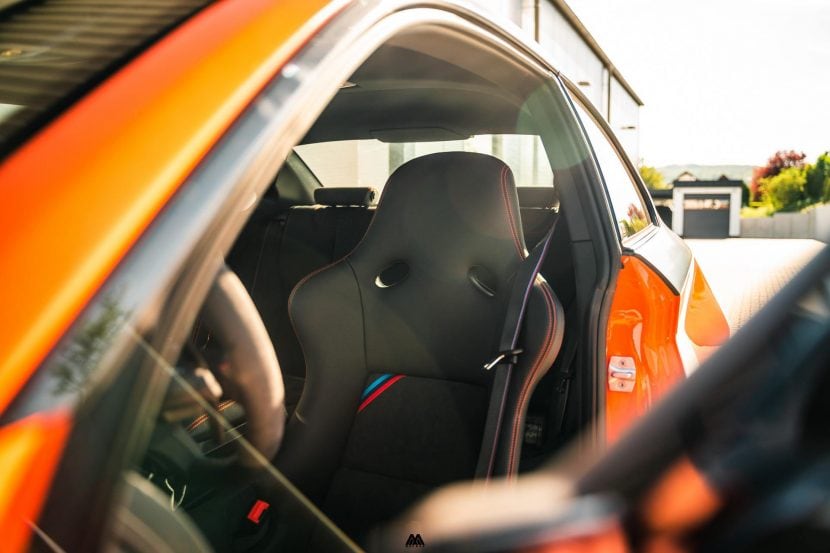
Step 6 – Enjoy the seats

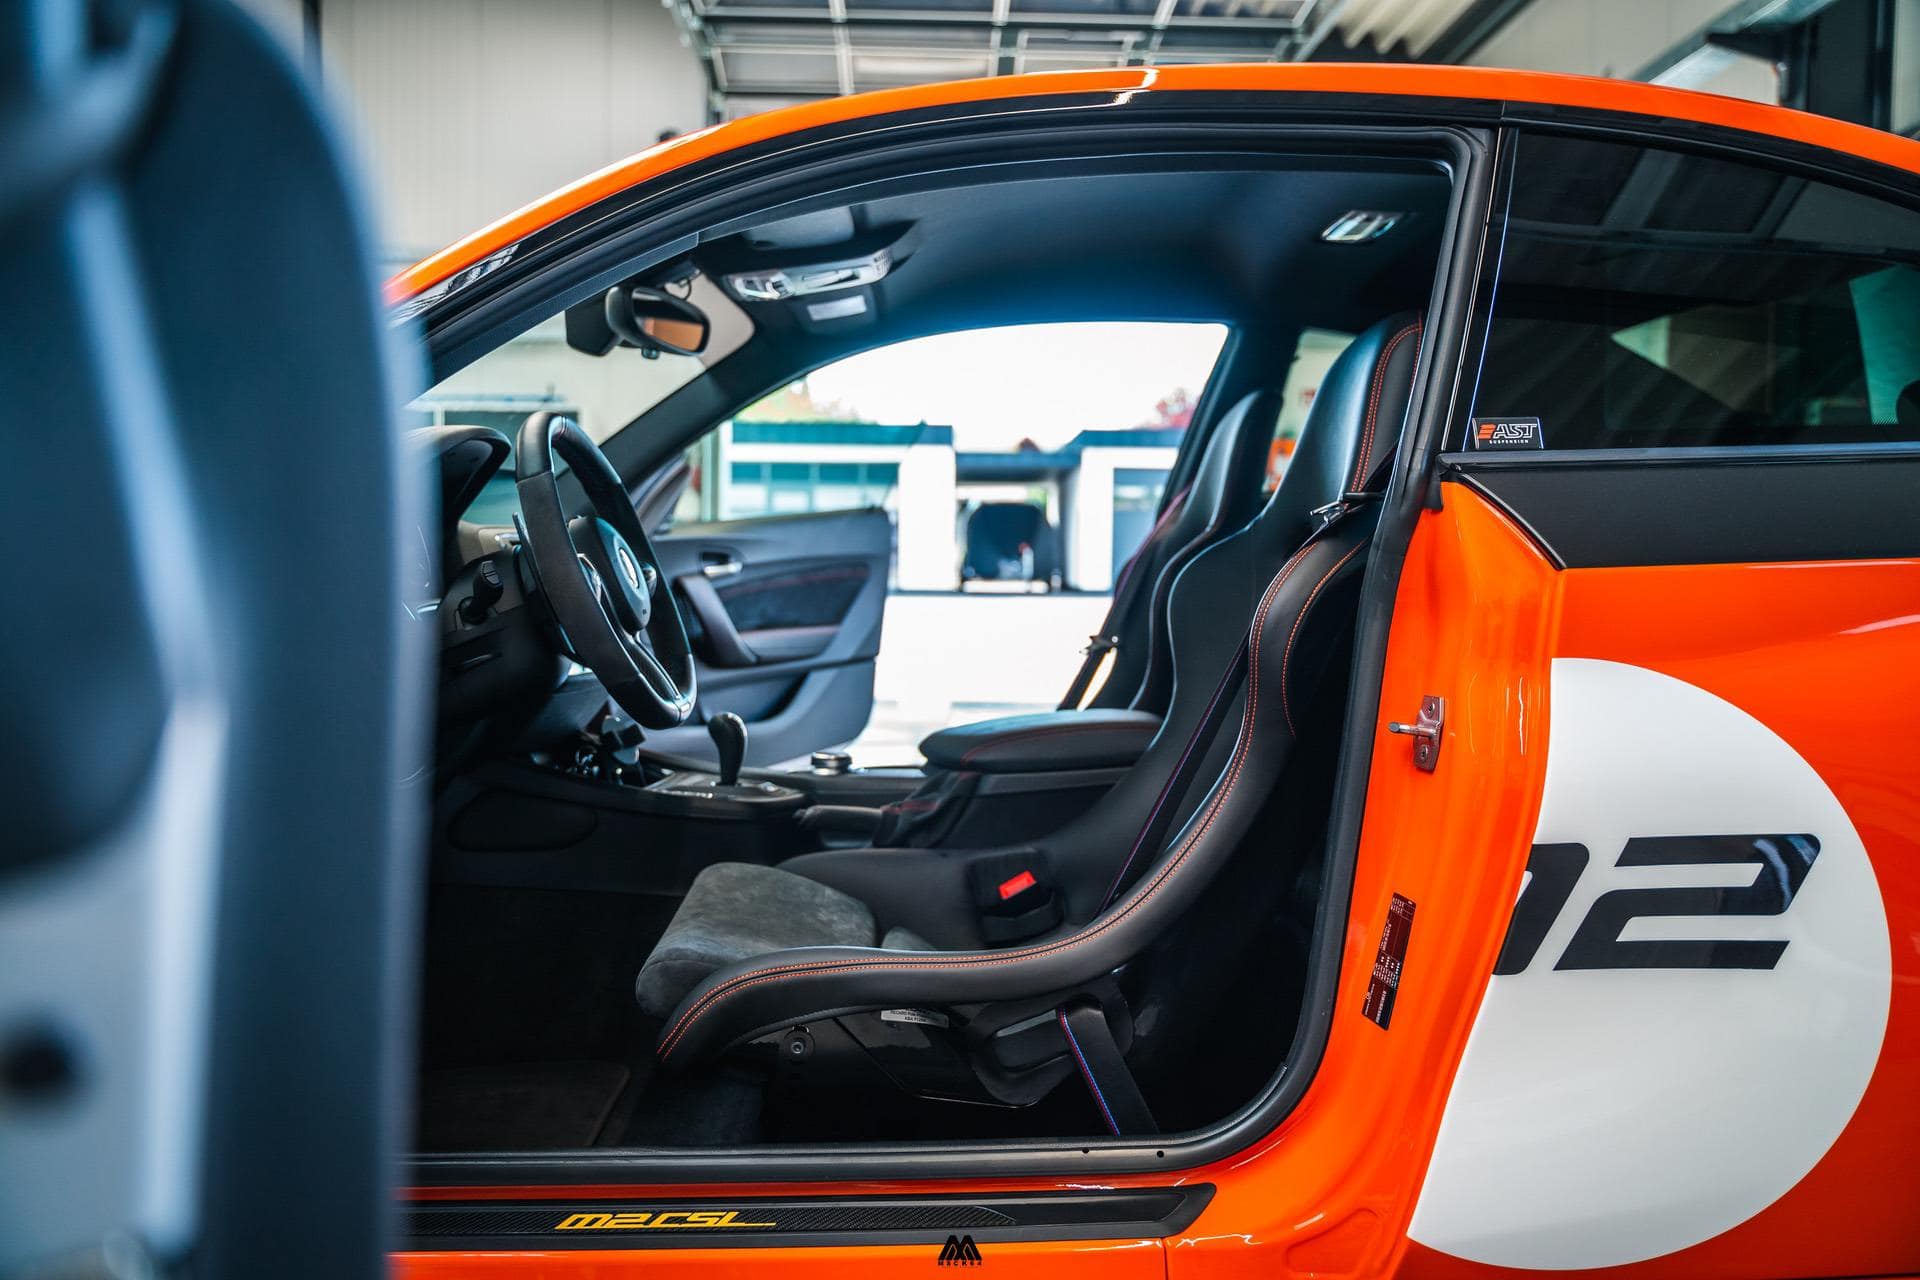
As soon as all it set, you have the option to enjoy the seats as intended. The installation of bucket seats will allow you to sit a lot lower, but you won’t have the option to easily raise or tilt the seats. There are adjustments of course, but those are a lot harder to accommodate than normal. The bucket seats offer more connection to the car and more lateral support for track use.
Based upon personal preferences, you can opt for all kinds of different seat solutions. There are many different options on the market available and a good search before spending any cash is a really smart move. Even try to sit in the seats before buying them.
Other than this there is one more point of note that could be applicable for your specific country. Since you place bucket seats in the car, which don’t fold forward anymore, you can’t easily get people in the back of your car. For safety reasons it therefore means your car has become a two-seater and you are legally not allowed to place people on the back seats, since they can’t easily enter nor exit the vehicle. In some countries you even have to mention this in the car’s paperwork!
Disclaimer: This is simply my experience with installing another seat in my car, and in no way a recommendation to do this in your own car. There are a lot of regulations and homologations when it comes to car seats, as well as safety requirements, so we recommend you check with the seat manufacturer and the shop performing the installation to make sure it’s done in a safe and legal way. In some countries, the replacement of the original car seat might not be even legal hence why many race or track cars can perform this replacement.