Exactly a month ago, Griot’s Garage, the most respectable car care company, became our exclusive BMWBlog sponsor. I have been a long time customer of them and ever since I bought my first bimmer, I have been using their products, among other companies as well. You might be asking what made me choose them over the many other car care companies and the answer to that is very simple: beside the high quality products, the main selling point for me was their manuals and DVDs that guided me throughout the detailing process.
I have to admit, I was far away from being a pro when it came to detailing my car and I felt like it was a “rocket science”. The first thing I did when I bought my first product from them was to watch their instructional DVD and refering to the printed manual.
I’ve come a long way since then and now I feel like I know what the hack I’m doing and boy, let me tell you, that feels really good, especially not worrying about ruining my car. So, right after they signed up with us, I decided that my new BMW 335i was due for a complete detail. I bought my car in January and I didn’t really have any detail jobs since then.
Continued
Products Used
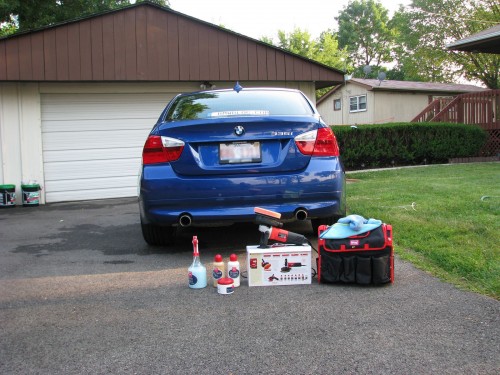
Speaking with Mike Bailey. from Griot’s Garage, I told him how I am not very organized when it comes to tools or just things in general, so he advised me to get the Griot’s Garage Car Care Organizer. Great bag that will hold all of your car care products and much more. My wife thought that I have just purchased my 20th laptop bag, so it took me a few minutes to explain to her what this is. Nonetheless, she just doesn’t understand us, the car lovers.
Anyway, next step was to update my old orbital that I have been using for years. I kept reading about the newer random orbitals, so I decided to get the Griot’s Garage one. Mike again swore by this orbital and by looking at price, I thought it was quite fair and the reviews I read were very positive.
From that point, I asked Mike to guide me through the process of choosing the right products for my car, such as polishes, wax and the other necessities. Since my car is fairly new, Mike advised me to go with the Machine Polish 3, which is a very mild polish. The next thing down on my list was the wax. In the past I’ve been using other carnuba wax products, which seemed to be missing some clarity. Griot’s Garage recommendation went towards the Best Of Show Wax product, which can be applied by hand or by the orbital machine.
I learned from my previous detail jobs that even before you start polishing or waxing your car, the paint needs to be “clayed”. Living in the Chicagoland area and going throgh some rough winters, the car’s paint picked up a lot of dirt that stuck on the paint. Even if you live in a sunny and warm place, your paint will most likely become rough and you will notice a lot of dirt or simply flies being asimilated into the paint.
Their Paint Cleaning Clay was one of the only produtcs that were left on my list. Once again, the price was very reasonable and combined with the Speed Shine in a special deal, it was all I needed.
For a total of $235, I had all the products that I needed and I knew it would last for at least a year, if not even more. In my opinion, the investment was totally worth it and you will see that in the photos below.
Detailing Process
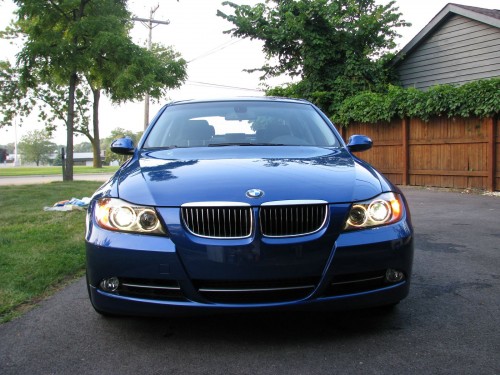
Since Sunday was a beautiful day in Chicago, I decided to go over my friend’s house and “mess up” his driveway a little bit. I started by inspecting the car or even better said, the paint, and while overall the car seemed like new, I did find a scratch on my passenger door. Boy, was I pissed…..
Anyway, I let it go for a second since I knew that this is my chance to really test their oribital and polishing. Before I began my detailing, I decided to take some photos of how my car looked like beforehand.
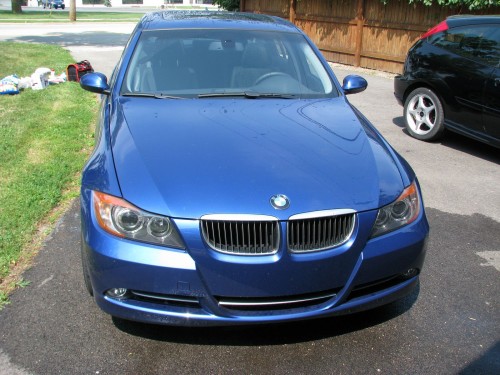
Before detailing gallery
I started to wash down the car a little bit, mostly to moisturize the paint. I took some car shampoo and started to wash down the car, panel by panel. By doing this, it gave me the opportunity to wipe down the car immediately without getting any watermarks on the car.
Thirty minutes later, the car was ready for the next step: using the clay on the paint. I grabed the clay and figured that only half of it should be enough for my car’s size. The clay is quite easily to mold and form and by using some Speed Shine, I managed to bring to an uniform state. I, once again, started to work on each panel individually, in a vertical motion while spraying the paint with the Speed Shine. Not to my surprise, the clay picked up a lot of dirt and I could feel the rough surface each time I would go over the paint. Again, about 25-30 minutes lates, I managed to go over the entire car and now the paint had a nice and smooth aspect. I was getting close and closer to the polishing stage.
Before I moved on to the orbital and polishes, I washed down the car one more time, just so I can remove all the residual left from the clay. It wasn’t much, so this time I was done relatively fast.
Before I started to use the Griot’s Garage random orbital, I asked my friend to attempt to catch the paint scratch on camera. It was sunny outside, so this might not be the best shot, but at least you can see the size and depth of it.
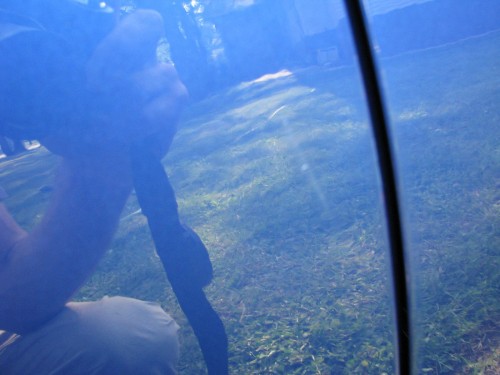
Kinda nasty looking, right? Especially on a new car, but that’s what you get for living in a big city.
Now let me show you some photos of the car after the thoroughly wash. It looks better, but nowhere near the level I want it to be.
As I mentioned in the begining of my article, I have always been afraid of using orbitals or any other buffind devices. The fear of ruining my paint has always made me do manual work. But when I got the random orbital from Griot’s, I asked Mike again for some pointers and tips. He basically told me not to worry about the pressure applied on the car, since the orbital works different than the others and most important, to use the orange polishing pad with a thin layer of Machine Polish 3. Here is where I messed up a little bit. I placed too much polish on the pad and when I started the orbital, many polish paste drops splattered all over my car. Was I a little pissed? Maybe, but that was entirely my fault since Mike, and his instructional DVD, clearly said to apply a thin layer, similar to putting butter on bread. I guess I should have paid more attention or to use some common sense :)
I removed some of the extra polish solution, and I attempted to start the orbital again. WAY better this time, no splashing and the orbital just “latched” onto my car, moving in random motion. Did I mention how light the orbital really is? I didn’t feel for a second that my hands were tiring from holding it and it was quite fun to move it around the paint. Their instructional DVD has more information on how to properly move the orbital, so you can always refer to that if you feel like you’re lost.
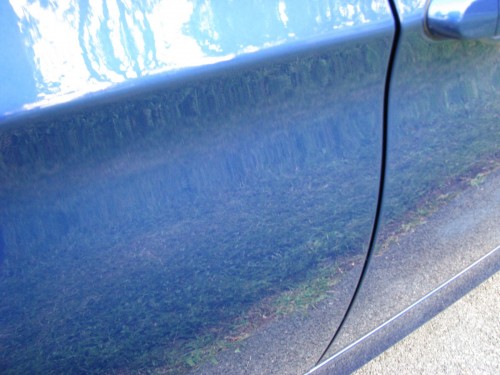
All I can say is that after I worked down the scratched area, I could clearly see an improvement. A few minutes later after the polish rubbed in and it was barely visible on the paint, I cleaned up the surface just so I can take a look again at the scratch. And……it was GONE. My confidence level went up a bit and I gave myself a pat on the back for the good job performed.
Here is the photo after
But before I went even further, I used my microfiber towerl to remove all the residue left from the polish, if any. The last step in the process was applying the Best of Show wax. I changed the foam pad to the “red” one, per the instructions received through visual and audio and I started to apply the wax on the orbital pad, a thin layer this time. Again, the use of the random orbital was easy, pleasant and not physical challenging, so again I worked on each panel individually and making sure that the wax is applied properly. I spent a little more time on the waxing part, just because I wanted to make sure that it is being applied uniform. So, forty five minutes later, my beautiful BMW 335i was car-show ready.
Again, I was impressed with my skills. Just kidding, my skills are very limited, but the quality and easy use of the Griot’s Garage products, made my life easier and most important, made me look like a pro in front of my buddies.
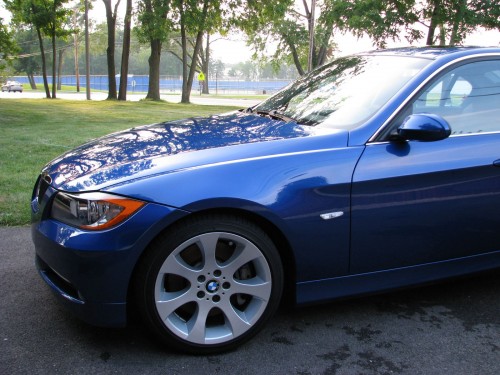
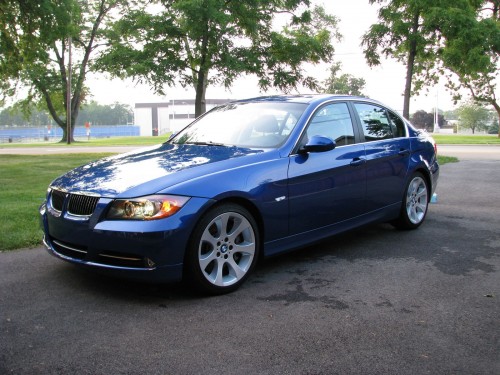
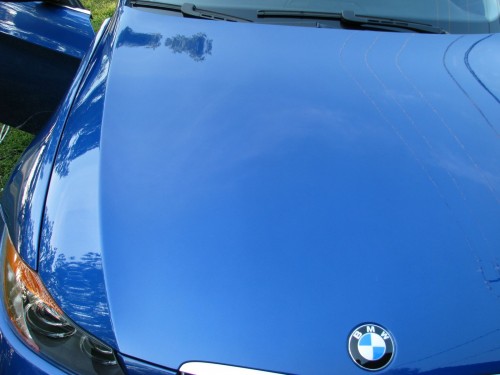
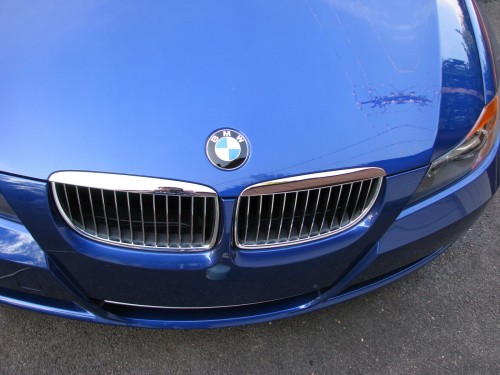
Since it was getting a little late, I didn’t have time to use the orbital on my windows, which according to Mike, it will make them clearer than clear. But next time, I promise I will test that as well. I won’t get into the interior detailing right now(that’s another article righ there), but before I let you go, I will post the final photos. In my opinion, the car looks AMAZING and pretty much the same as the date I picked it up in Germany at the Welt.
Please take a look at the photos and if you have any comments, questions or suggestions, and most important suggestions on how to do an amazing car detail, please tell us.
